

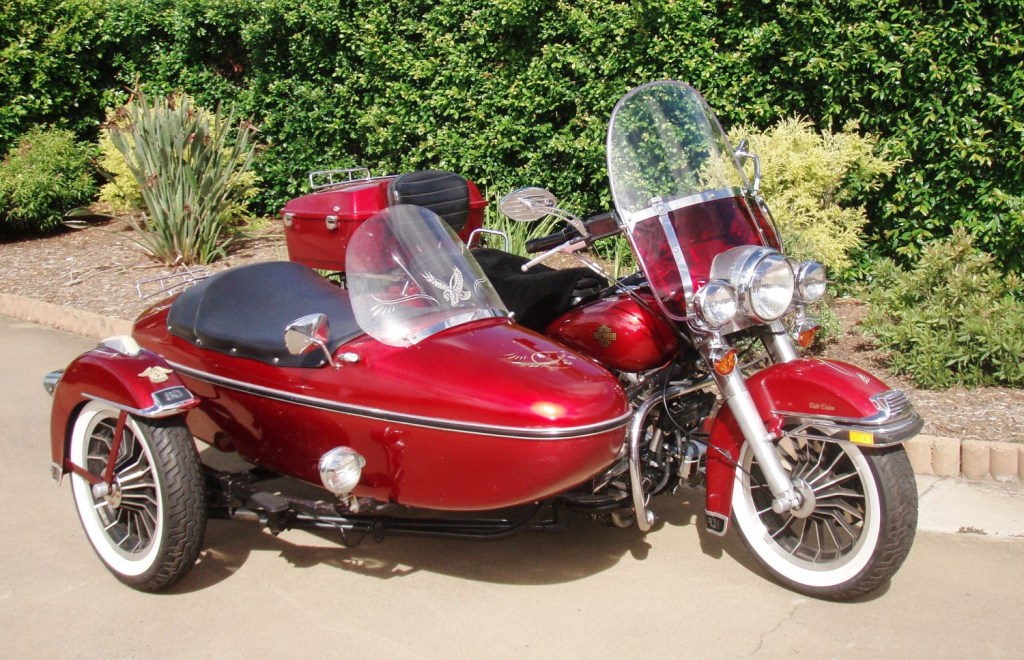
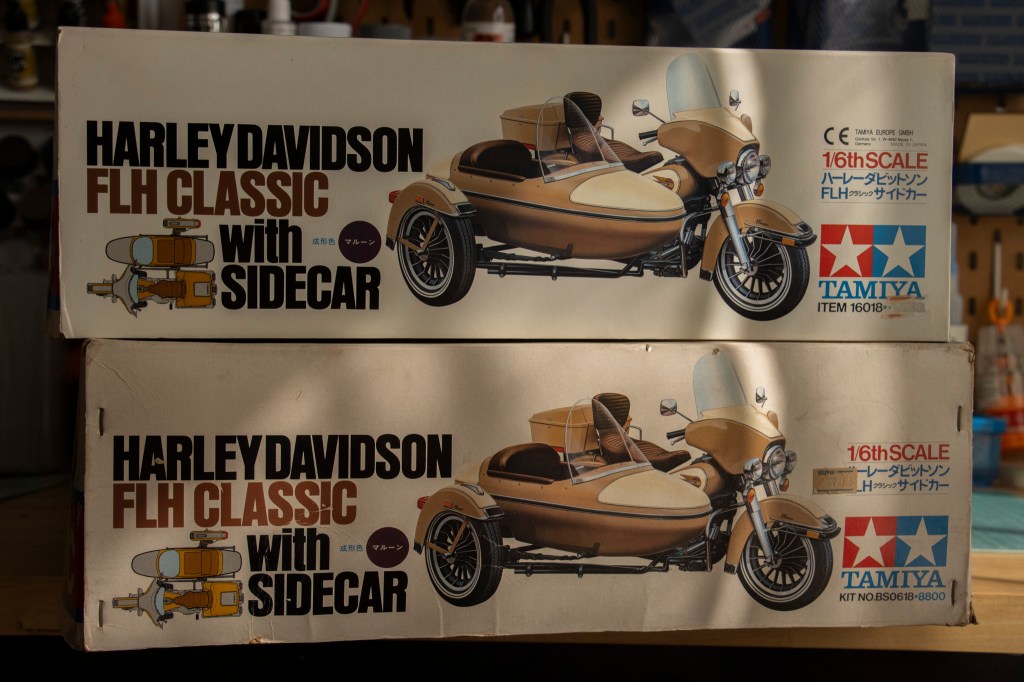
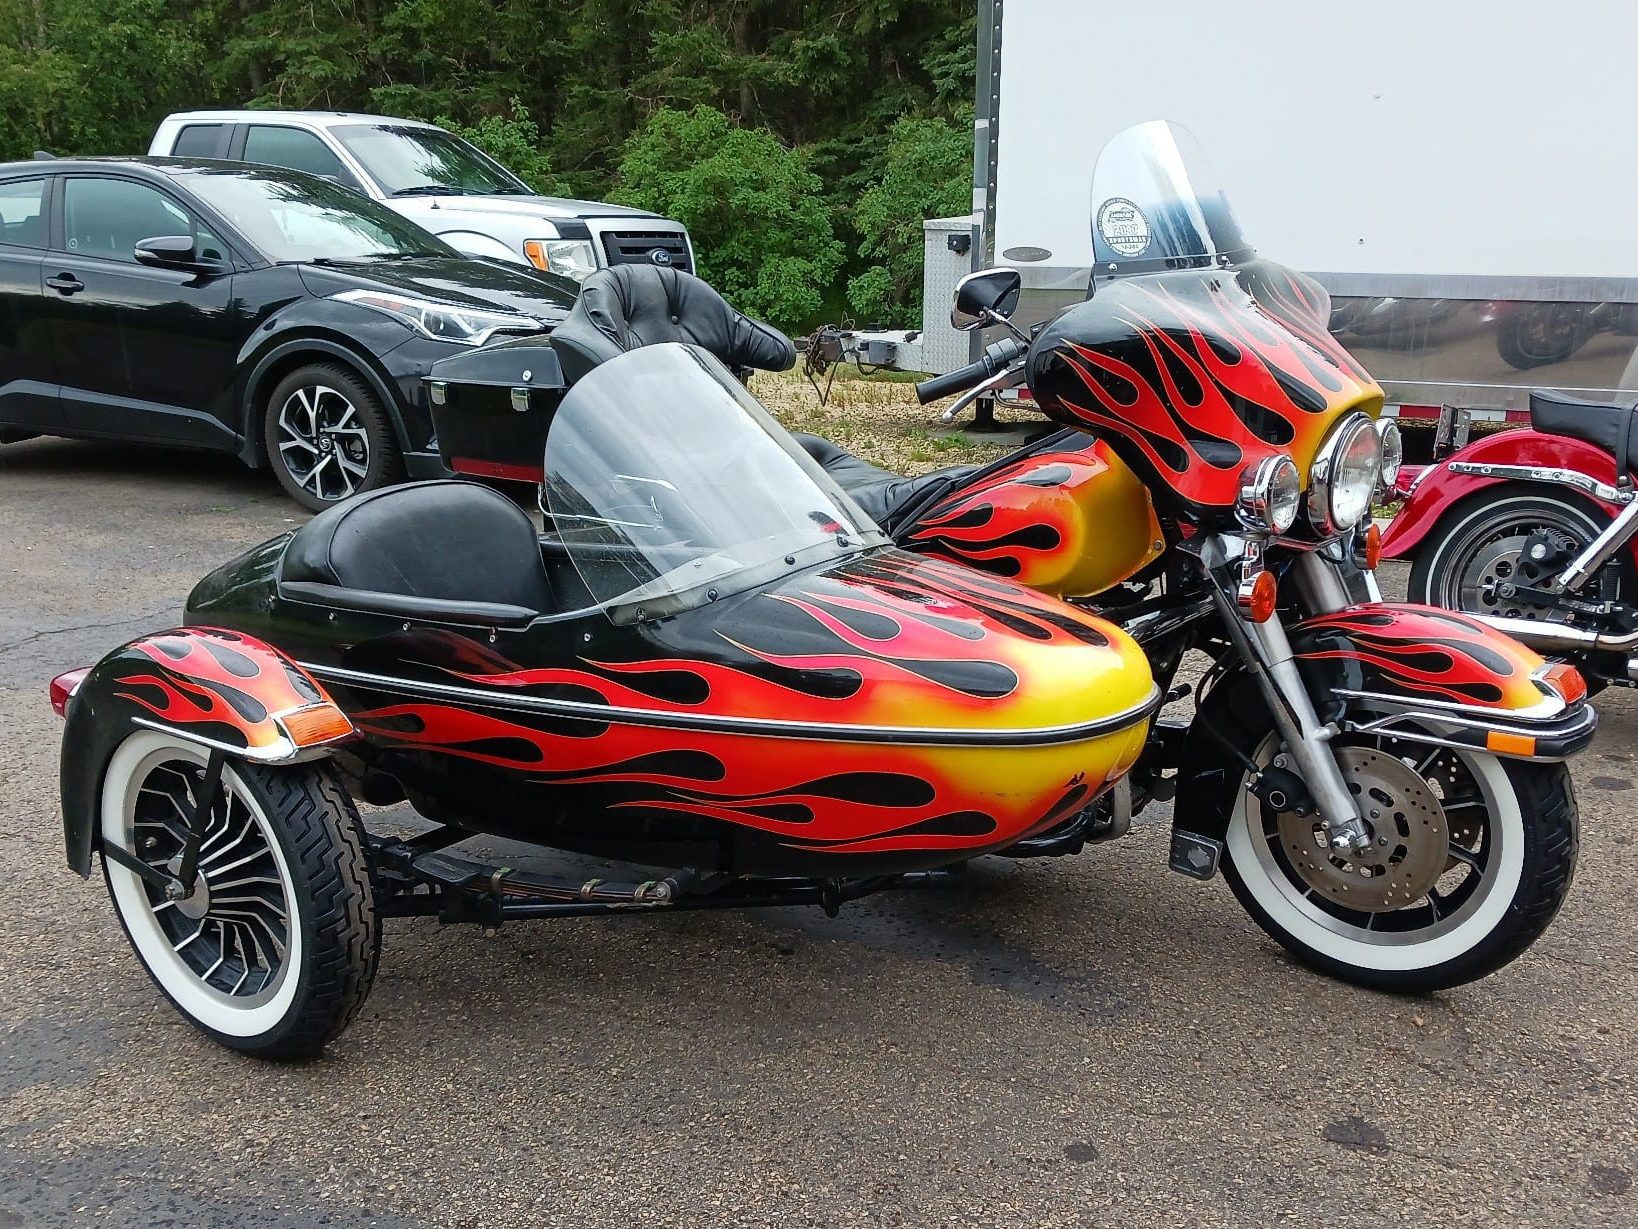
What makes a roaring Harley better(Let’s not talk about the handling)? A SIDECAR!!!
Yes, yes, YES! Quite naturally, actually – after reviewing the 1973 released 16009 Harley-Davidson FLH1200 Police Bike – the sidecar FLH Classic arrived on my workbench! And a nice preserved box. A+!
(Screenshot Source: 1979-84 CLE/TLE Sidecar Models Service Manual, Rat Bike Service; direct PDF access)
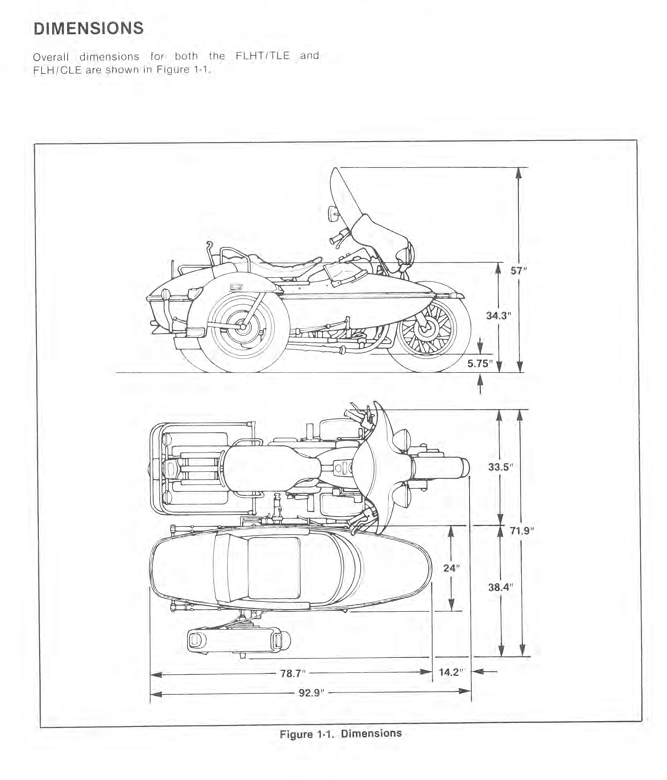
Size-wise, the sidecar is definitely the biggest Tamiya 1/6 model, and possibly the biggest 1/6 bike model, thanks to the addition of the sidecar. According to the data in the above screen capture, we are reviewing a 15”x12”x9.5”, or 40cm x 30cm x 24cm model!
Do not underestimate how big this model is.
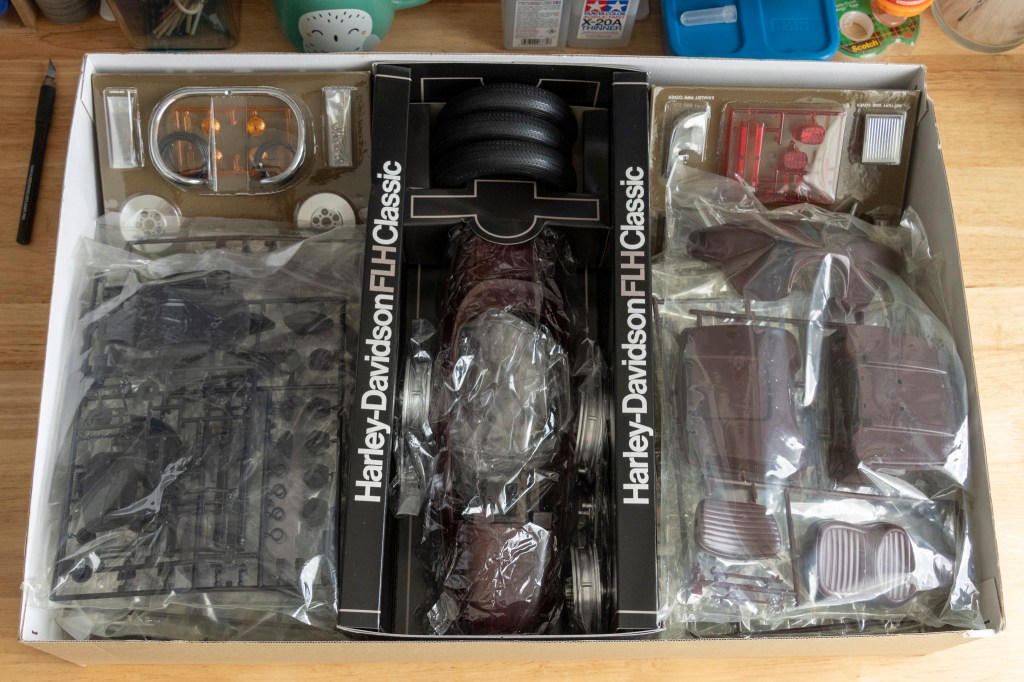
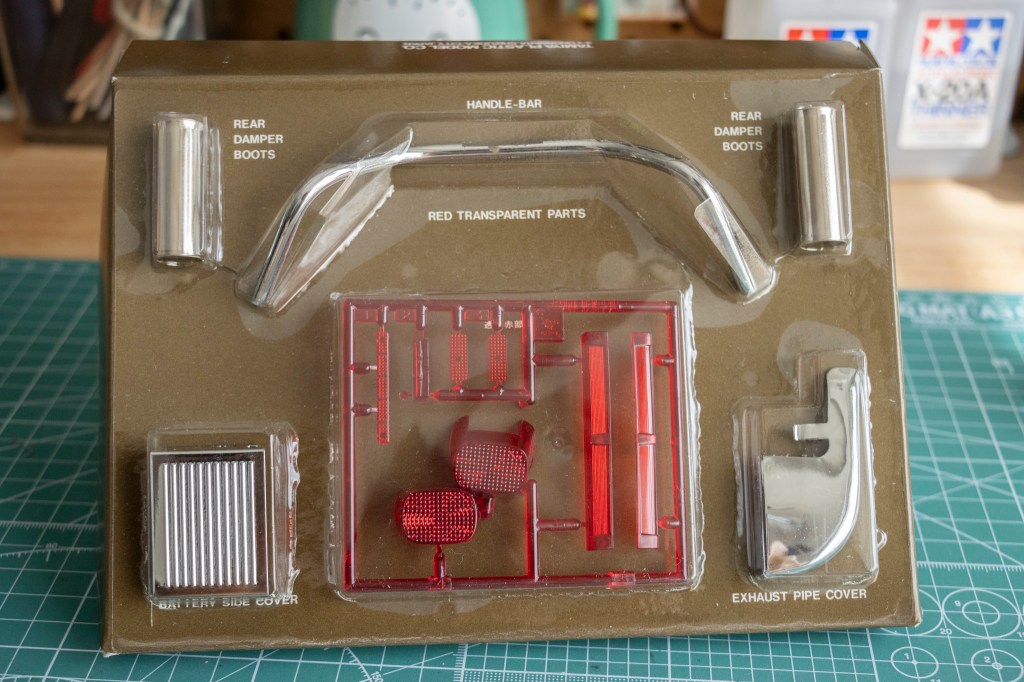
Open that box, please? YES! A busy box full of goodies…
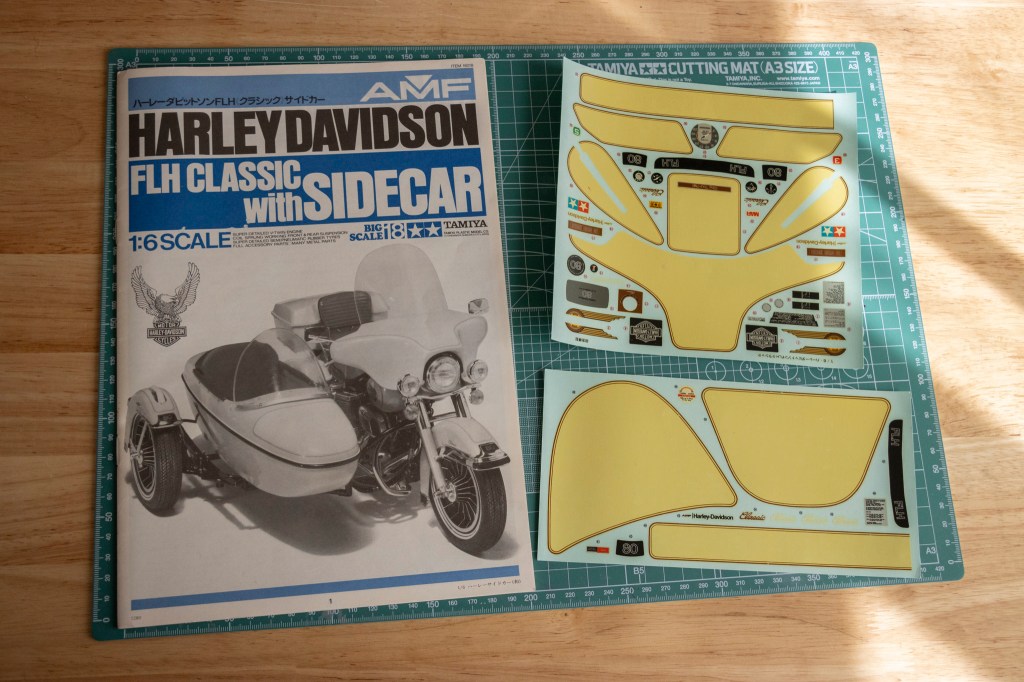
But before showing you all those plastics, let’s take a look at the instruction manuals and decals. Similar to the impressive 1/6 Kawasaki KZ1300 B Touring (my 3000 words, 170+ pictures review can be found right HERE), this kit (or, should I say, the box I received) only offers one Japanese instructions. Not a big deal, but if you need the English manual, here it is:
This manual was downloaded from Tamiya’s official website.
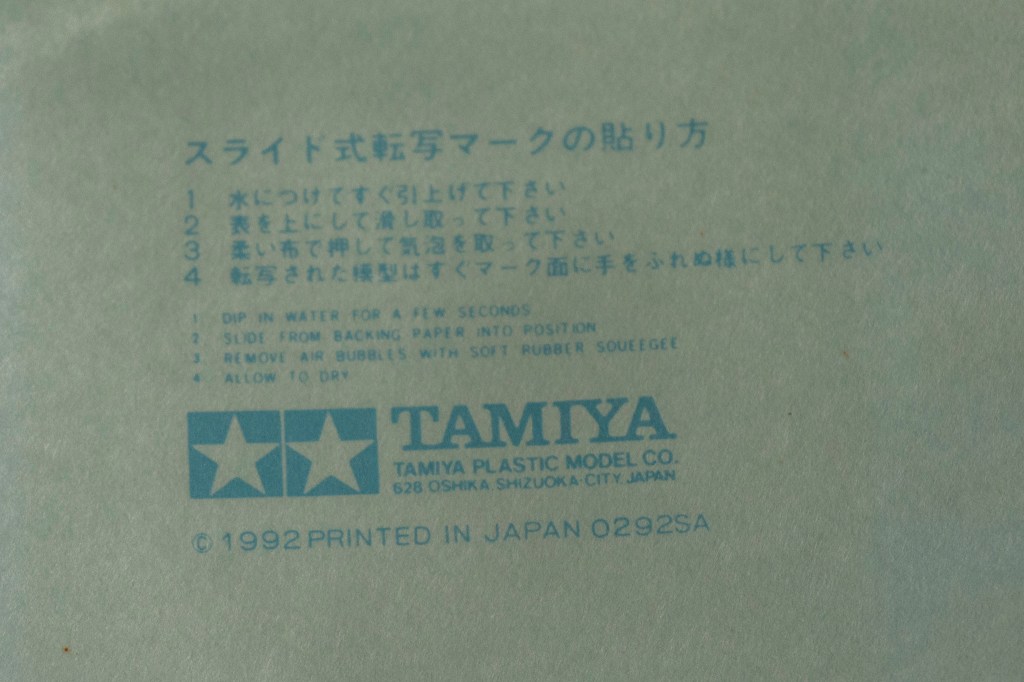
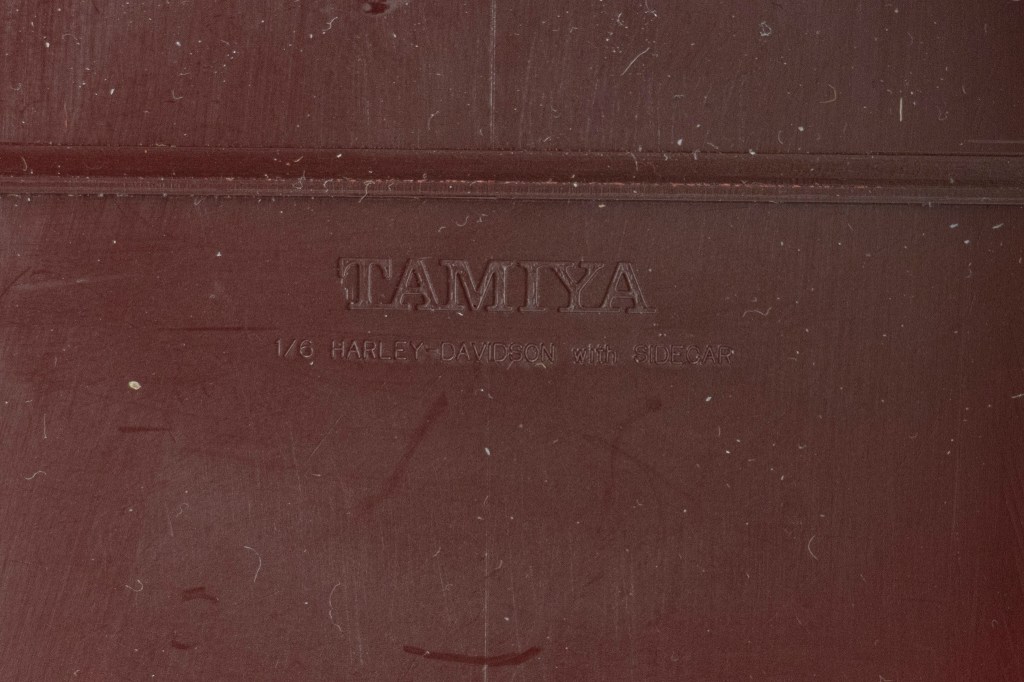
The decals are not surprisingly useless. But on the back, you find the re-issue year of this kit: 1992! This big brother is a year older than me! Bestbalsakits sells replacement decals for this and many other 1/6 kits (not trying to promote them here, but I found that they are the only place where you get to buy replacement decals for these vintage big scale Tamiya bike kits. And their quality rocks).
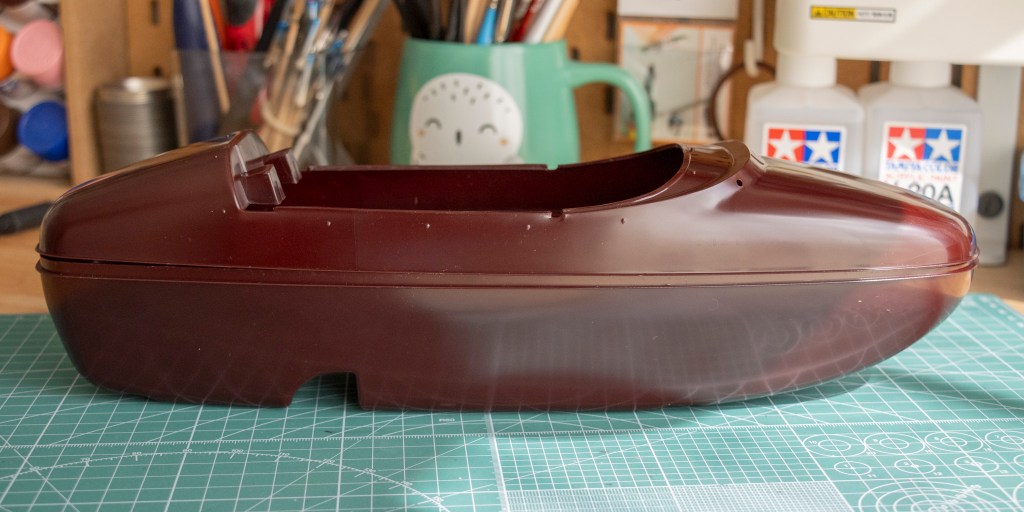
Let’s start with the sidecar! Very much looks like a shoe. The plastic colour reinforces this as well.
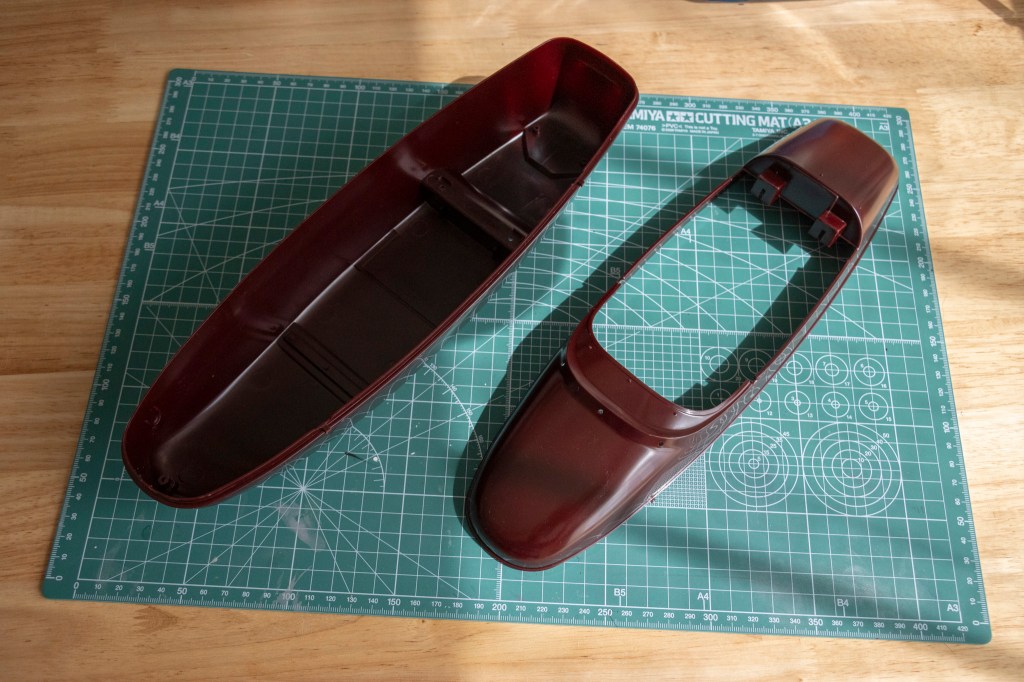
And please do not underestimate how big the sidecar is. My cutting mat is an A3 one.
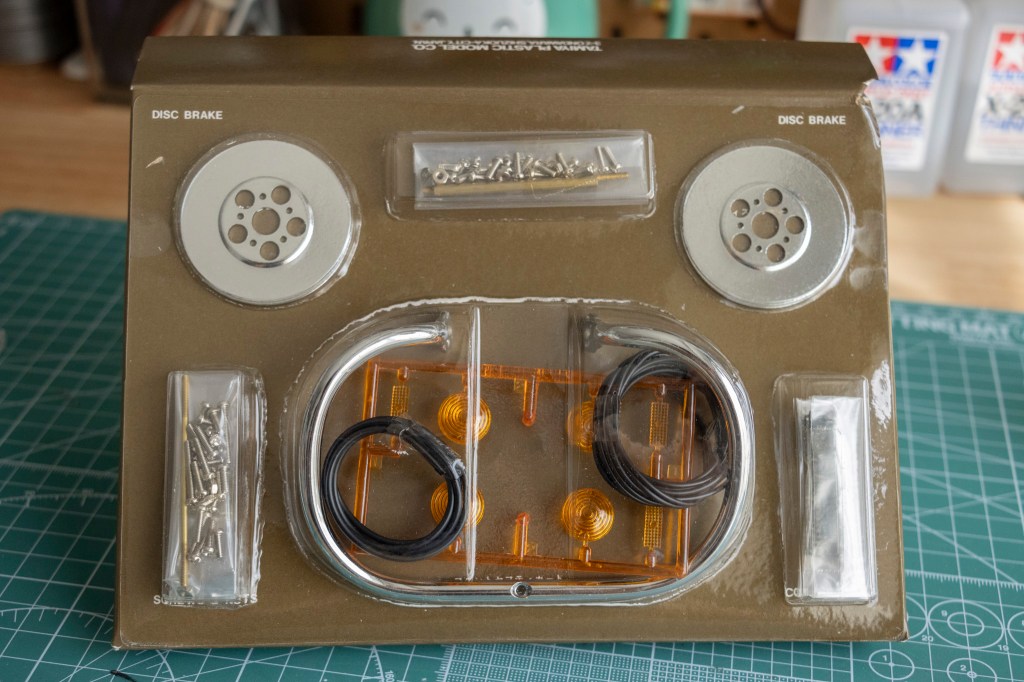
Blister packaging is always a thing to be found in big vintage Tamiya kits, or maybe vintage kits in general. One thing to note here is the omission of the metal side stand.
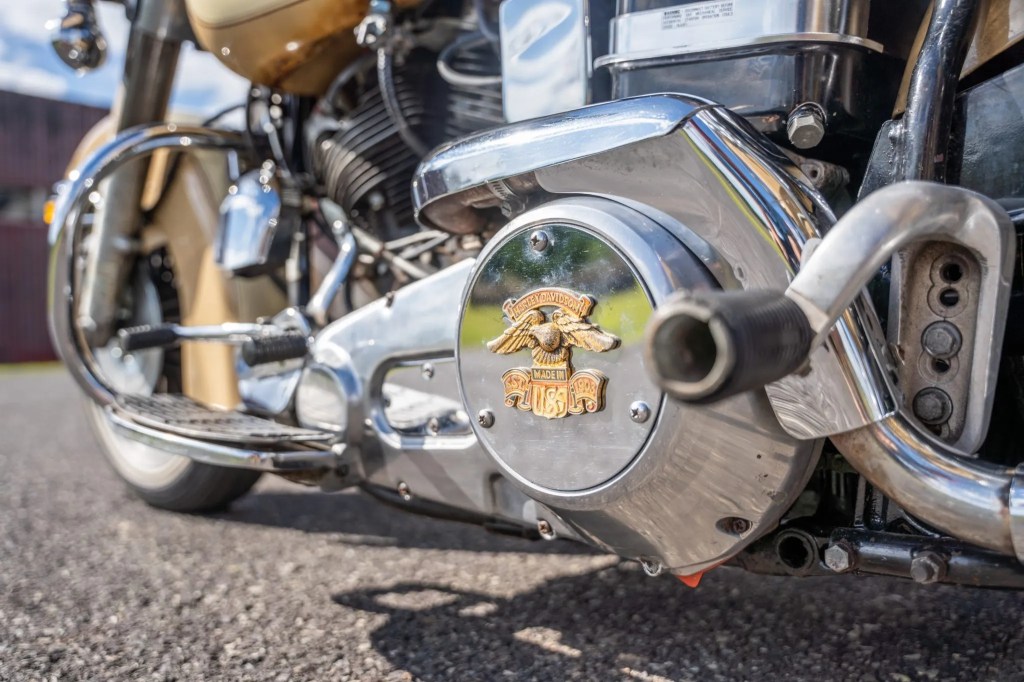
(Photo Credit: Bring a Trailer)
Which is quite the case since you are on a three-wheeler! Balance!
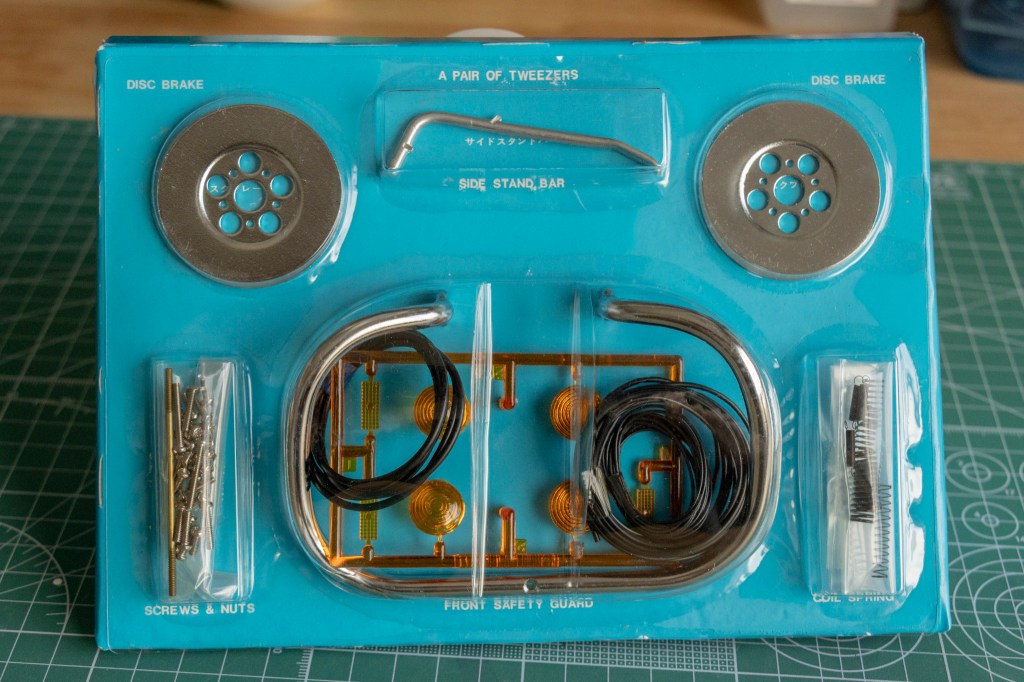
Plus, Tamiya corrected the “A pair of Tweezers” error 😀

(Photo Credit: the Office)
Allow me to explain! This blue blister pack here has a line on the top marking for the non-existing “pair of tweezers.”
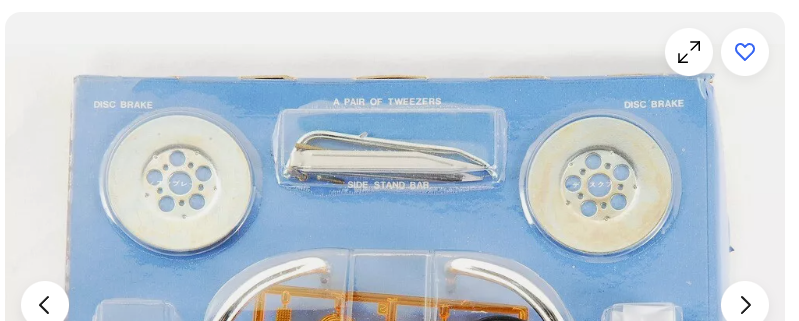
(Photo Credit: JAPANITEM STORE, eBay)
My assumption is that Tamiya used the same packaging from the original AMF 1/6 Harley, which can be found in the above screenshot. This is a pack from said product (16007) that is been sold on eBay, and you can clearly see the tweezers and the side stand are roommates. Could it be just Tamiya forgot to take that line off…hmm, interesting, eh?
To be fair, I had one or two of those tweezers before from many 1/12 F1 kits.
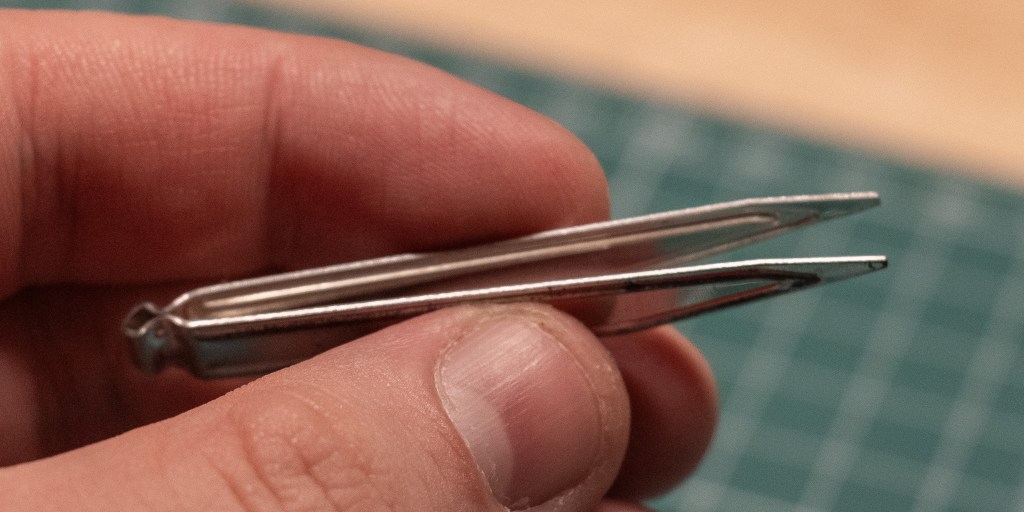
Here’s one from an old 1/12 Wolf WR1 kit. I see why Tamiya cancelled these little tiny tweezers. Better than no having a pair of tweezers, I guess. But, just go get any cheap hobby tweezers and they will work better than this.
The content of the other pack is identical to a regular FLH Classic kit (16015 & 16037).
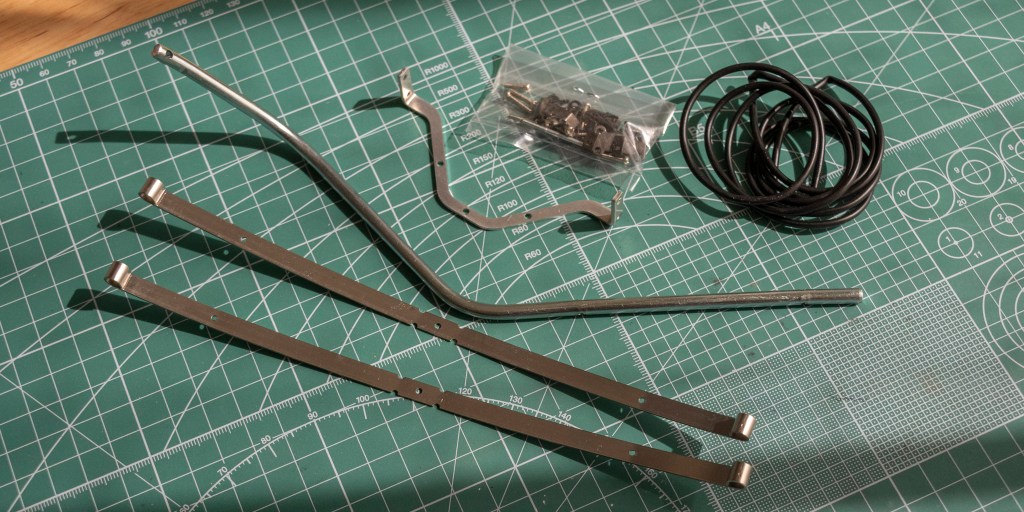
There are some more sidecar inclusive multi-material parts provided in this kit, placed right inside the long sidecar. The main frame under the sidecar has to be metal to maintain structural strength.
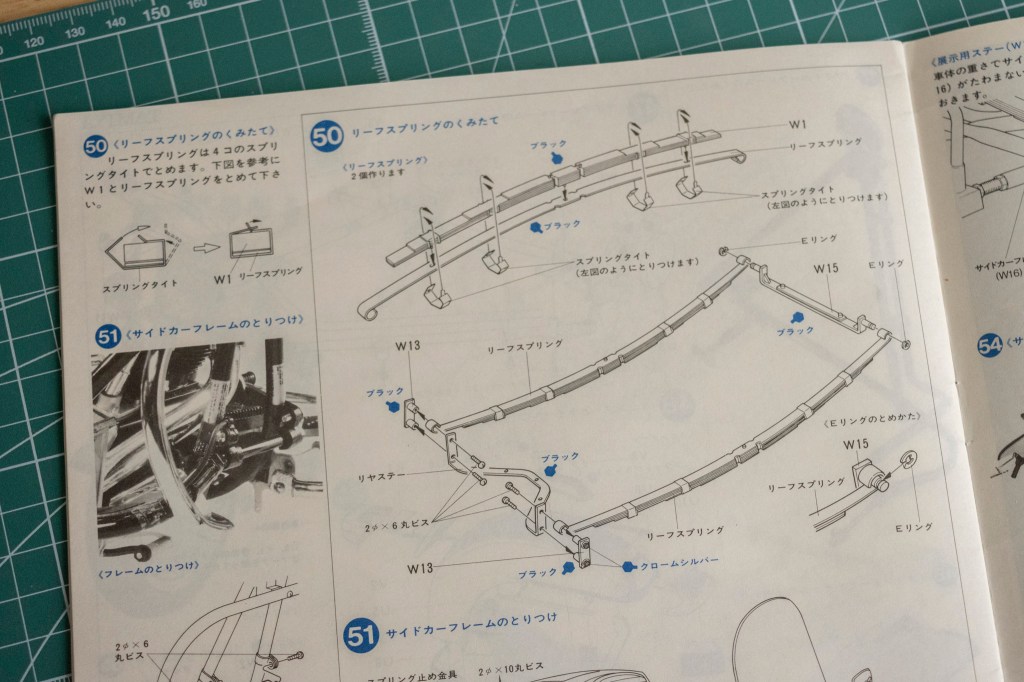
The leaf springs themselves are not metal parts provided in some RC cars (e.g., 1/10 Tundra/Hilux/F-350). Those metal straps – in the manual they are called スプリングタイト, spring tight – are more like decorations, and with that two long metal spring leaves, boom! Cherry on top.
The long black tube is used to recreate the rubber trim found on the sidecar.
Now we can finally talk about all the sprues. One thing to note here is that I will only be talking about the sprues that are unique to this kit. The A, B, C, D, E, F, G, L, N, P, Q, and R sprues are all the same sprues as in the previously released FLH 1200 police type. If you haven’t read that article, please do that before the rest of this review.
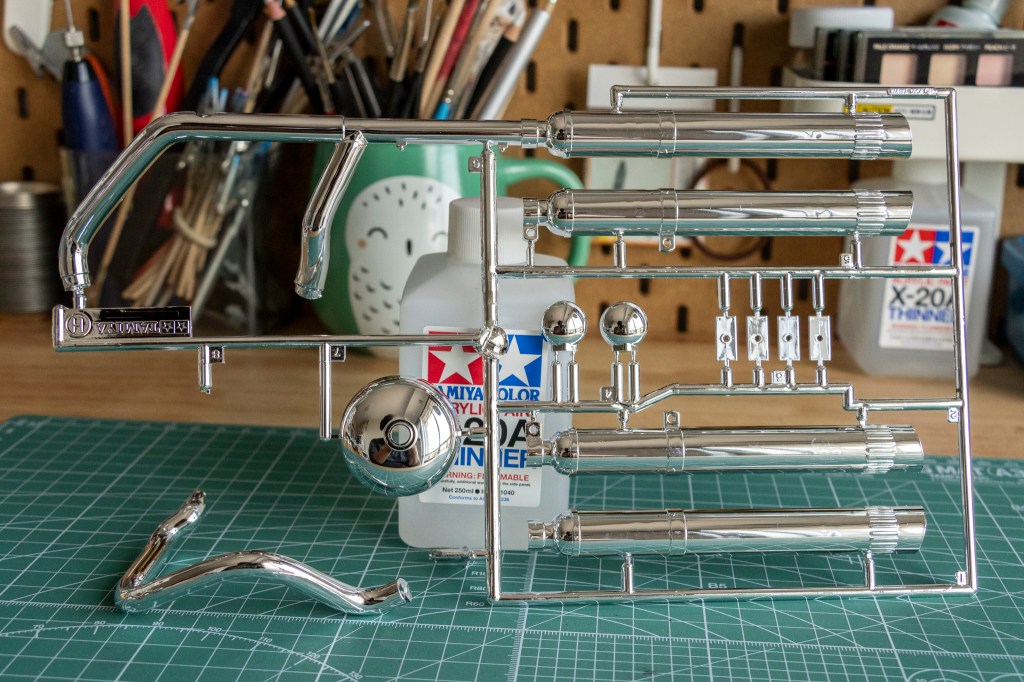
We will be focusing on sprue H, J, K, S, T, U, V, and finally, W. Let’s start with sprue H, a shinny chrome-plated sprue.
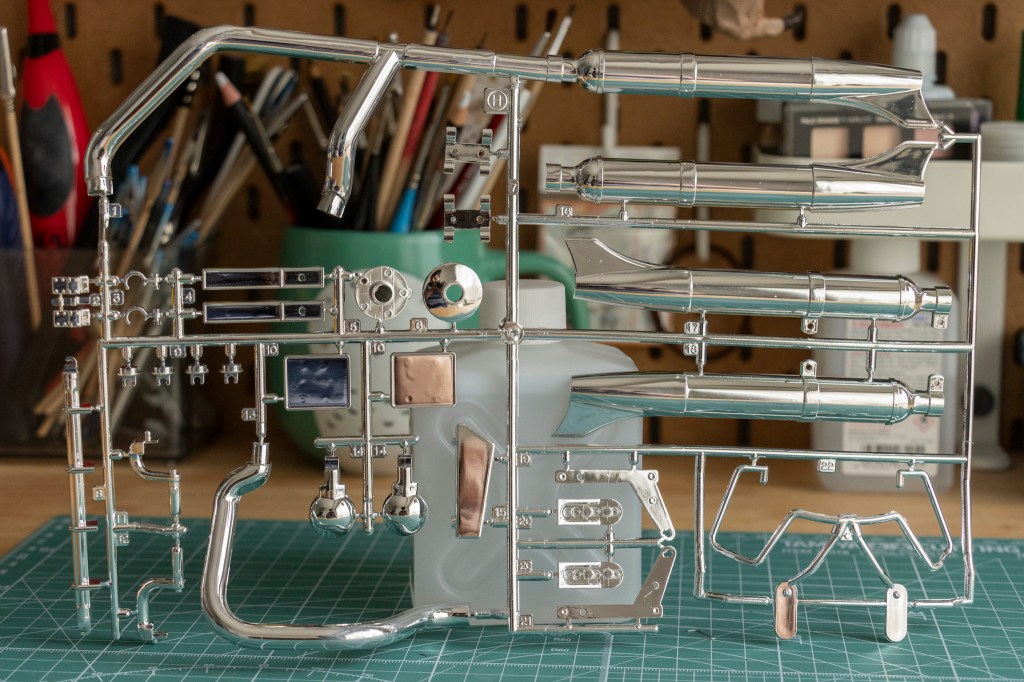
(Photo Credit: Subito)
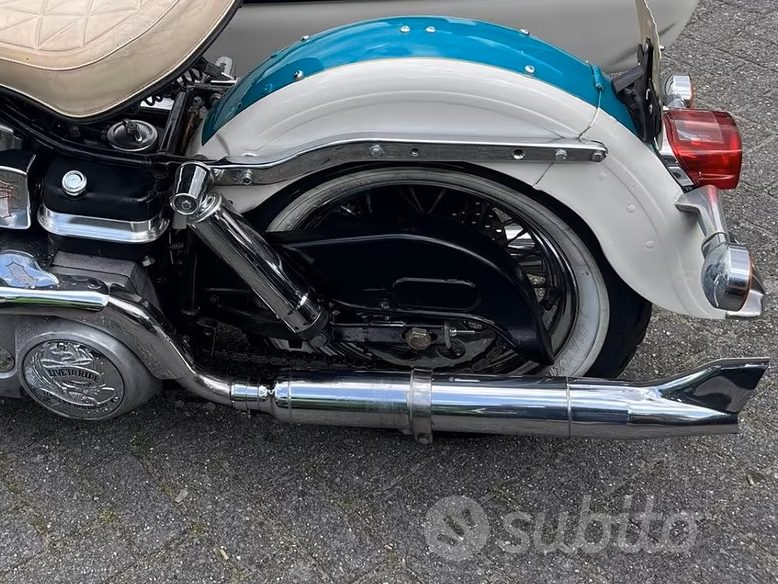
Compared to the sprue H in the FLH 1200 police type (the above photo), you can clearly see the two different tailpipes. The sidecar version ends with an uplifting fin touch, making the car more vivid and aggressive. Such a design surely is not necessary on a police bike.

You still need to fill all the hollow areas. More putty work! Or, the back side of these pipes is actually pretty hard to see after the finish of the bike. Maybe…just skip the putty job? It’s your model, and it’s your choice (this is 100% a JUDGE FREE zone)!
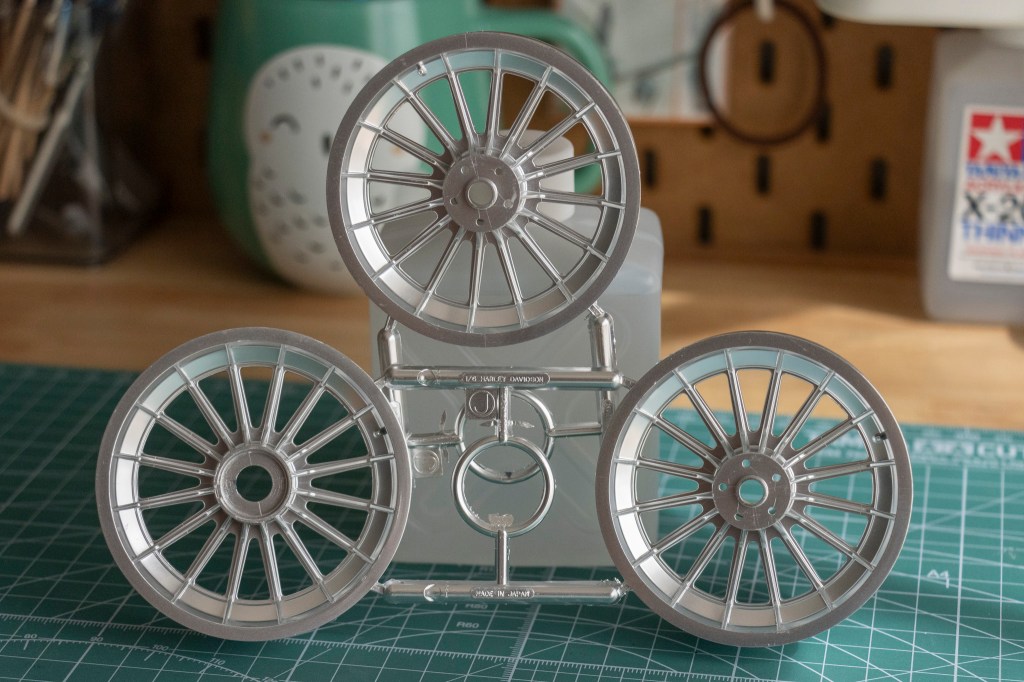
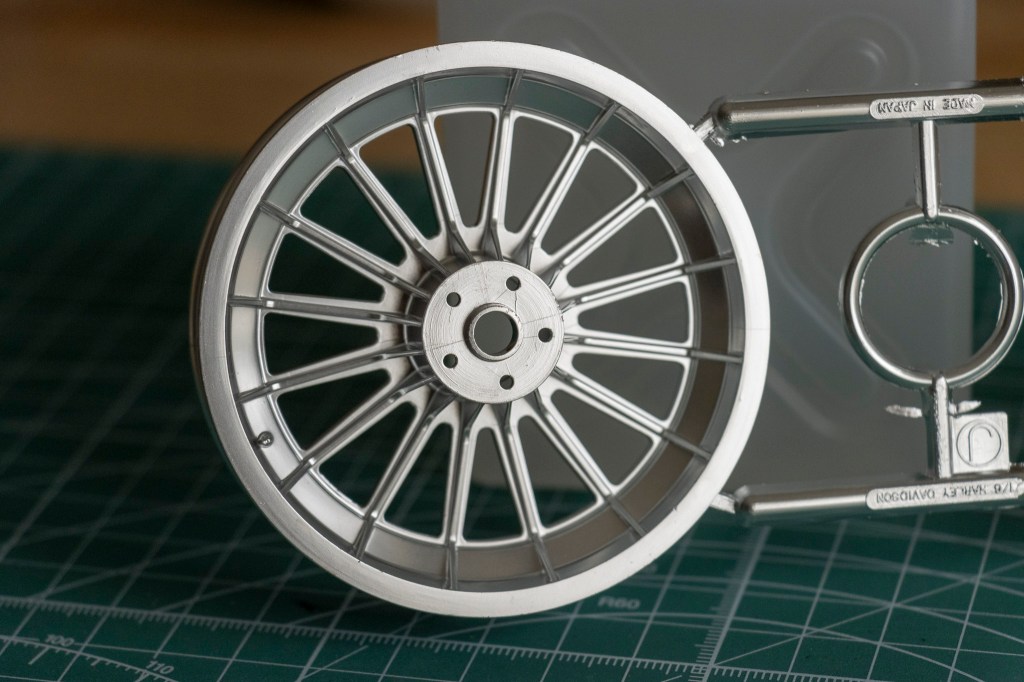
Note that in the police version, you get the much better looking (I think) 20 spoke wheels. In the original (16007) and the FLH Classic & sidecar versions, you will receive these 16 thick spoke wheels. By the way, you will get three wheels in the sidecar kit. I think you know why!
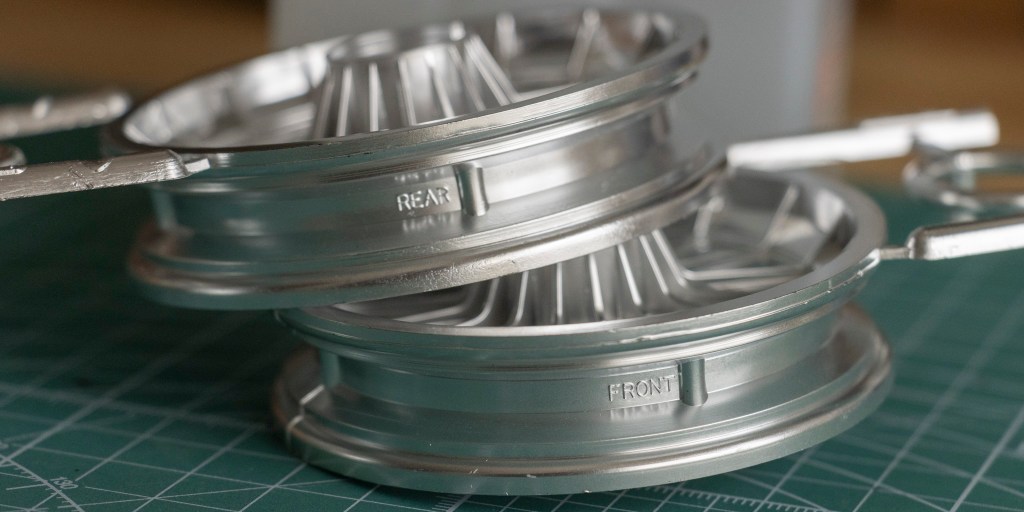
Specifically, two front wheels and one rear wheel. Don’t you use the wrong wheel!

(Photo Credit: Bring a Trailer)
Like the KZ1300B wheels, the paint job here requires delicacy! Also, note here that the air valves on the Tamiya wheels are no good (they are moulded like cones). Aftermarket parts help here.
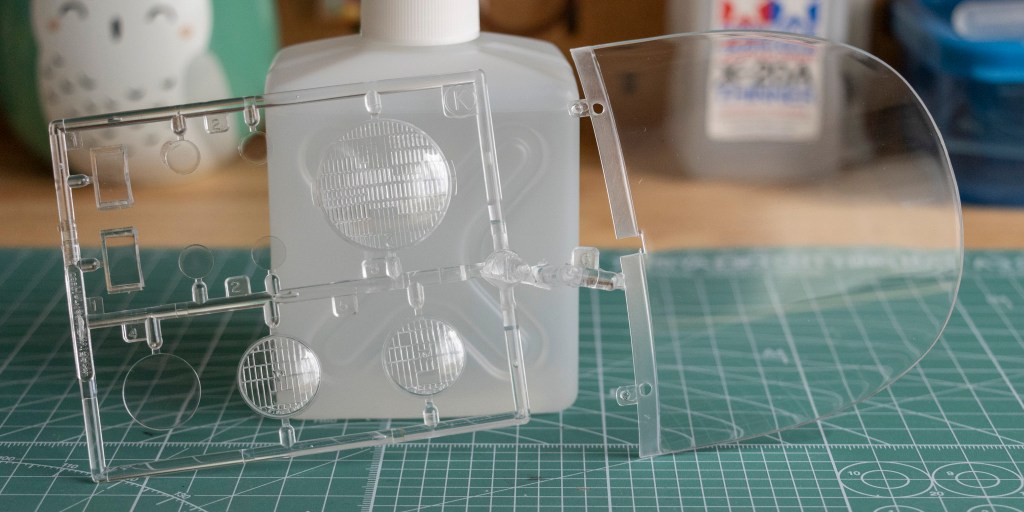
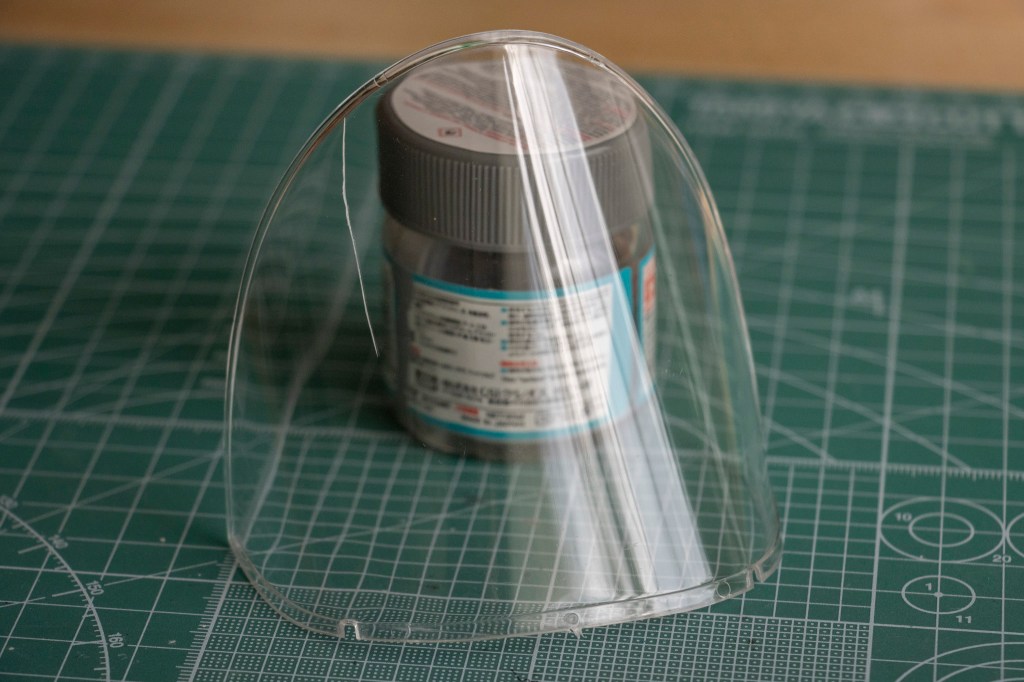
Sprue K, transparent sprue.
Beautifully moulded one-piece windshield!
Here’s why I wanted to collect different Tamiya big Harleys. Because…

Because if you buy the police version (16016), you will get this even larger windshield (and of course heck more different parts).
(Photo Credit: Shannons Club)
Then, you’ll be able to build a bike according to your taste! That’s what they do in reality as well. Personally, I like the longer windshield better.
The main mould colour of the sidecar kit is this darkish red colour, indicated as マルーン, maroon on the side of the box. Not my taste, but is…elegant, to say the least.
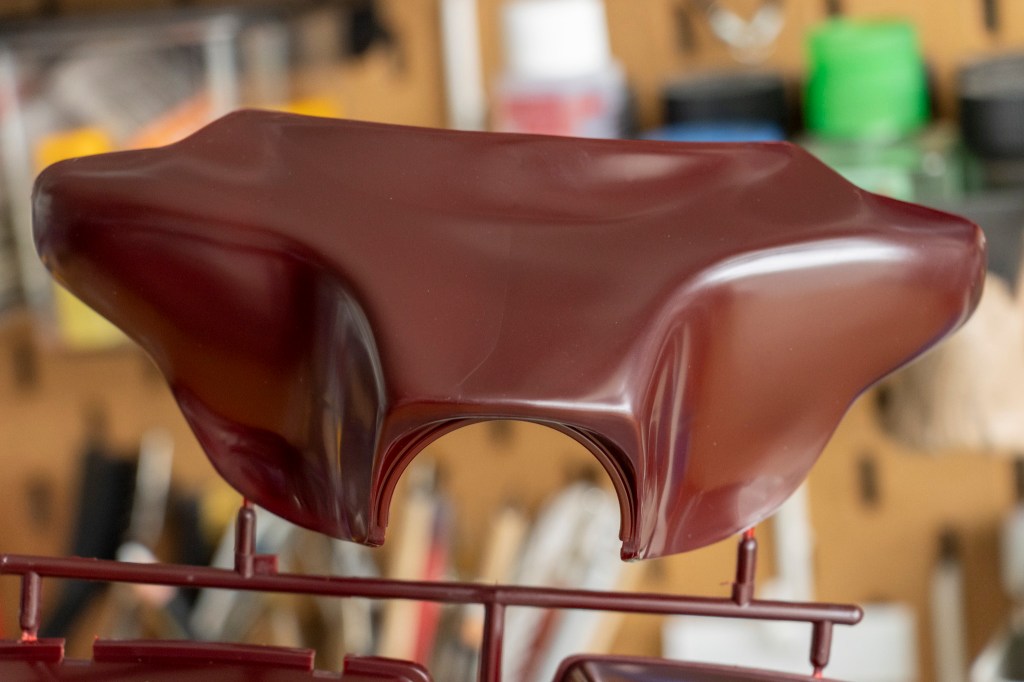
The famous batwing fairing!
I hope this photo explains to you how big the trunk is.
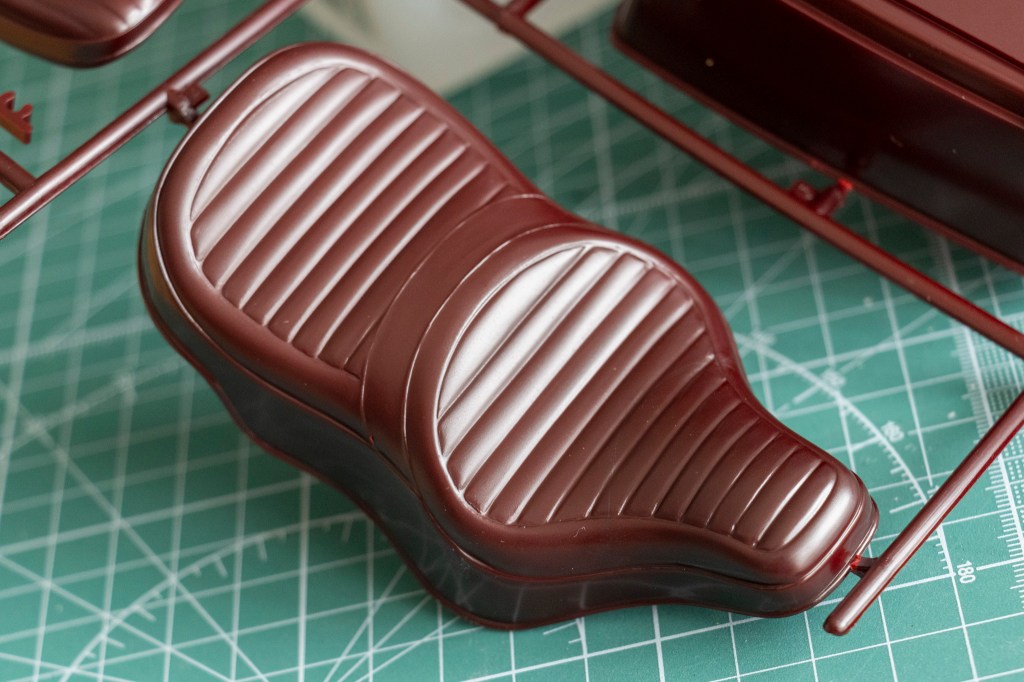
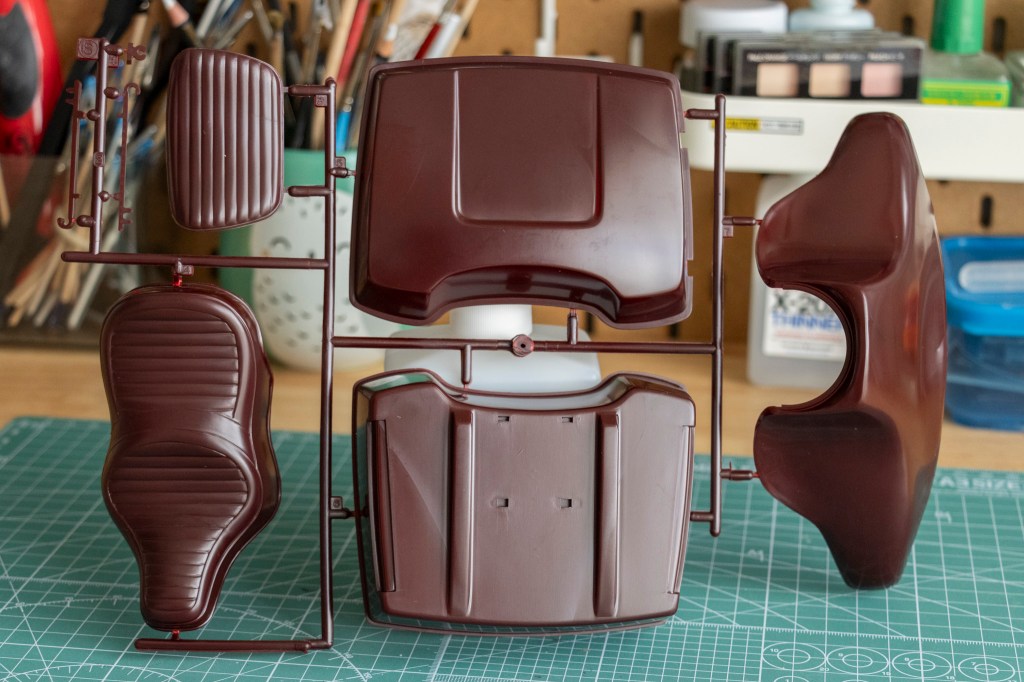
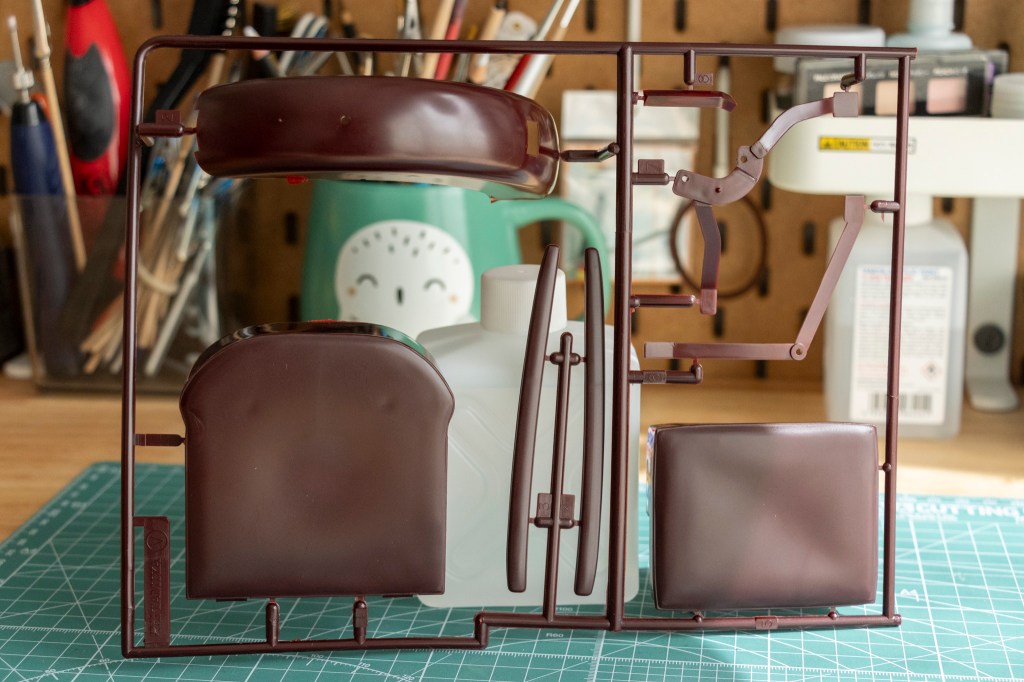
Hmm…I have beef with this seat, actually. Let me tell you why.
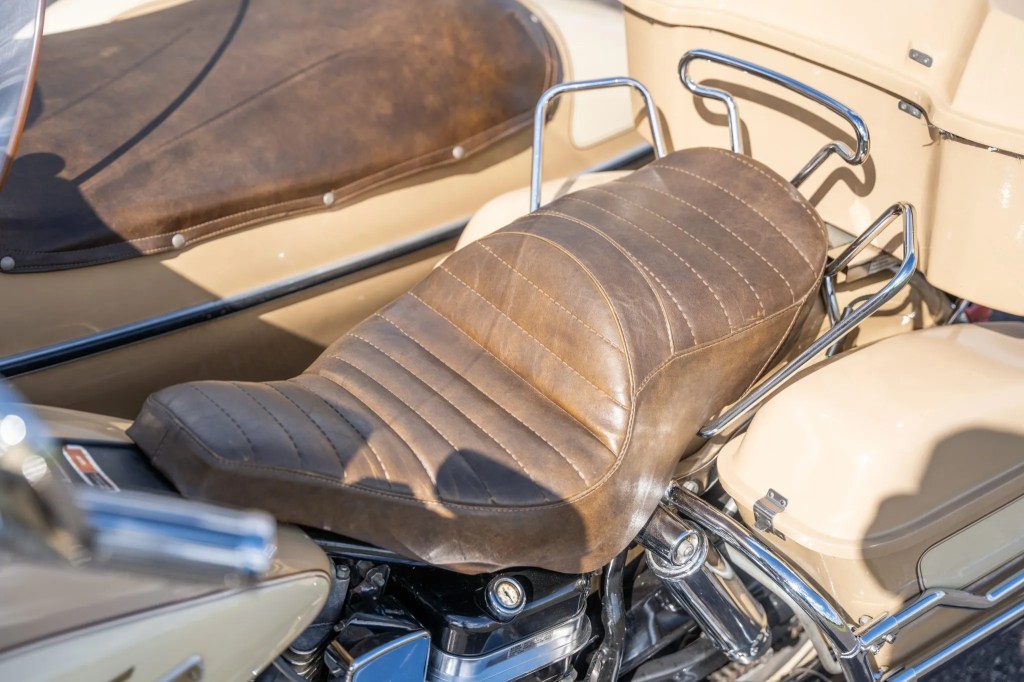
(Photo Credit: Bring a Trailer)
There is just no texture on this plastic seat whatsoever!
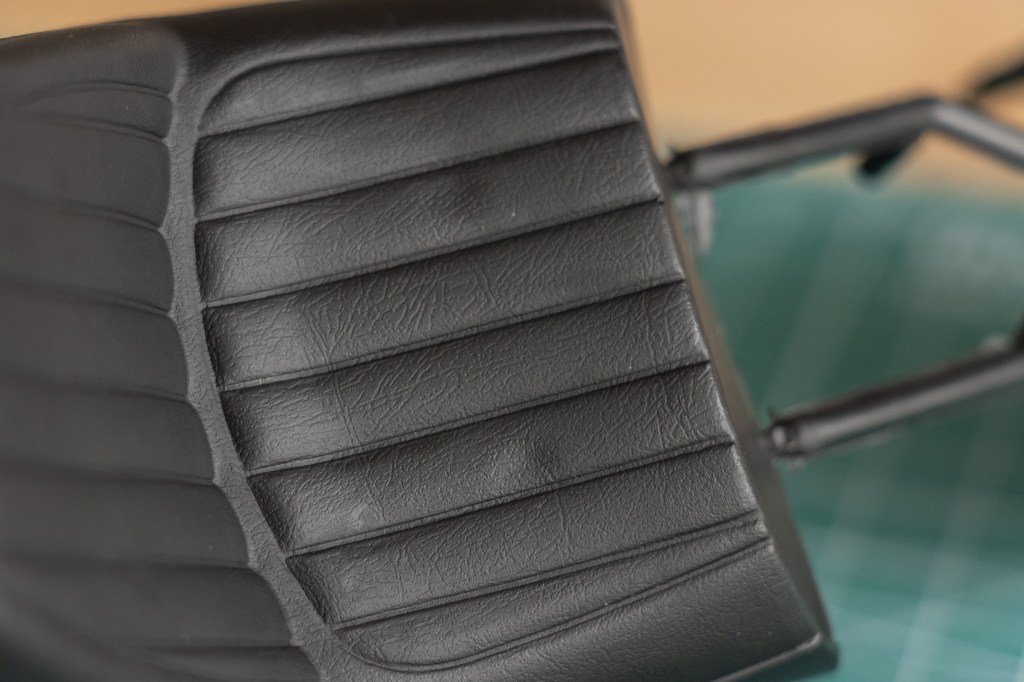
If we take a look at the KZ1300B seat, you will see the difference 😦
Call me picky or whatnot, but little Larry is a bit disappointed. This sidecar kit should be so luxurious (yes, yes, there are many metal parts)…
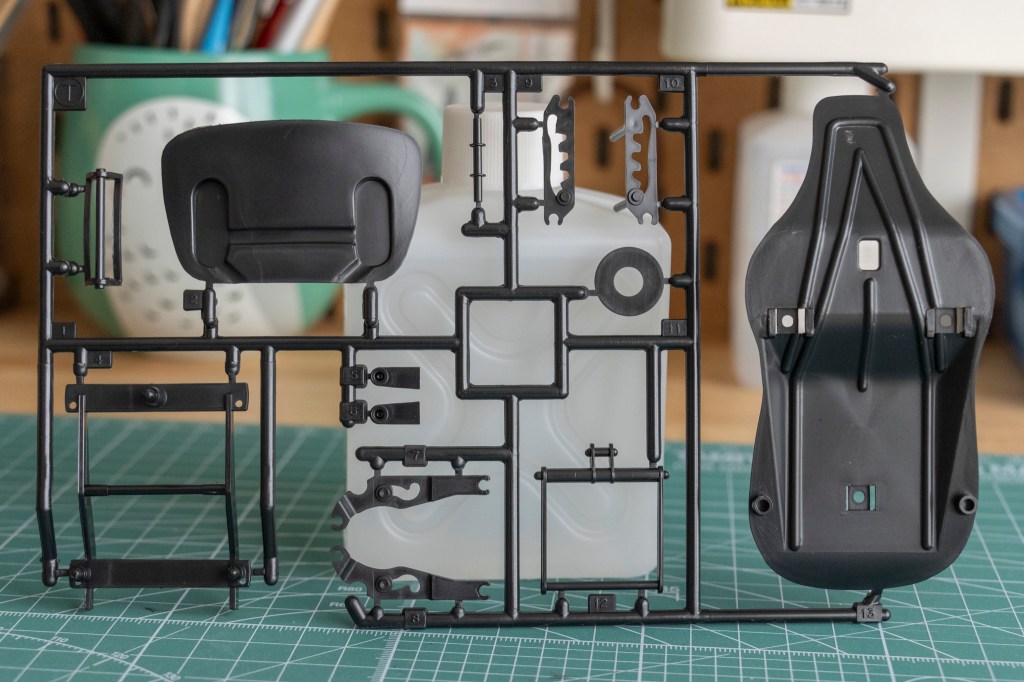
Next, sprue T.
I bet this double-spring supported seat must be much comfier than the solo seat found in the police type kit. The seat should be as luxurious as its base, we want leather seats!!
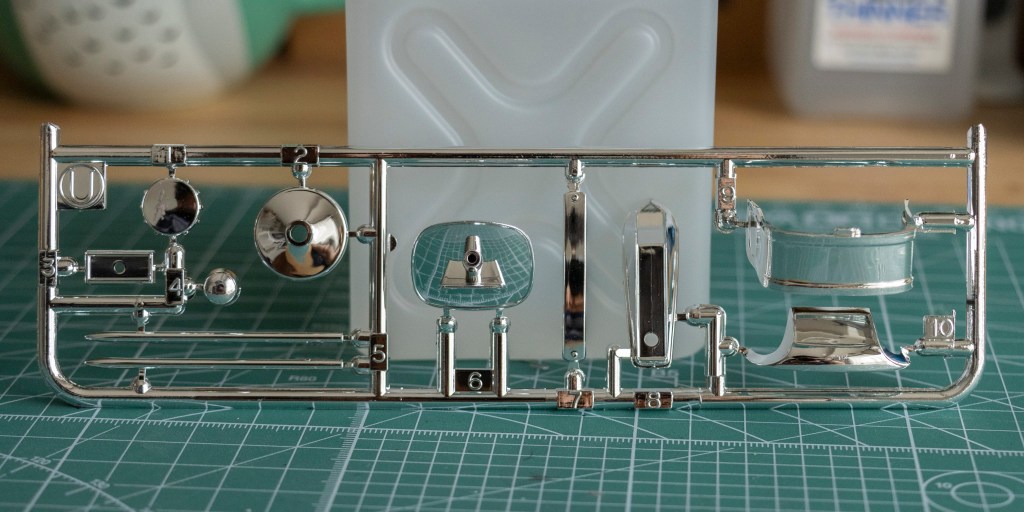
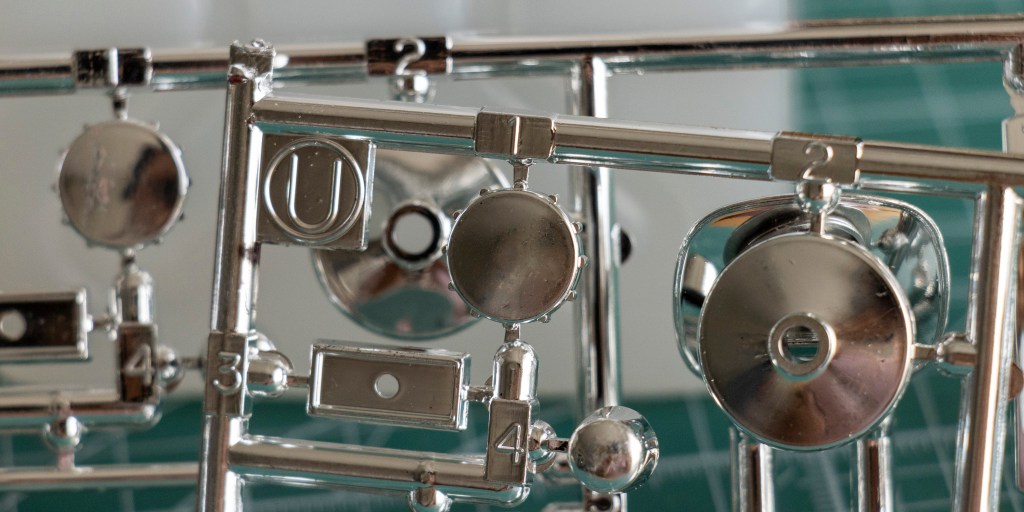
Sprue U is also chrome-plated (too much chrome…).
Ouch! Part# 1 comes with some stains/scratches on it. QC, Tamiya, QC! They can’t be wiped away – I assume you’ve already noticed the water drops on the other parts – well, I tried.

This can be problematic if you’d like to keep the chrome, particularly because most of the parts on this sprue are moulded with the undergate technique. If you plan to strip the chrome because you are like little Larry, who here I quote, “Oi, I will paint with AK’s beautiful SuperChrome blablablabla,” oh well (eyes rolling).
Sprue V. So many sprues, eh? What will they do if they go beyond all the 26 letters? AA?

(Photo Credit: Grays)
Here we go again. Tamiya’s plastic sidecar seats are very BASIC (but do seem fairly accurate).
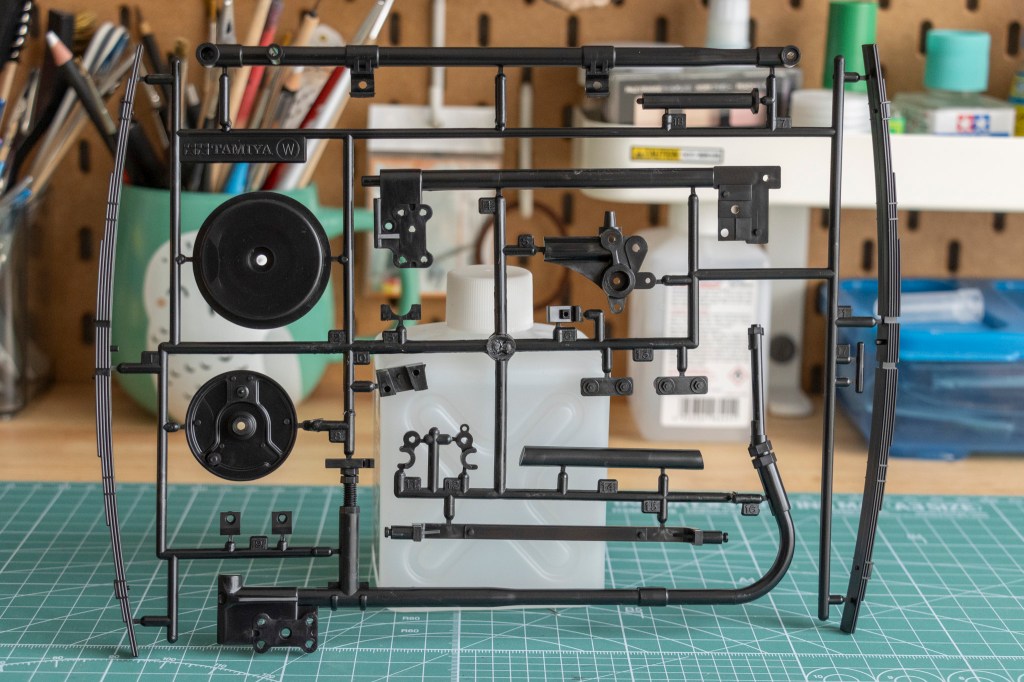
All sidecar mechanical parts are on the W sprue, which is also the last sprue.
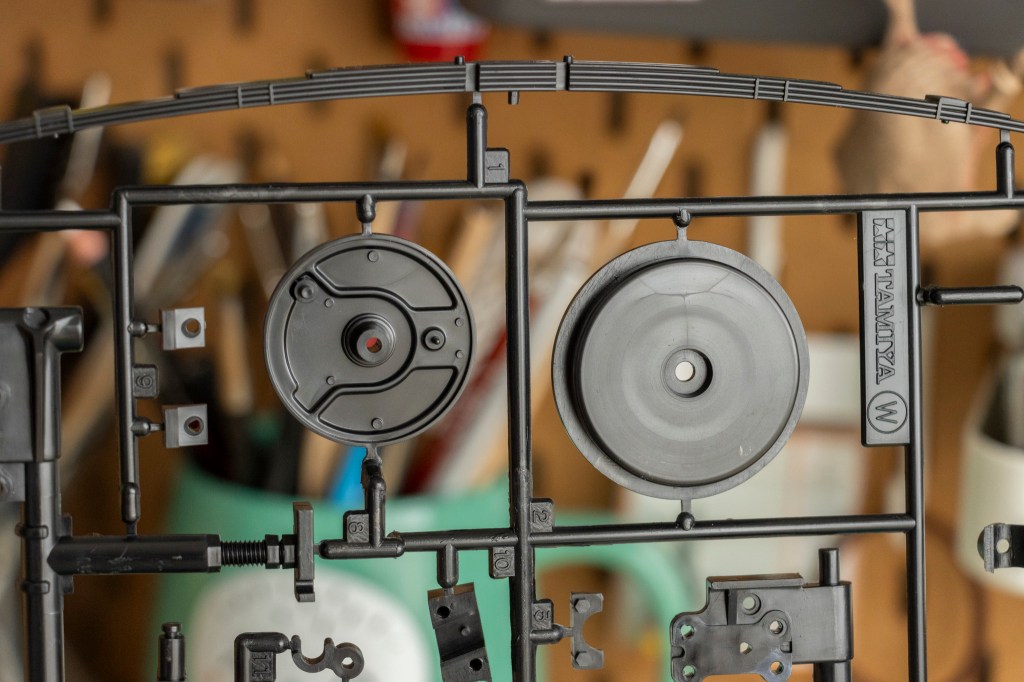
The sidecar uses the old-fashioned drum brake. The FLH Classic uses disc brakes and banana calipers.
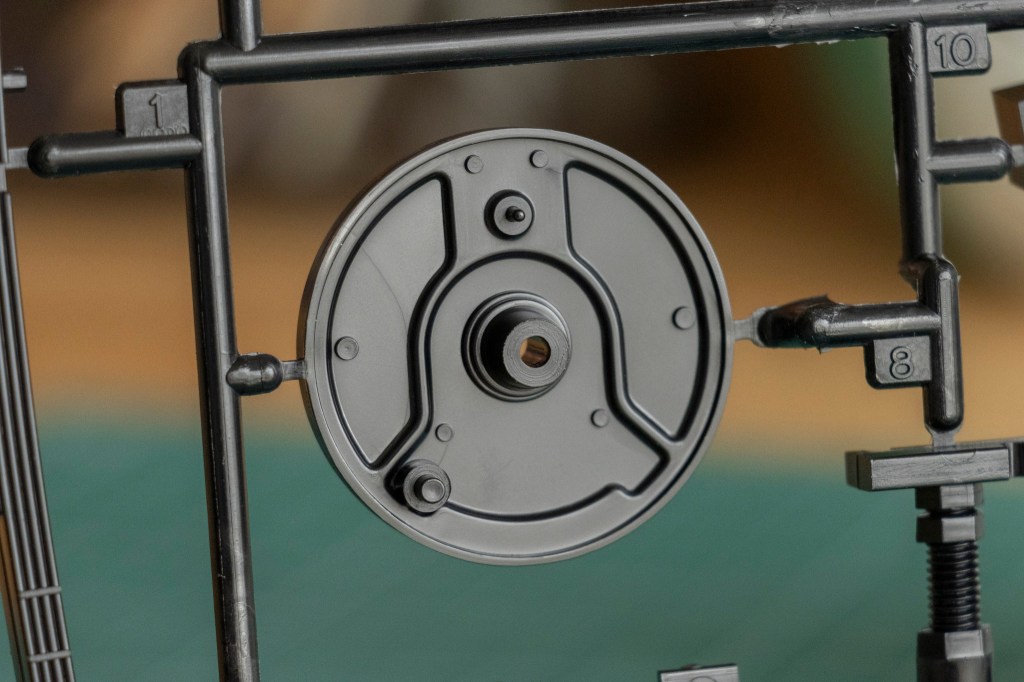
Brake plate.
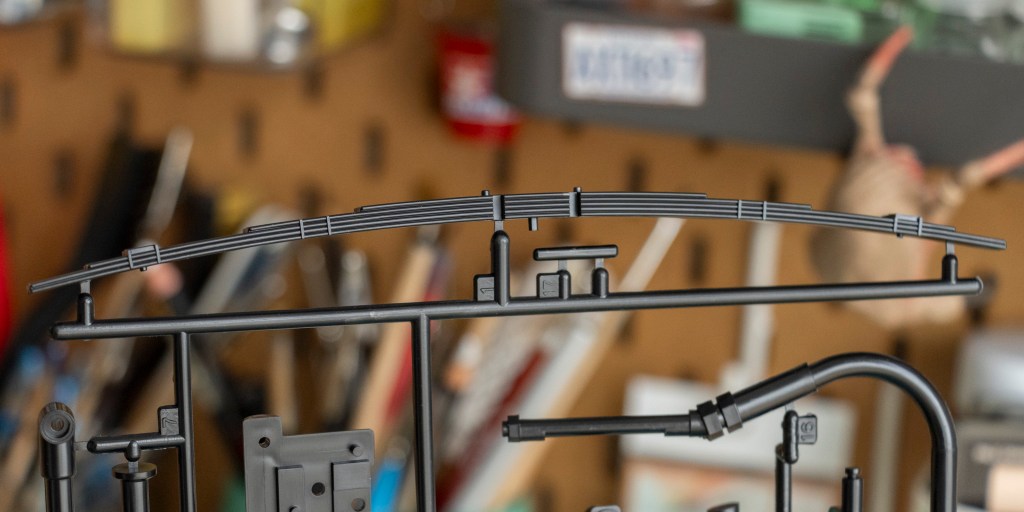
Leaf spring, partial.
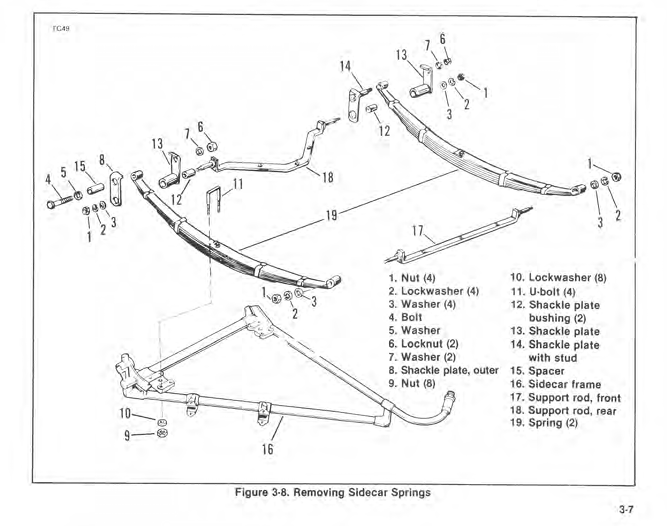
(Screenshot Source: 1979-84 CLE/TLE Sidecar Models Service Manual, Rat Bike Service; direct PDF access)
Here’s a reference.
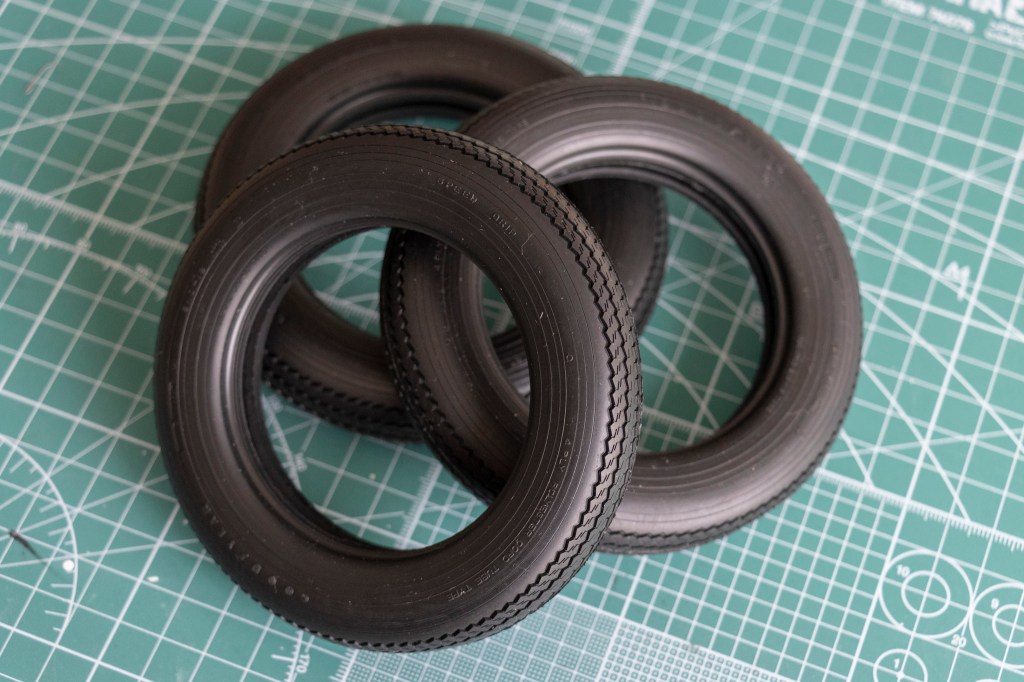
Three top-quality tires. Tires remain the same no matter which FLH version you get from Tamiya.
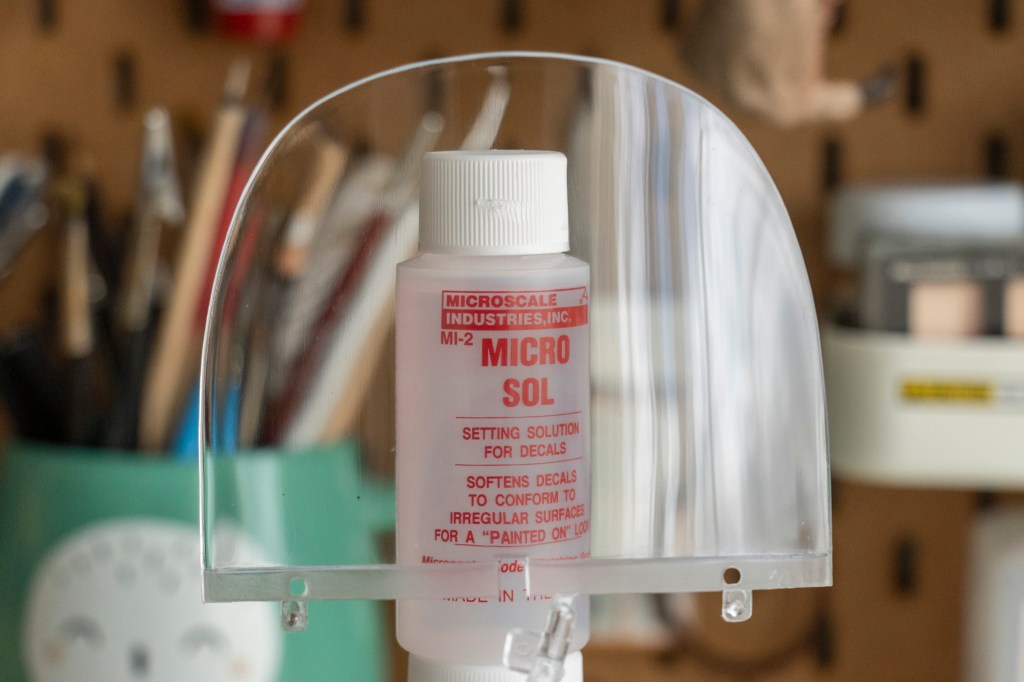
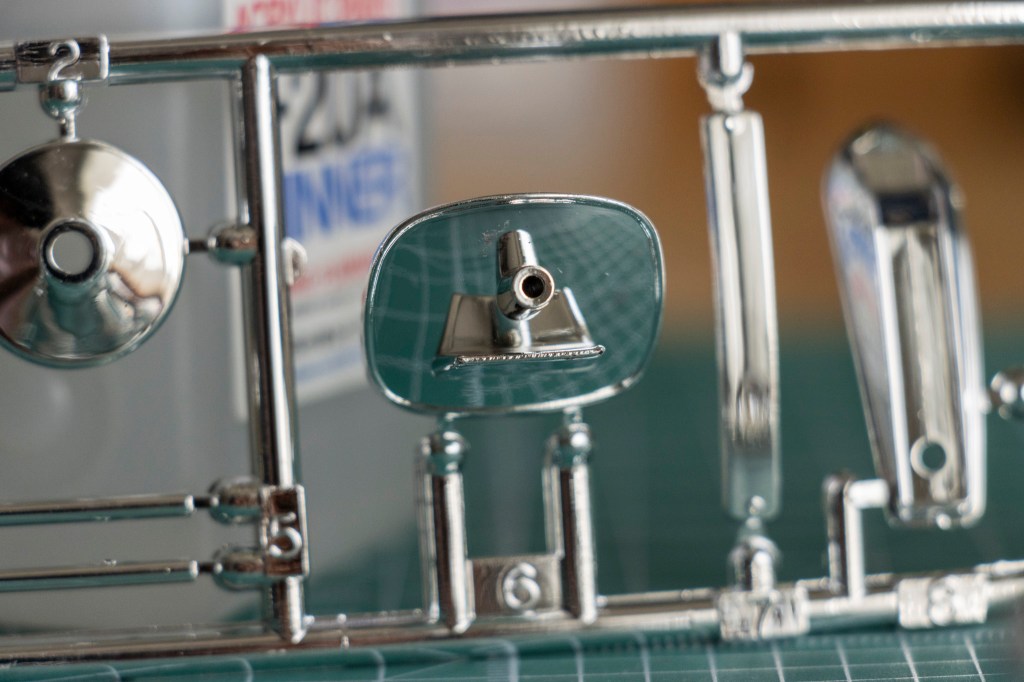
Now, what’s else? Oh, I know, the sidecar windshield!
“It feels like somebody took my heart and dropped it into a bucket of boiling tears, and at the same time, somebody else is hitting my soul in the crotch with a frozen sledgehammer, and then a third guy walks in and starts punching me in the grief bone.”
– Micheal Scott, the Office
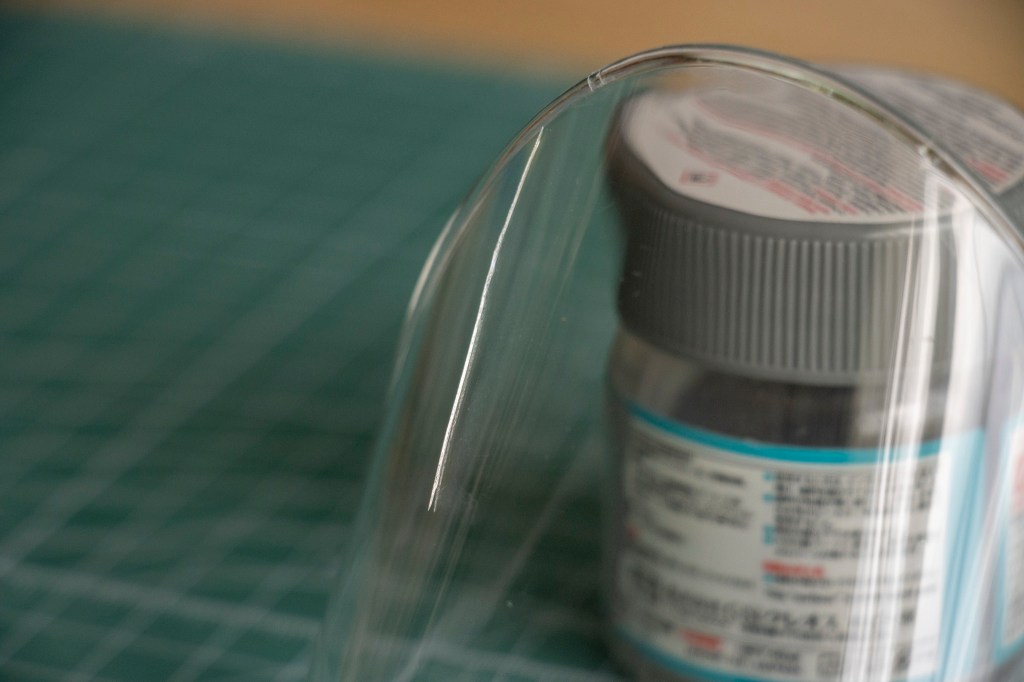
My WORST nightmare has come true… Clear part, crack goes through, unfixable. It is DONE.
In the end, I decided to get another box, which I later found worthy. The second box seems much older than the first one.
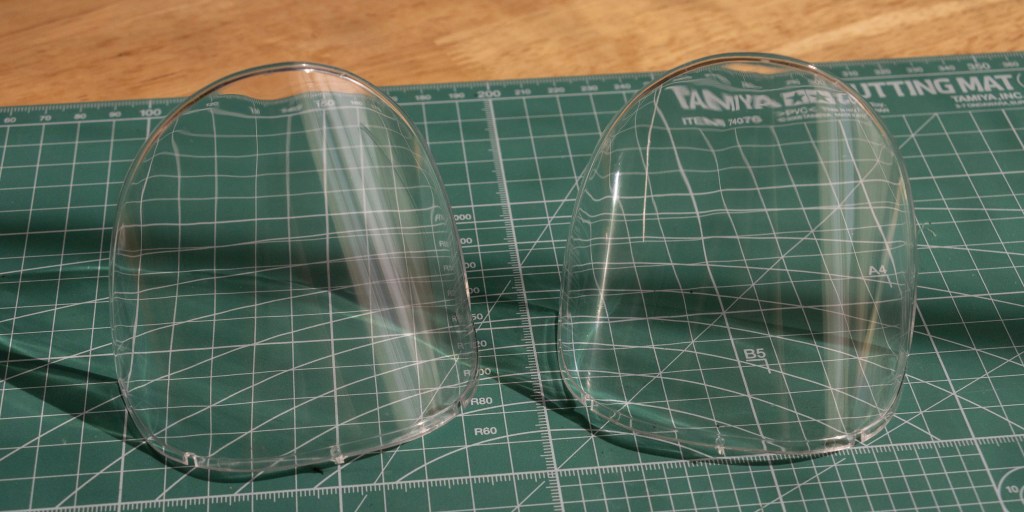
The first thing was to check the sidecar windshield. I’m def gonna kill myself if there is another deep crack on this clear part.
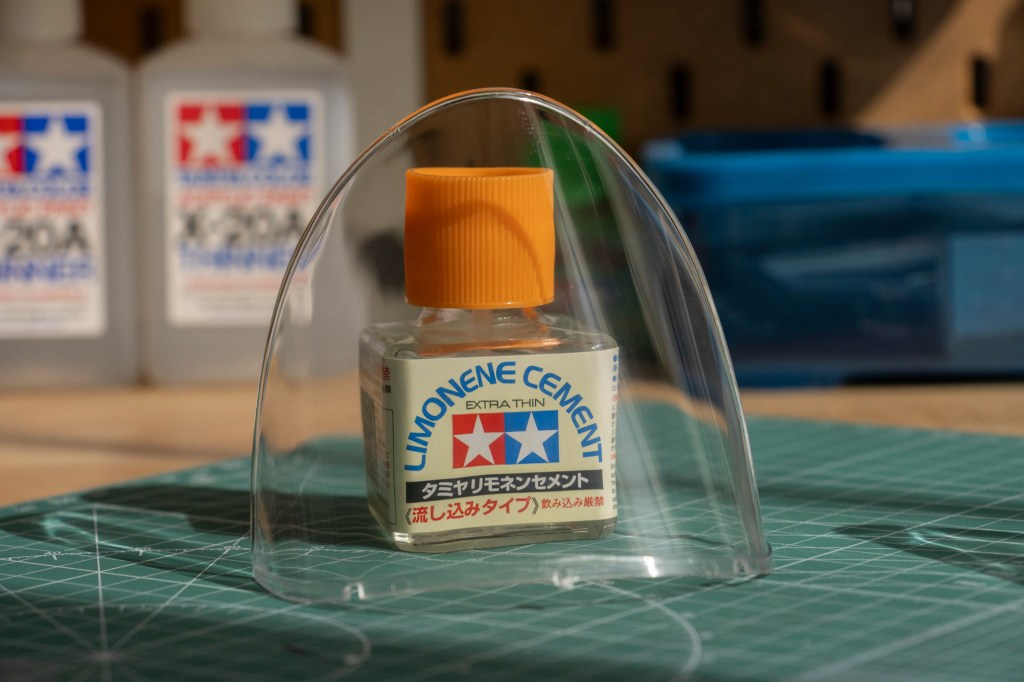
But you see I am typing this article, so phew, dodged that bullet. You are looking at a beautiful, crystal clear windshield.

Two sidecars! For reference, my shoe size 10. Maybe I should just make a sidecar on the left of the bike and a sidecar on the right…
(Photo Credit: Reddit)
The glory…QUAD-KE?? Those sidecars look like two enormous saddle bags…which are big enough to carry people…

I found it was worth buying the second kit for two interesting facts I encountered with this sidecar kit. Look, the two blister packs are pretty much identical, except…
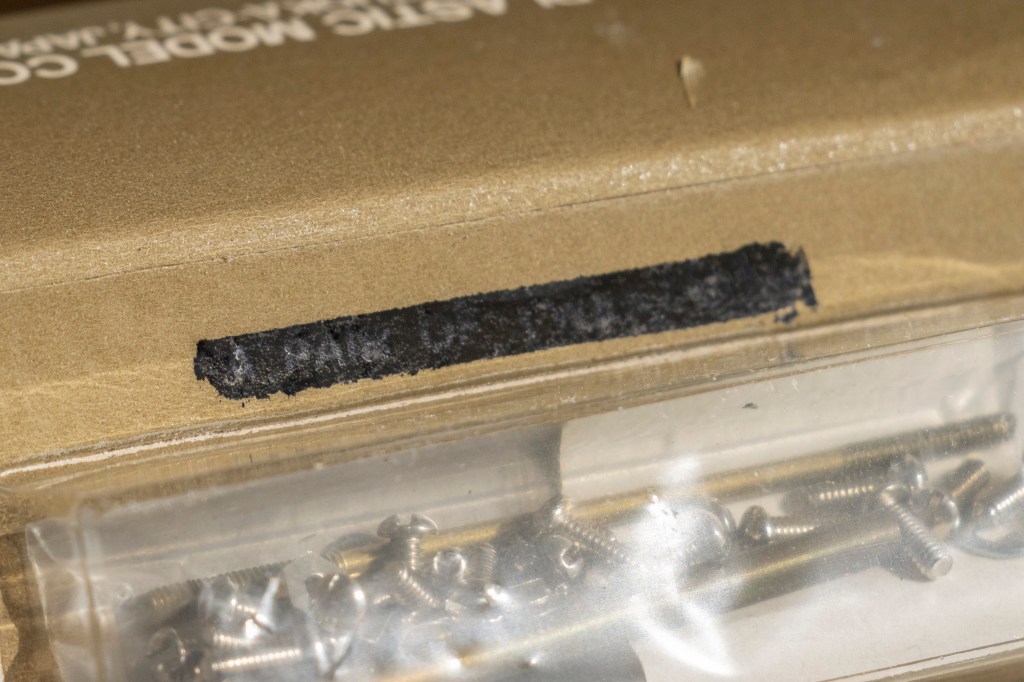
There is a black marker mark on the inner paper side covering (not the outer plastic layer)…very obviously…”A PAIR OF TWEEZERS.” Such a temporary measurement! Did an angry customer call them and complain about the missing tweezers? HAHA!
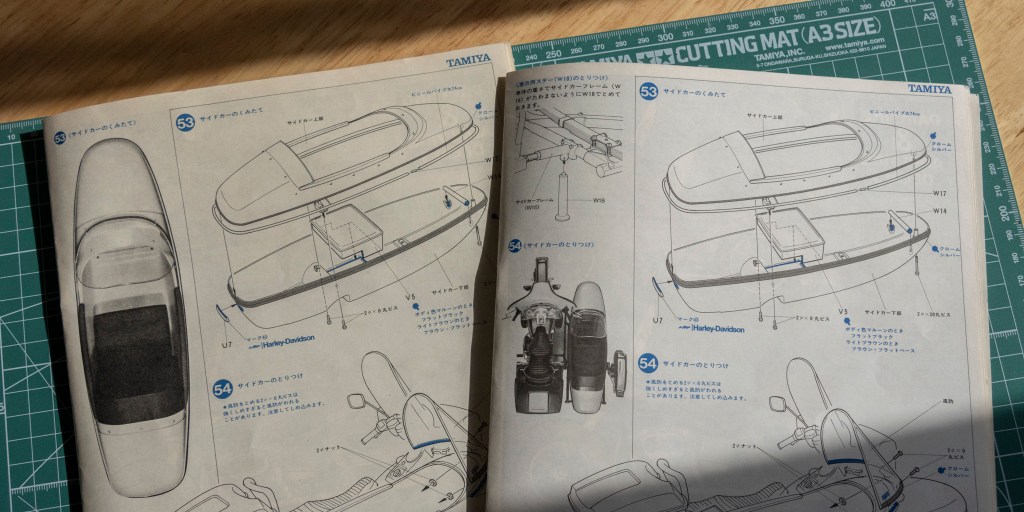
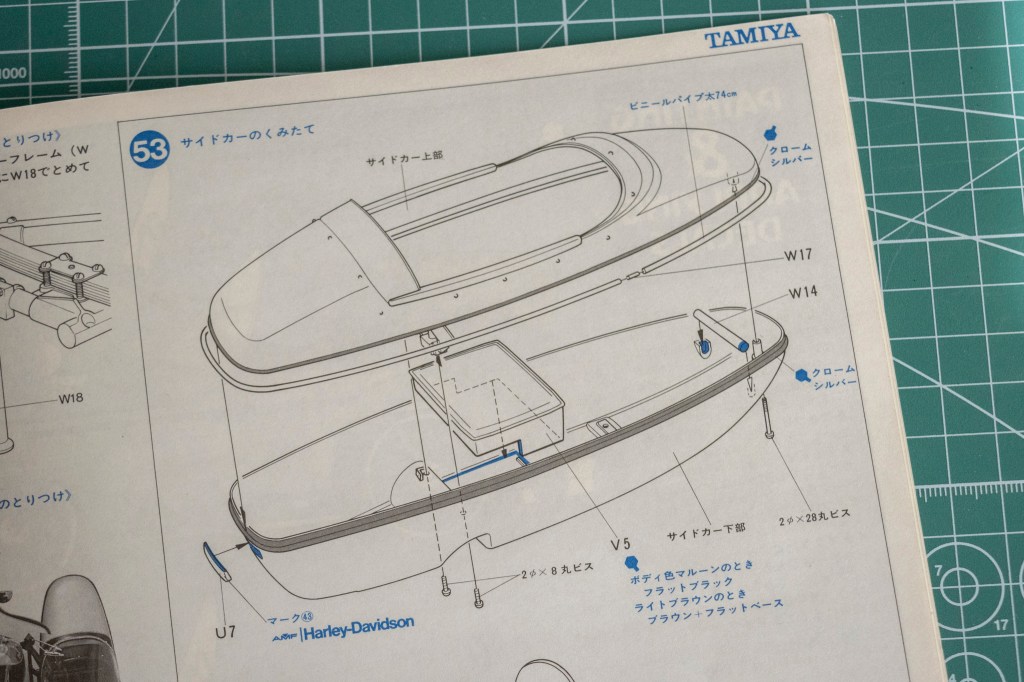
Another interesting fact is the updated instruction manual. Let’s take a look.
On the left is the original manual, where you get a top-down view of the side car beside step 53.
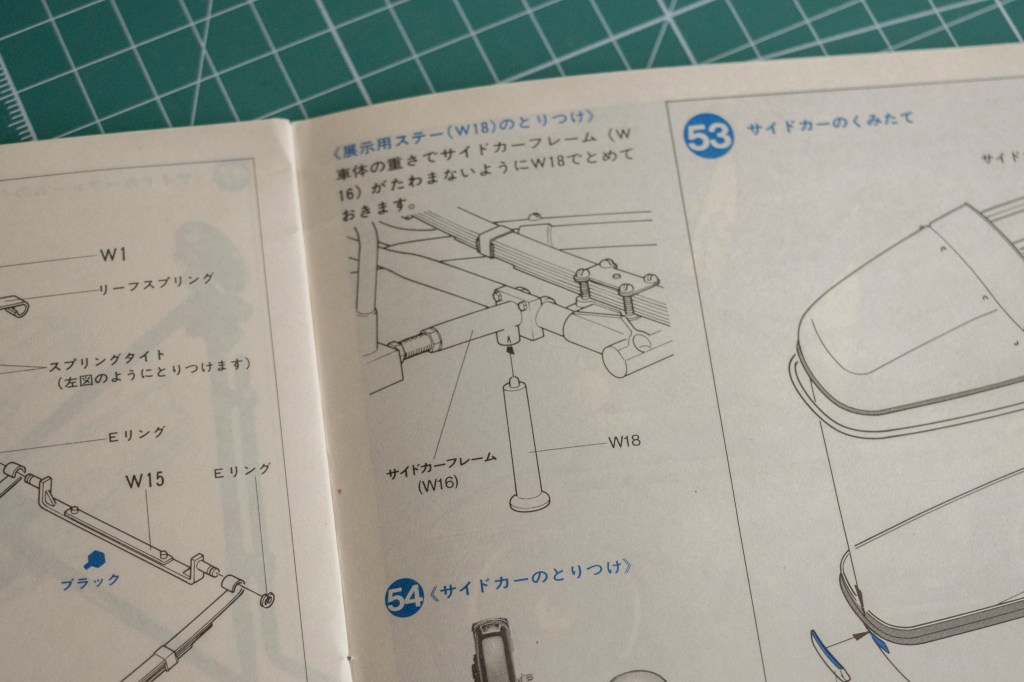
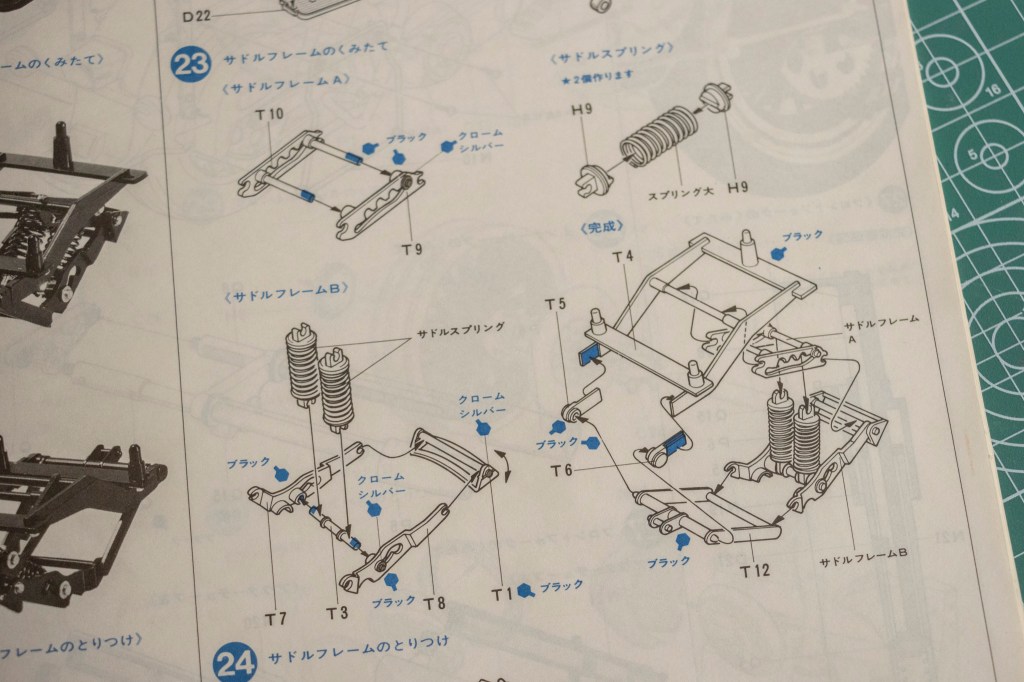
In the 1992 re-release, a new step was introduced to make sure the weight of the sidecar wouldn’t make the frame deflect over time.
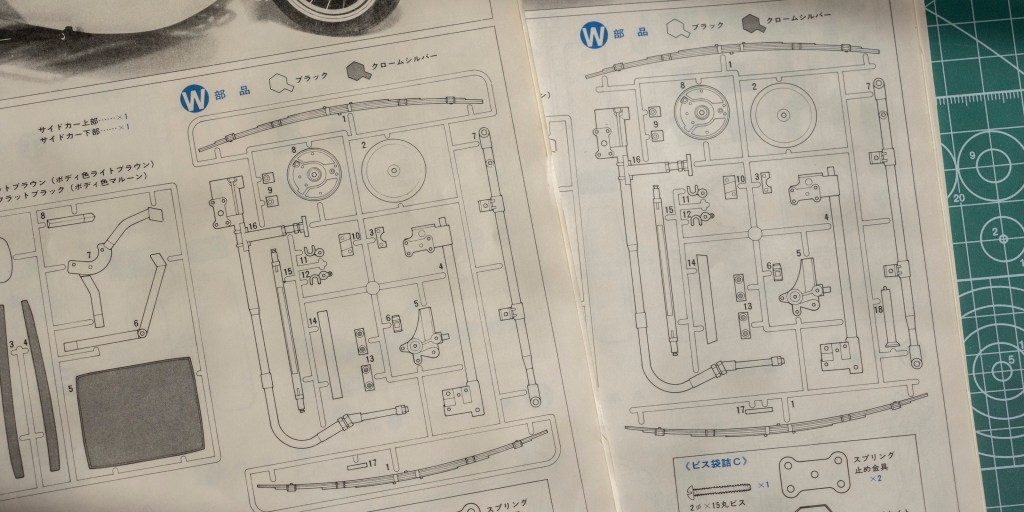
This new W18 frame is located on sprue W. Can you find where it is on sprue W? Not just a simple re-release of the old product, but they were trying to perfect it. Good stuff.
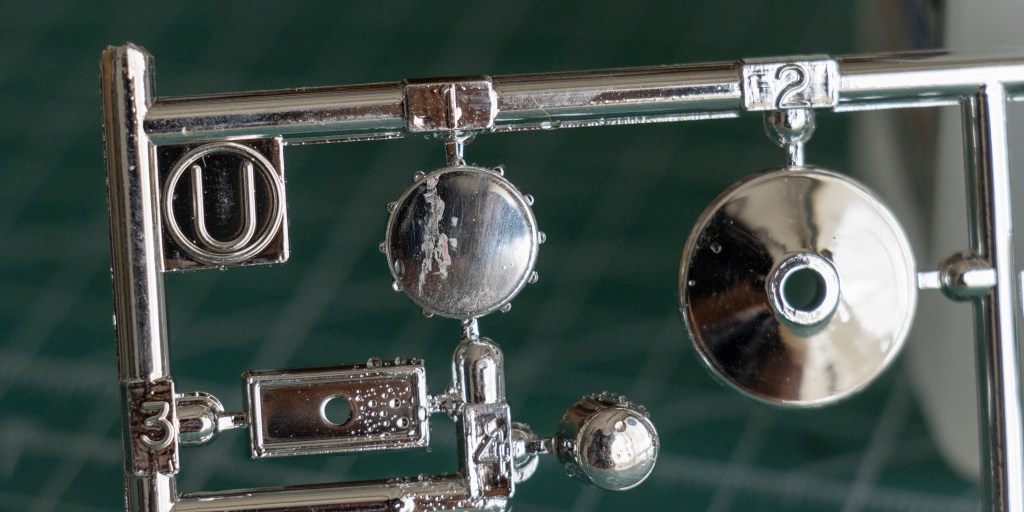
I also checked the U sprue in the older box to see if there are any deficiencies on the same part. Turned out that this sprue looks okay! But…
The U sprue in the 1992 re-release looks much clearer.

Whereas the same sprue in the older release has a duller finish. Nothing is perfect, eh?
And that pretty much everything in this very unique, very exquisite (except the seats), and very BIG sidecar kit. Huh, how I wanted to paint the car? Maybe…
(Photo Credit: Andy Beauchemin, Facebook)

Leave a comment