
It took me quite a while to research the bike and write this review. And it turned out to be a 3000-word review with 174 pictures, WHOA! That’s the beauty of non-racing kits! You can always count on eBay or heck a lot of websites for reference photos of actual parts. All the information I have collected in composing this review really speaks to how amazing this kit is. But before that…How much do we know about the actual bike?
I’ve figured that many auction websites are actually really good digital libraries for me to learn. For example, on Iconic Motorbike Auctions, the authors cite the magazine Cycle World, stating:
“There are motorcycles with more speed, but not with the same combination of power, strength, comfort and handling… the sophistication is incredible, the size is enormous.” The KZ1300s are thus called “an incredible hulk.”
So the KZ1300 is a big boy, with a big heart.

Excuse me, good sir/lady/unicorn! Could you be so kind as to count how many exhaust headers you see?
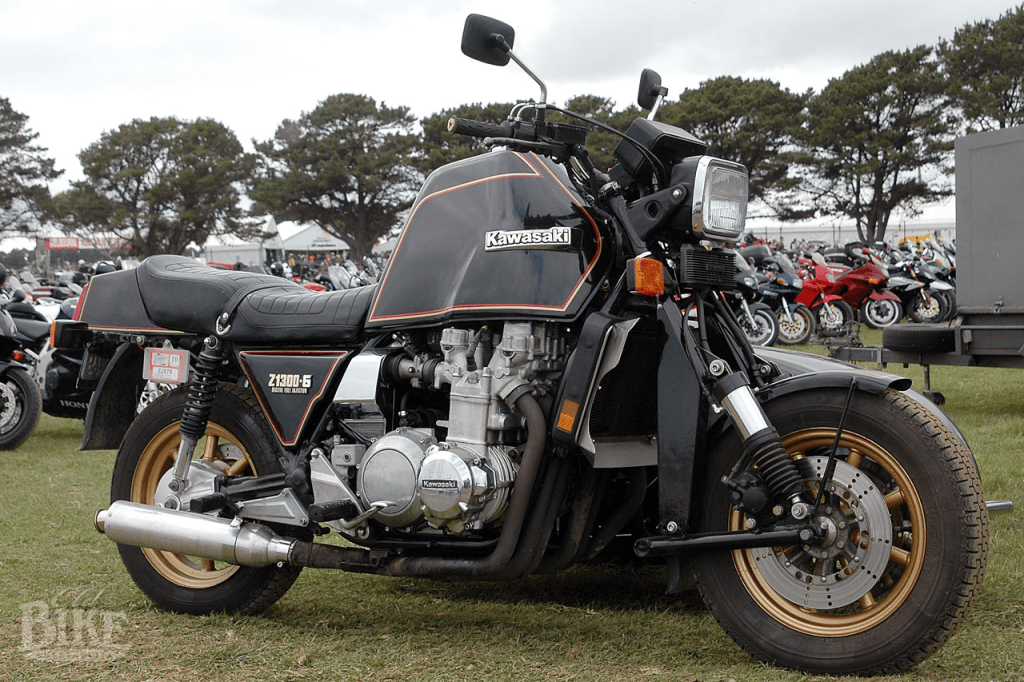
Yes, the glory SIX headers! The KZ1300/Z1300s are equipped with a gigantic six-cylinder inline engine that makes 120 horsepower. In its prime time, only Honda and Benelli offered the same six-cylinder bikes, but none of their productions had an engine as big in displacement as what Kawasaki did in their KZ1300s, inserting a 1286cc beast right under your crotch.
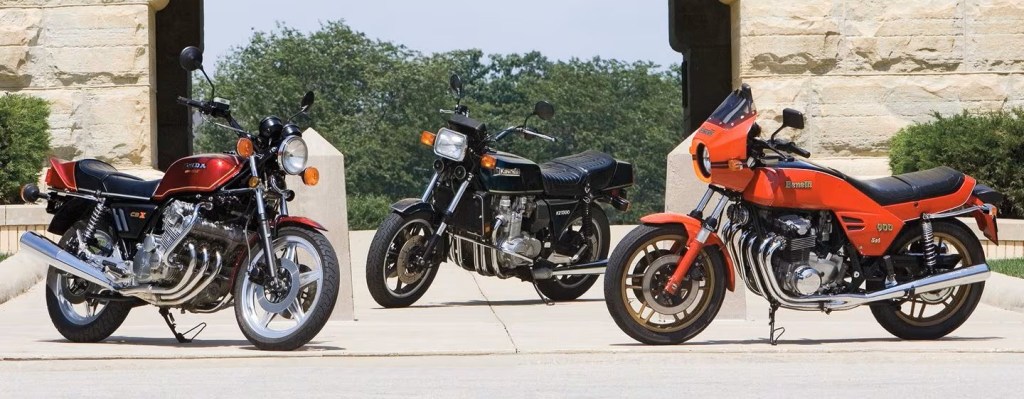
(Photo Credit: Marc Urbano, Cycle World, picture cropped)
An amazing photo I found on Cycle World that contains Benelli Sei, Honda CBX, and our bike of the day: Kawasaki KZ1300.
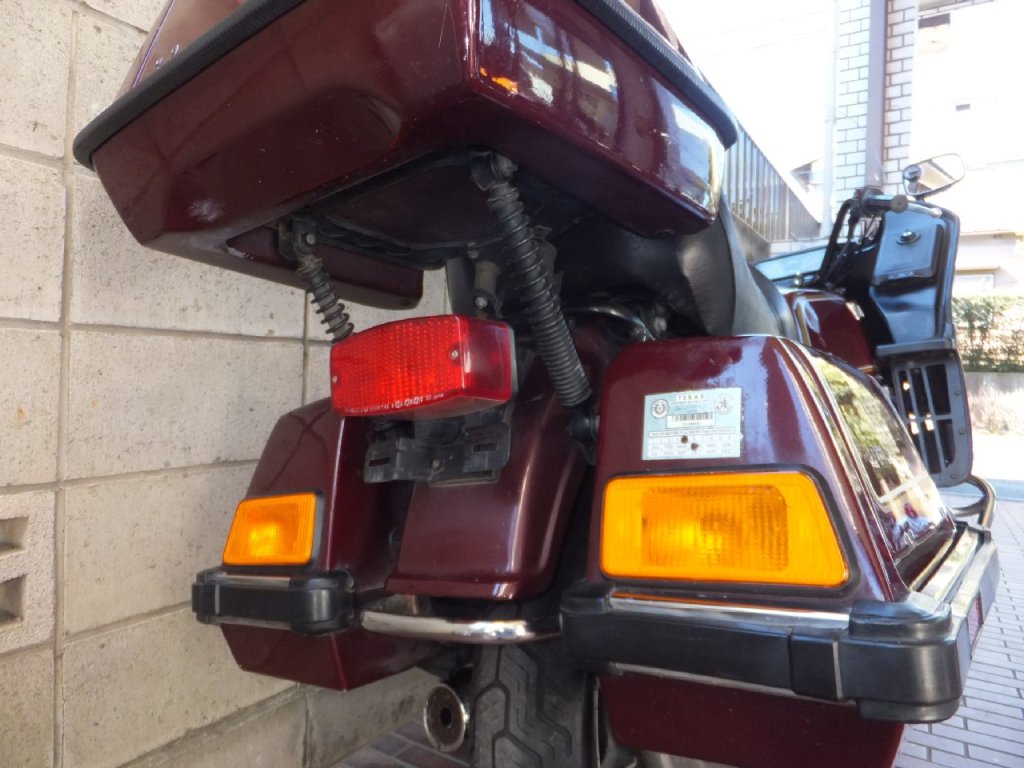
So, what bout KZ1300 B Touring?
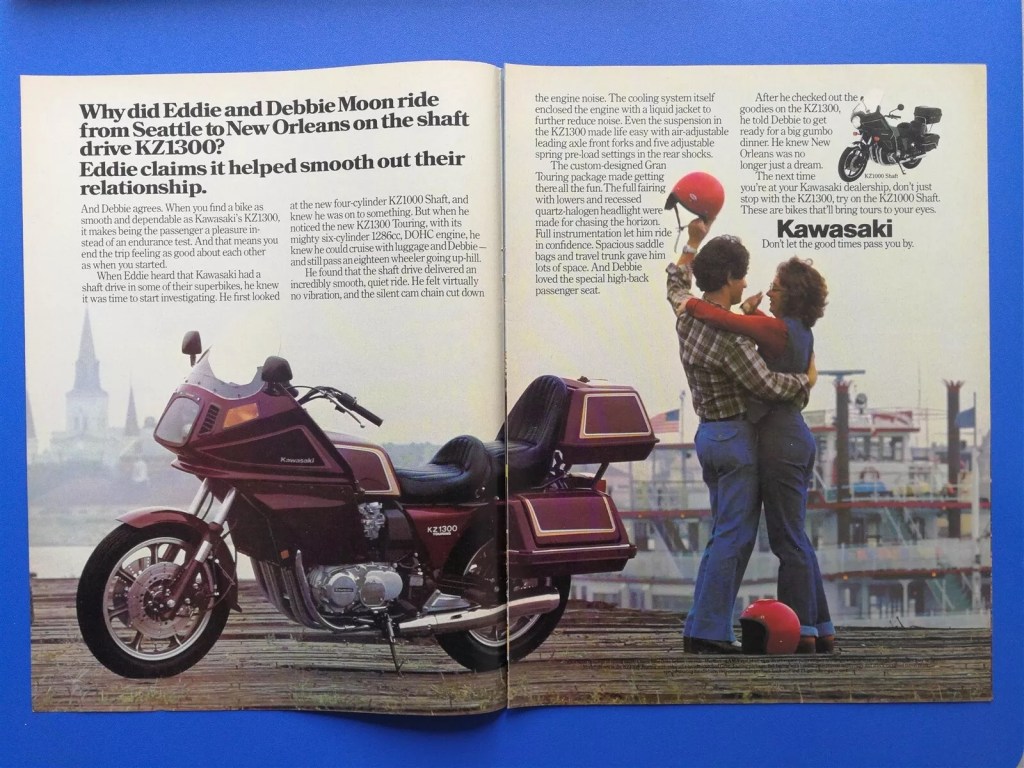
(Photo Credit: Motor-City-Muscle, eBay)
Read it. I don’t know what Debbie really thinks about this bike, but when I introduced the KZ1300 Touring to my wife, she said, and I quote, “it looks like a grasshopper!”
(Photo Credit: Moss Moto Parts, eBay)
(Photo Credit: Moss Moto Parts, eBay)
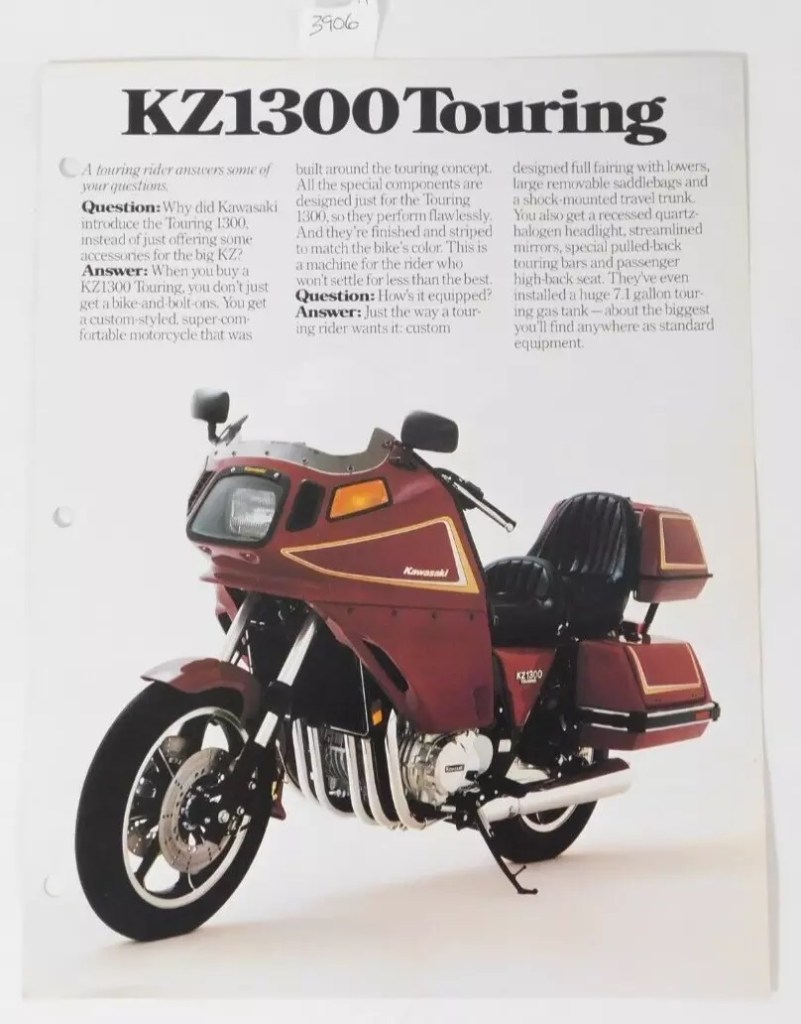
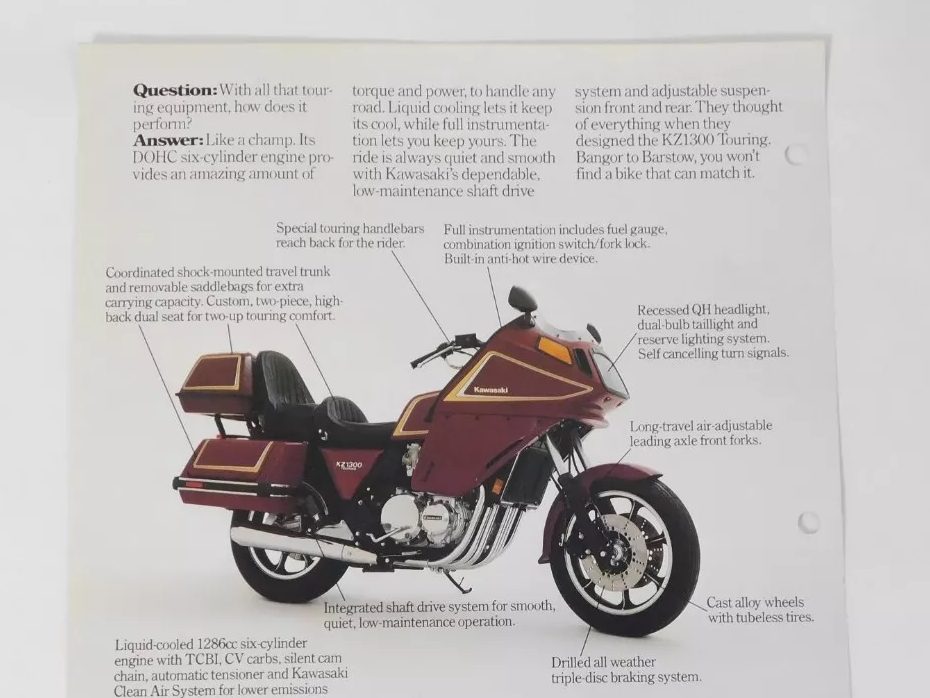
I think, essentially, the touring version is an upgraded KZ1300, which is upgraded to maximize comfort for long-distance travelling. It is somehow a unicorn in its category, that not many were made in its day (it is said only 2000 units here). Surely a unicorn!
Okay, too many words. Now watch this – this is the video that ultimately made me buy this kit – I am not really a bike guy so I am probably not gonna buy this bike or any other bikes…but dang…I need to get this Tamiya kit for this impressive and gorgeous bike:
(Video Source: KAPLAN AMERICA on YouTube)
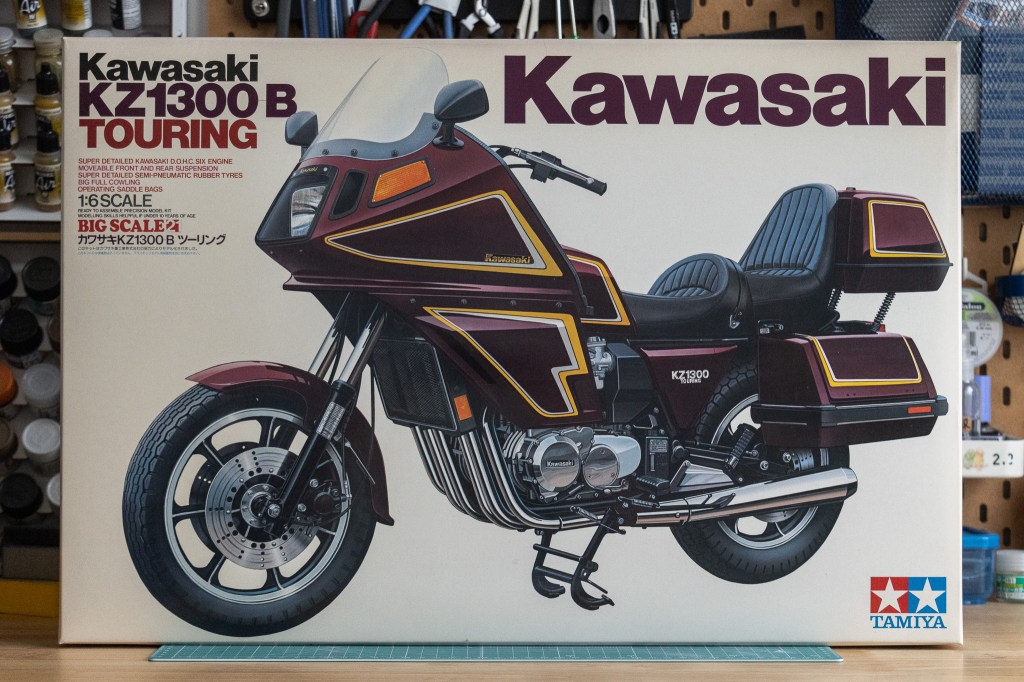
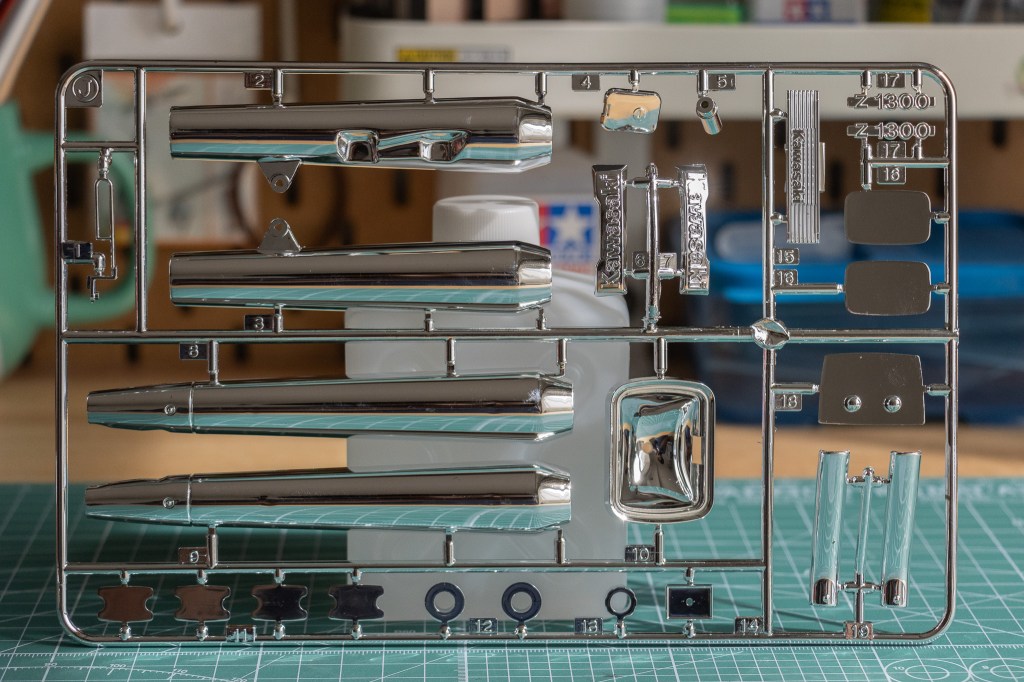
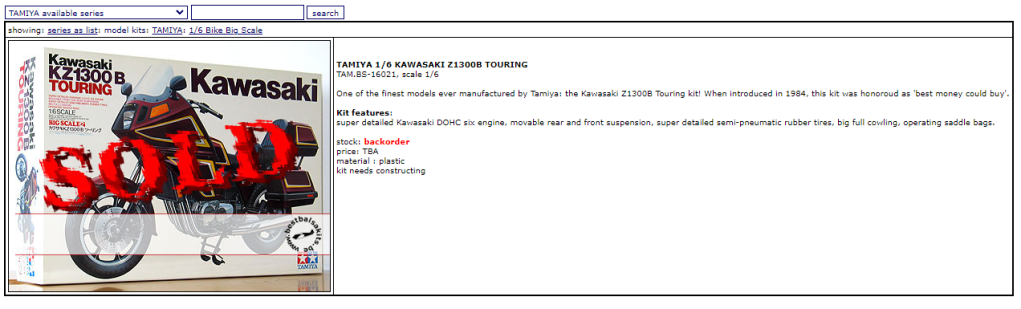
Finally, the model! A huge box it is! Oh, just one more thing, yes, there is a 1/6 original KZ1300 which Tamiya released a year earlier than this touring version:
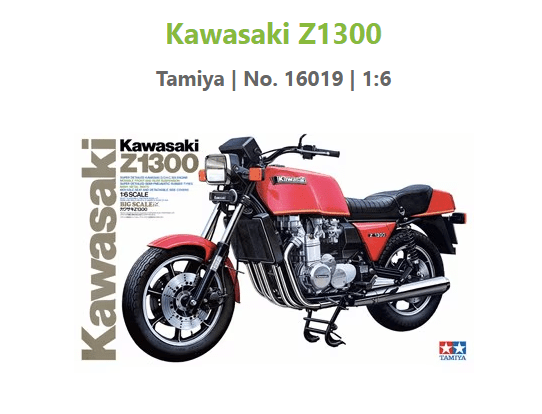
(Photo Credit: Scalemate)
Blister packaging is a must in vintage Tamiya kits, especially for the large scale models and RC car kits.
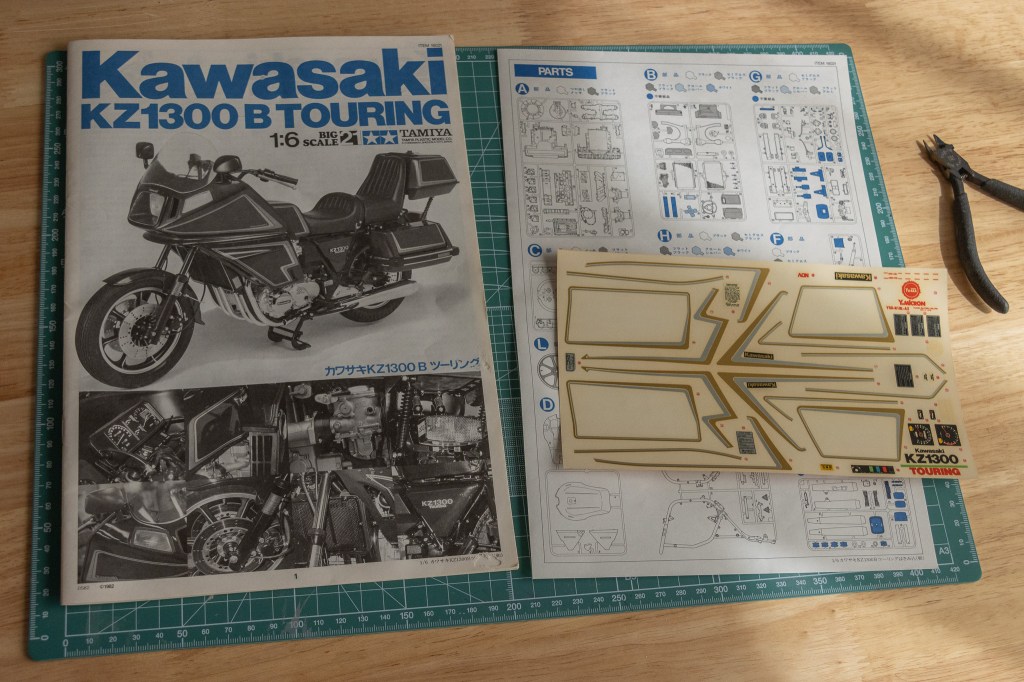
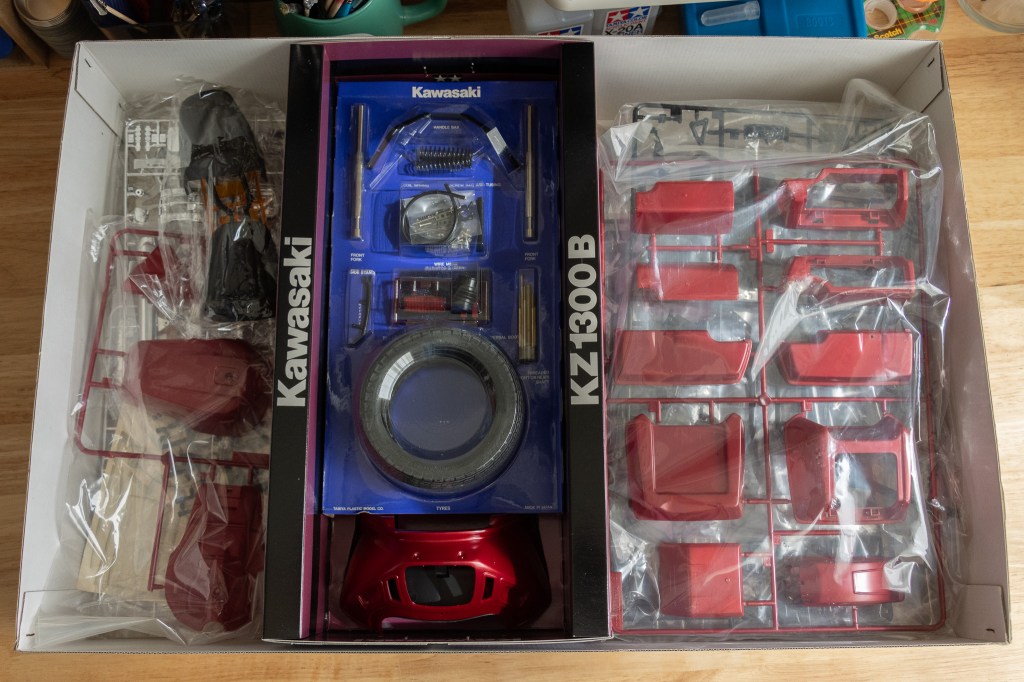
Out of the box, I only got one instruction manual that is written in Japanese. The separate sheet is the part list, as you can see in the above photo. I’ve checked several online listings of the kits and found out that I wasn’t the only one. The export version comes with the classic two instruction manuals in both English and Japanese. In today’s world, where translation apps are available everywhere, this won’t become a too tricky situation.
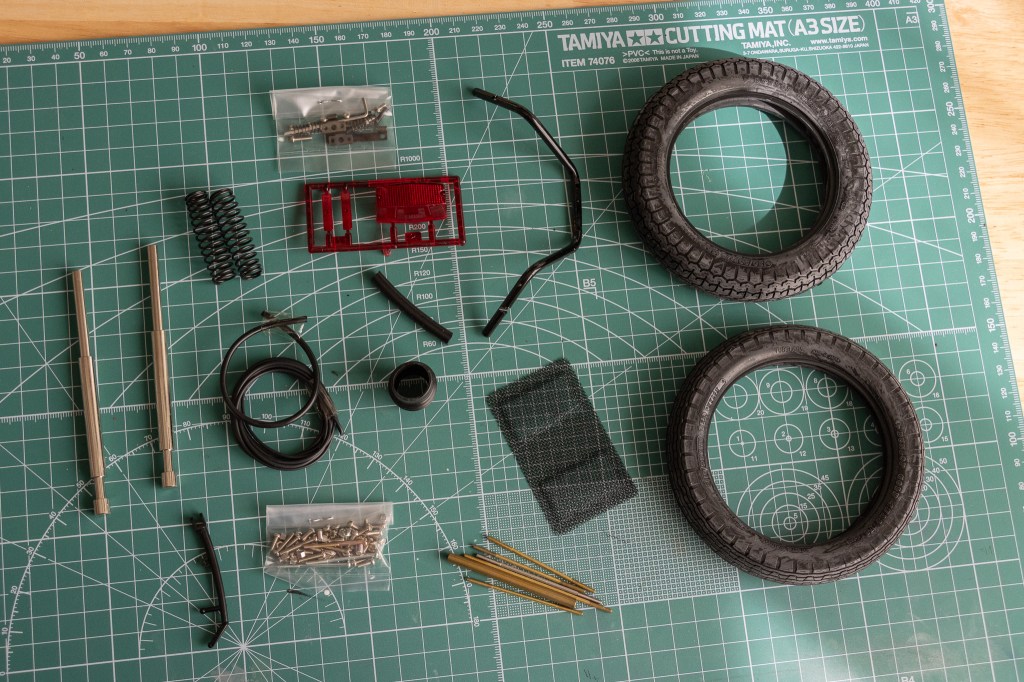
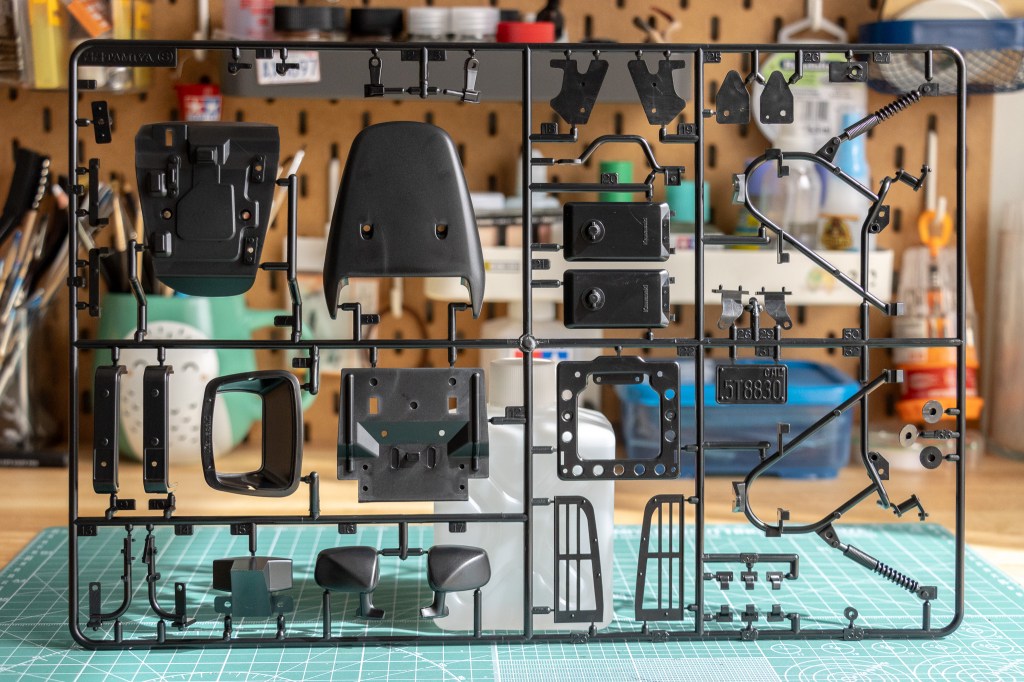
Here’s the content from the blister pack. The metal parts are significantly less than what you can get from the Harley-Davidson FLH series. Metal side stand is a must!
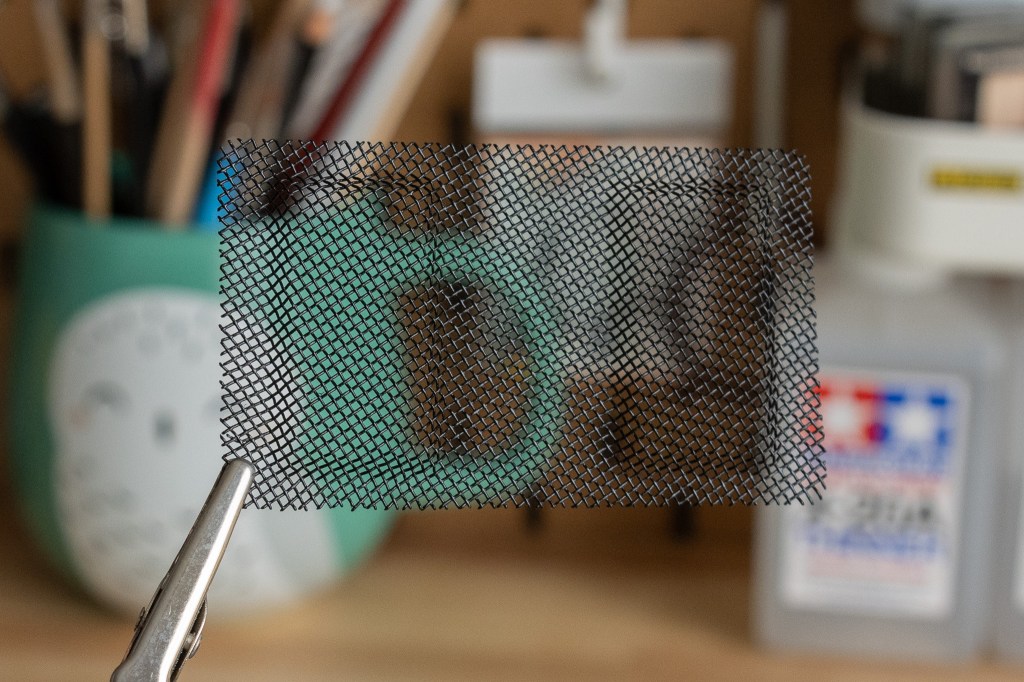
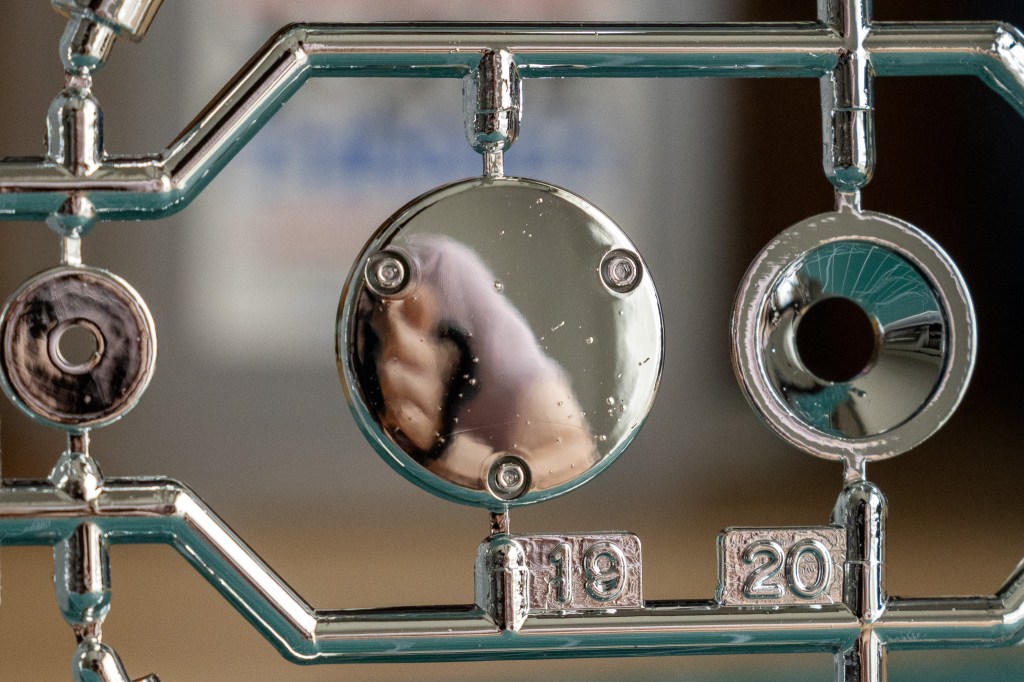
You are looking at the metal screen that will be installed on the radiator. We’ll talk about it when we get to the sprue where the radiator parts are located.
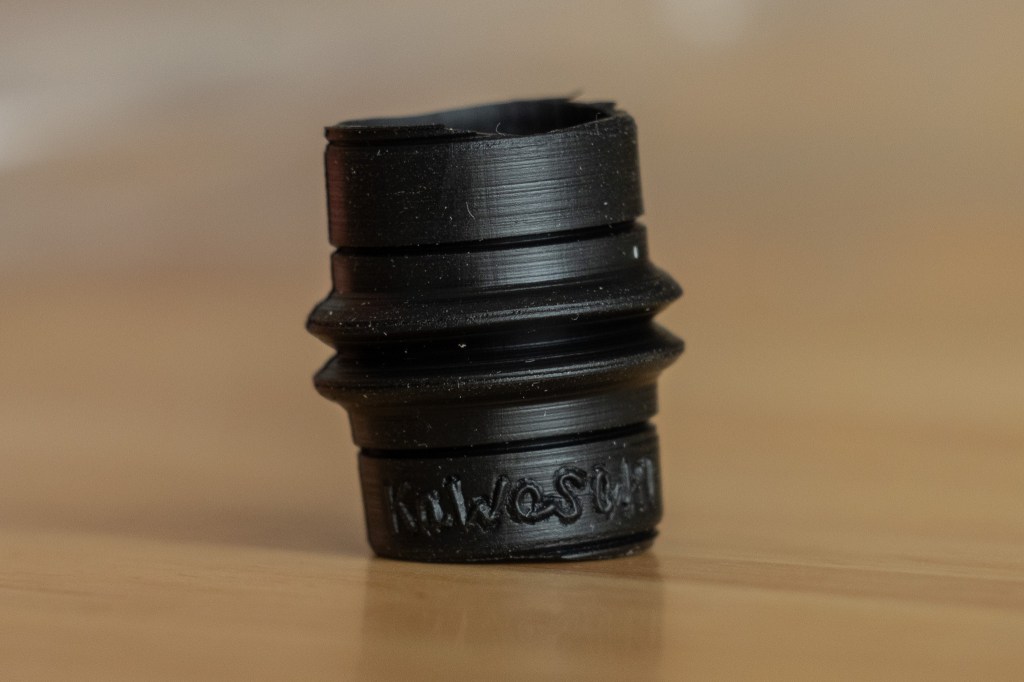
The KAWASAKI logo on this small rubber part looks cute…
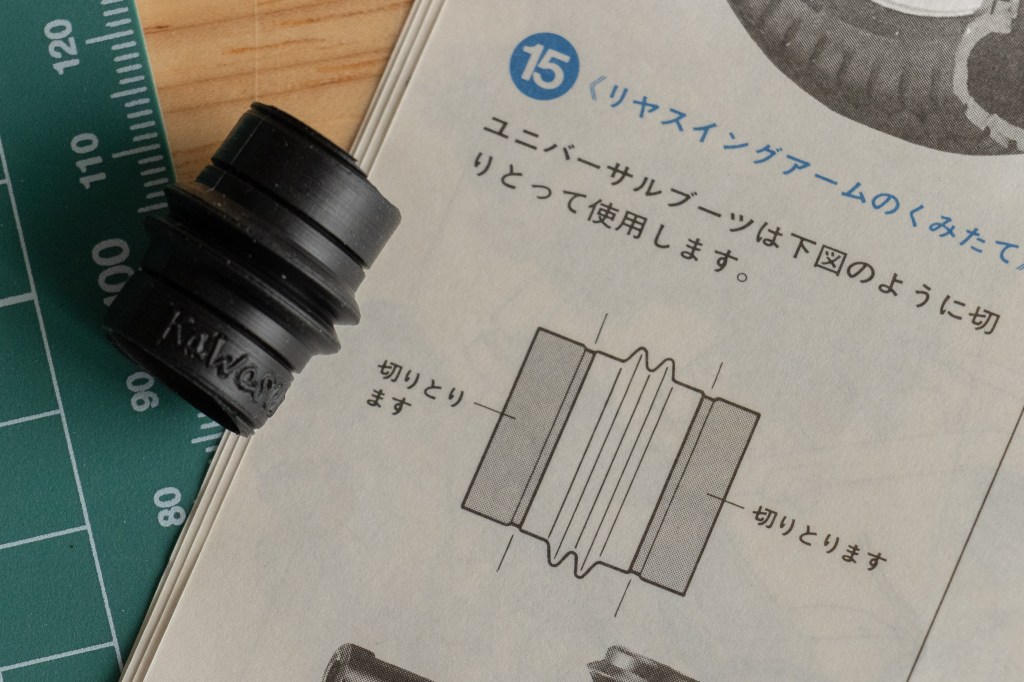
Never mind, it is probably a logo/indicator for Tamiya themselves. You will have to cut off the excessive ends according to the instructions.
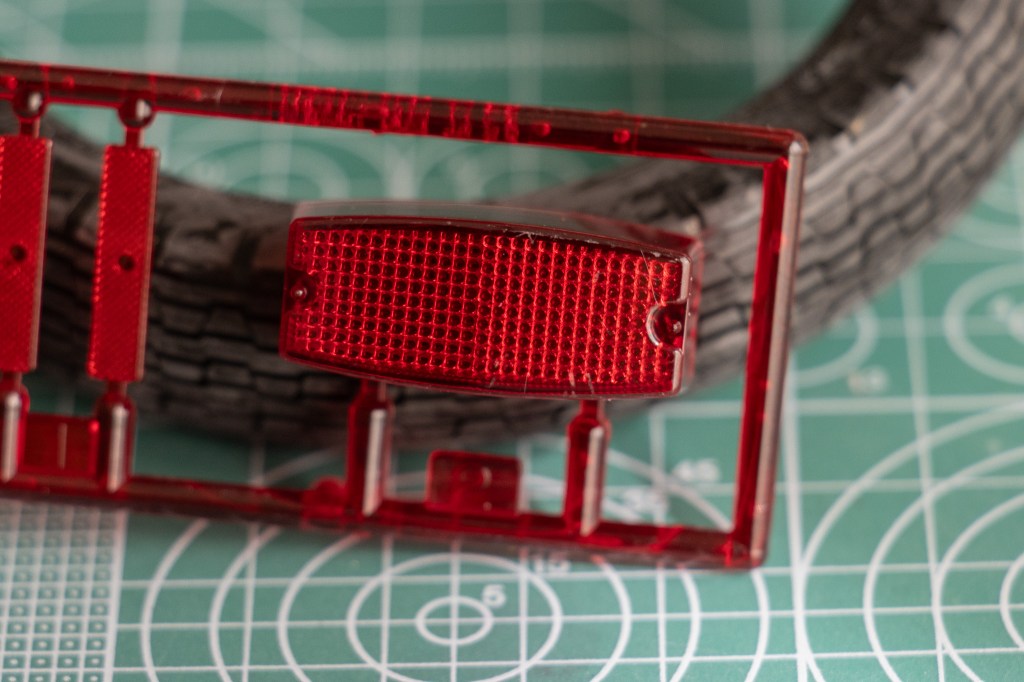
Red clear parts are packed separately in the blister pack.
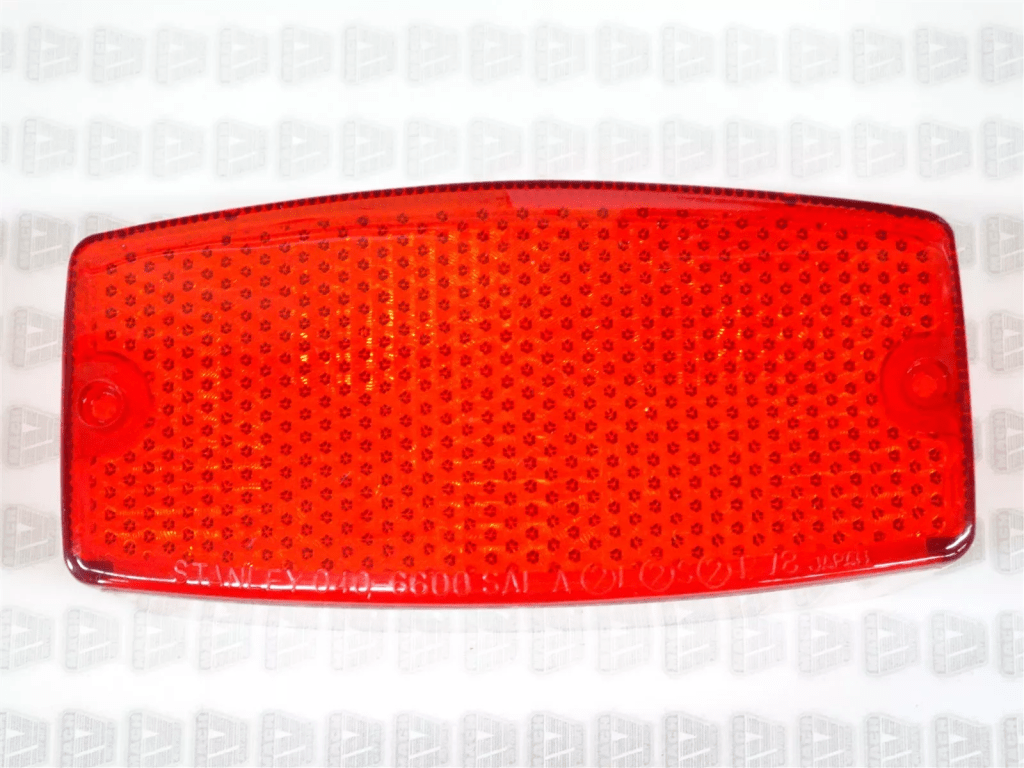
(Photo Credit: MachIVMotors, eBay)
Here’s the real thing I found on eBay. Seems like the dots on Tamiya’s are just a little big too big. It is understandable because it’s a model, eh?
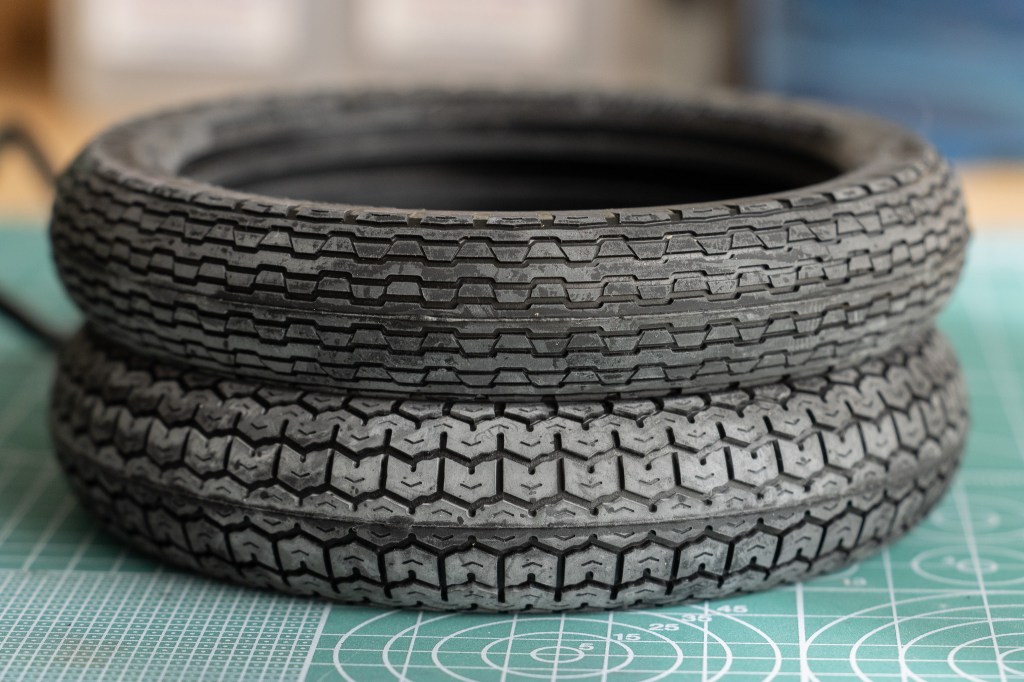
These tires need to be cleaned before use, some lukewarm water and dish soap should do the trick. But dang, they look super duper authentic!
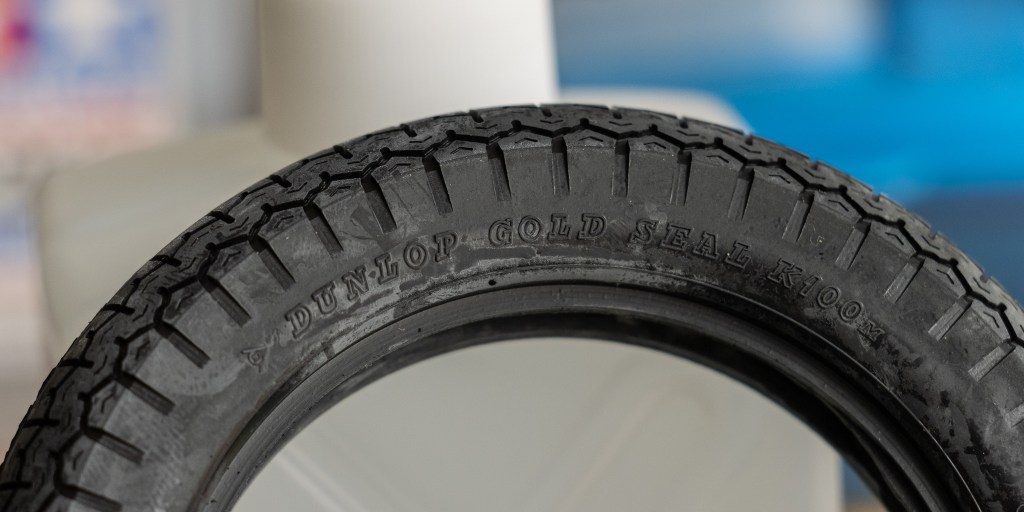
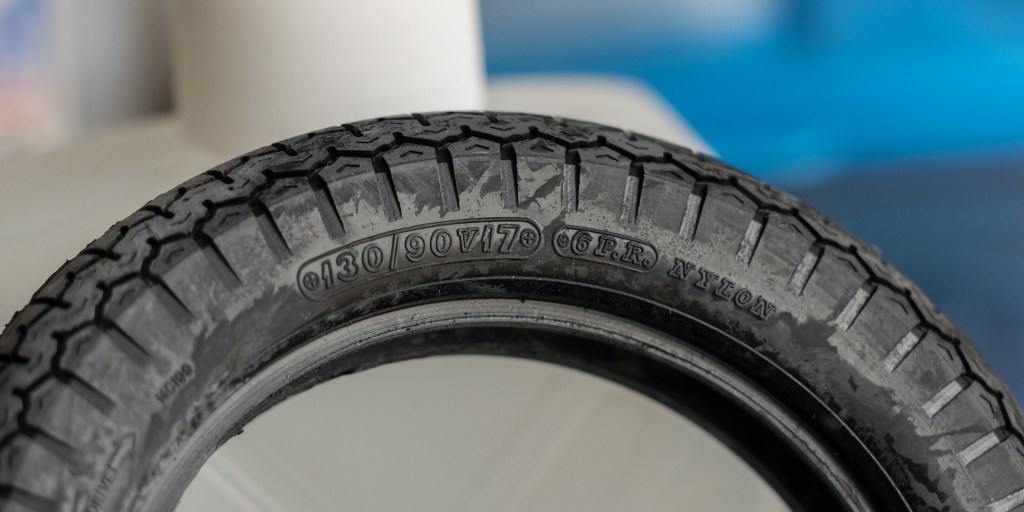
Dunlop is the manufacturer of these beauties.
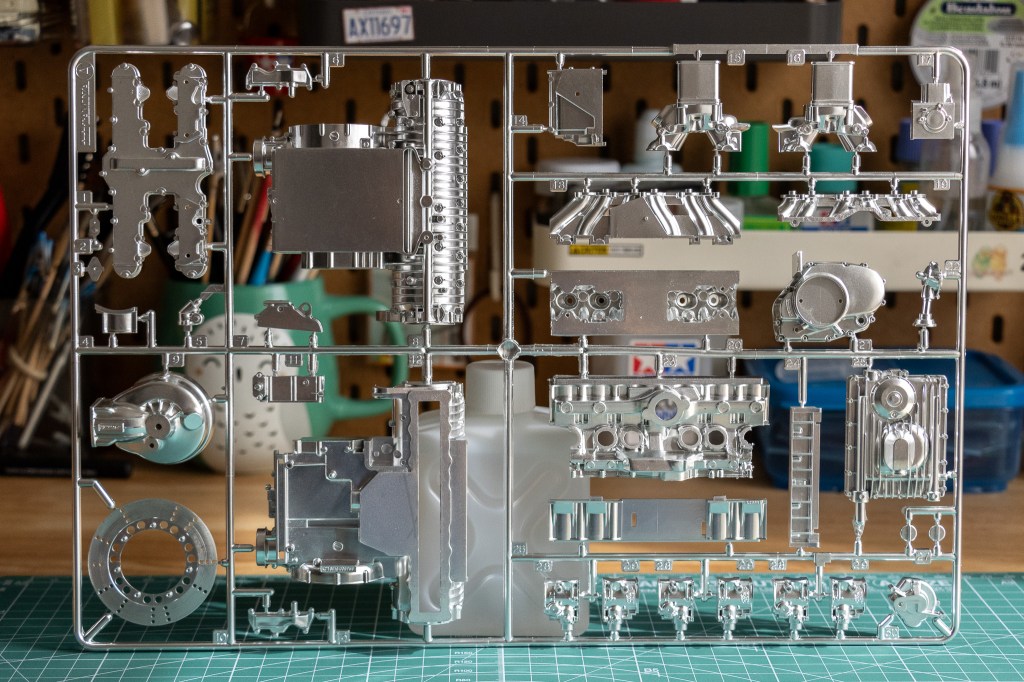
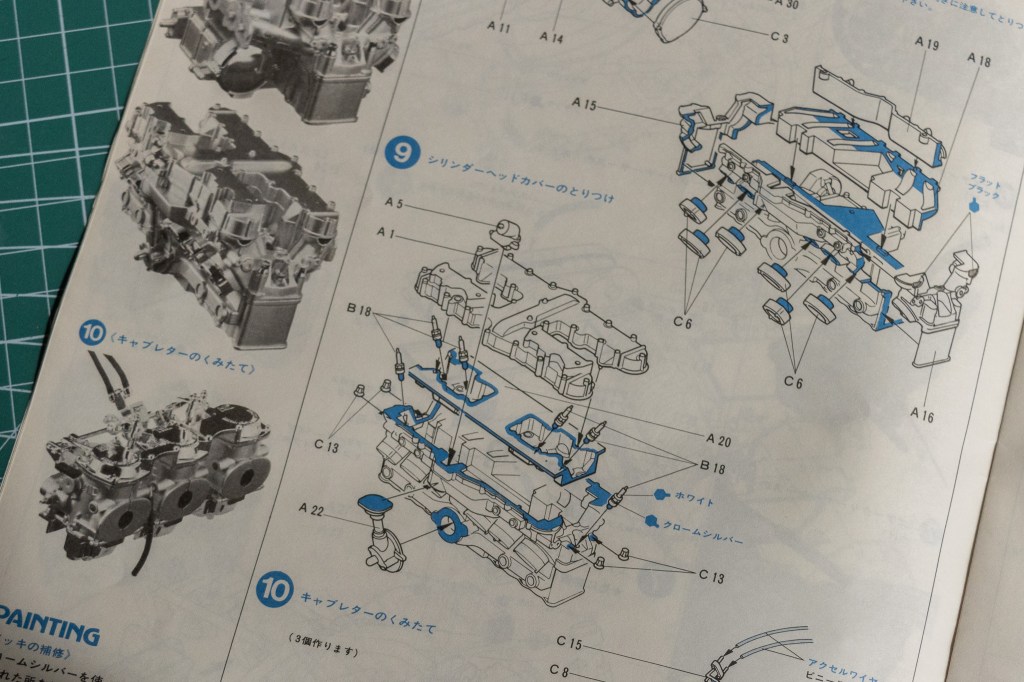
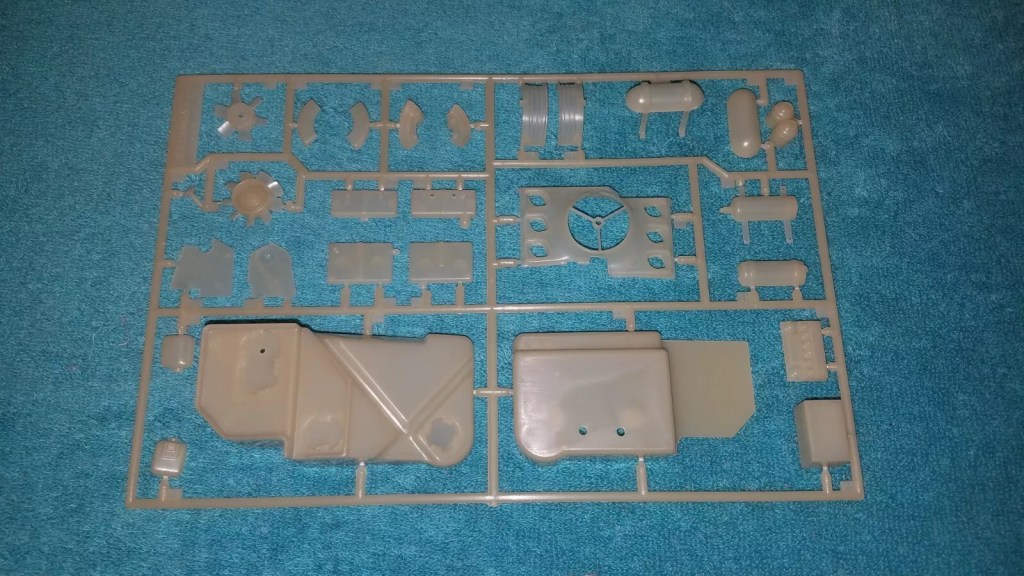
The amazing engine parts can be found on Sprue A.
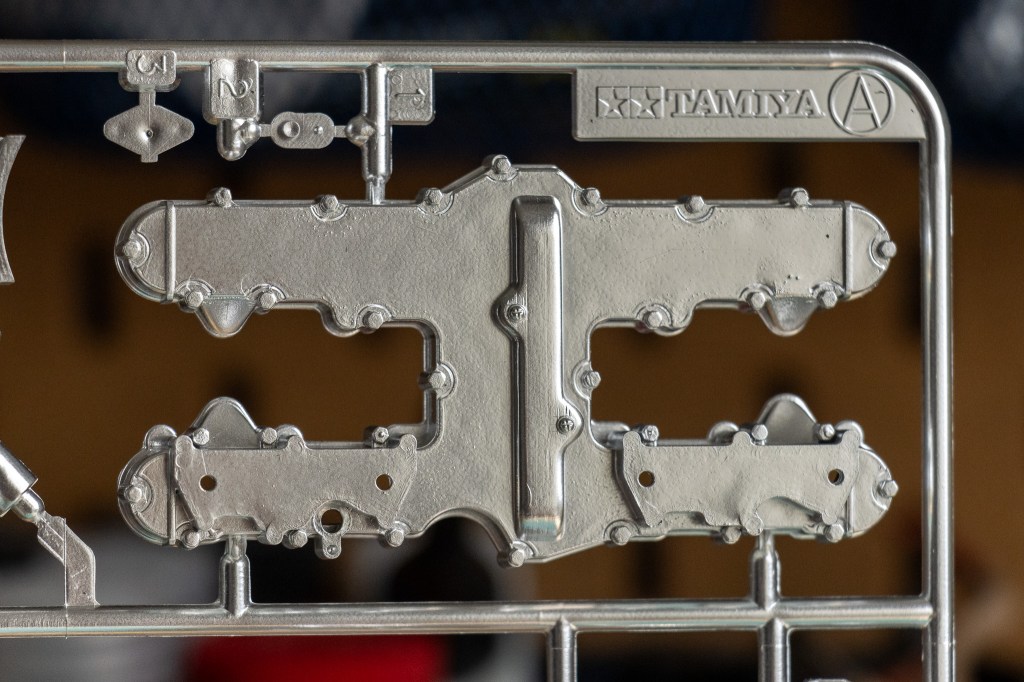
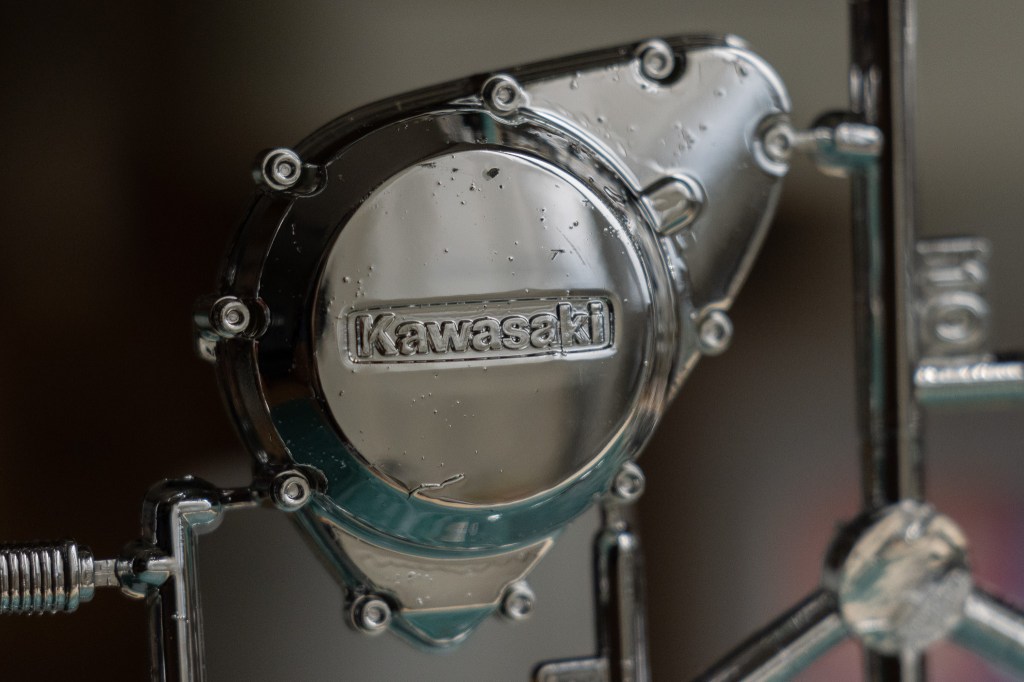
The top engine cover forms an H shape.
(Photo Credit: StanG, KZ1300.com)
Here’s a reference photo I found on KZ1300.com. I will heavily cite StanG and his work here because this big fella was working on a restoring his KZ1300, which provided me with tons of useful information.

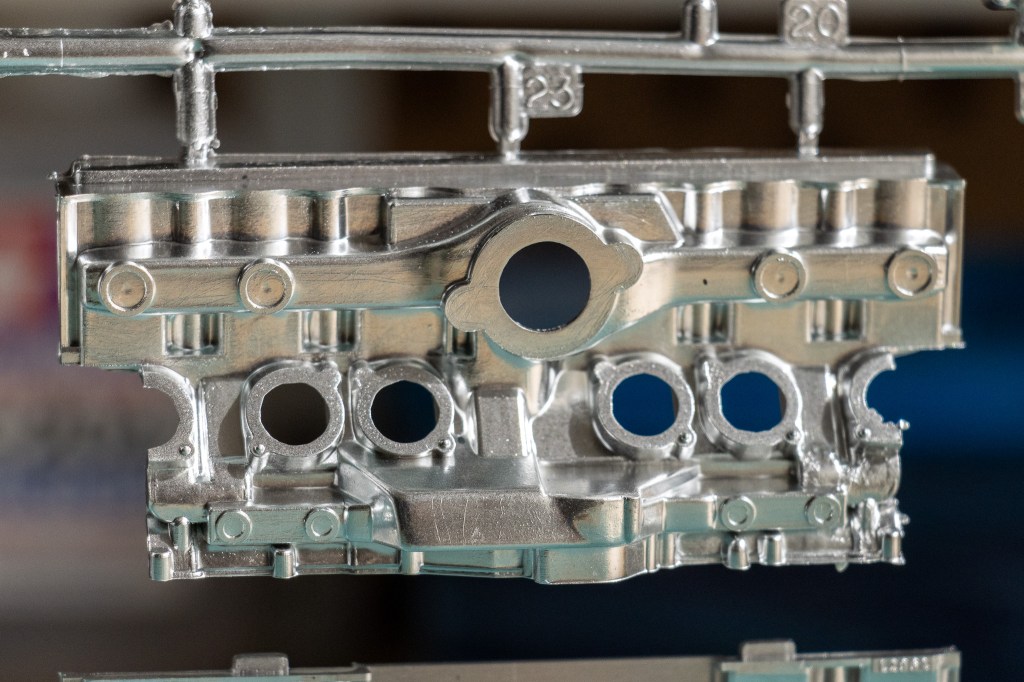
The engine blocks have complicated carvings.
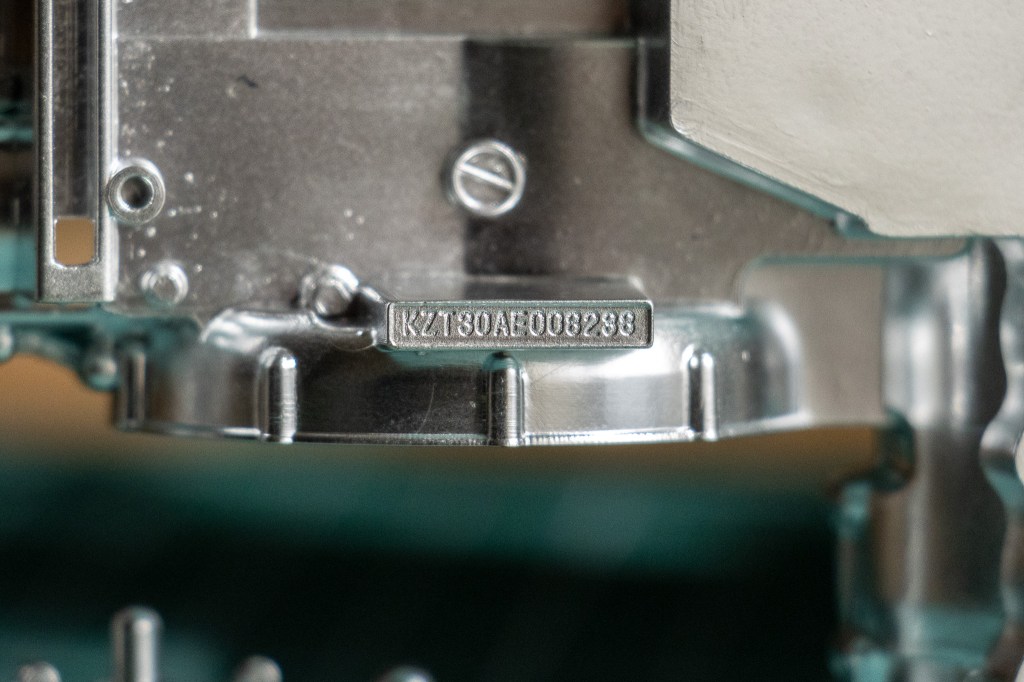
Tamiya’s special engine number is KZT30AE008238. Nice detail!
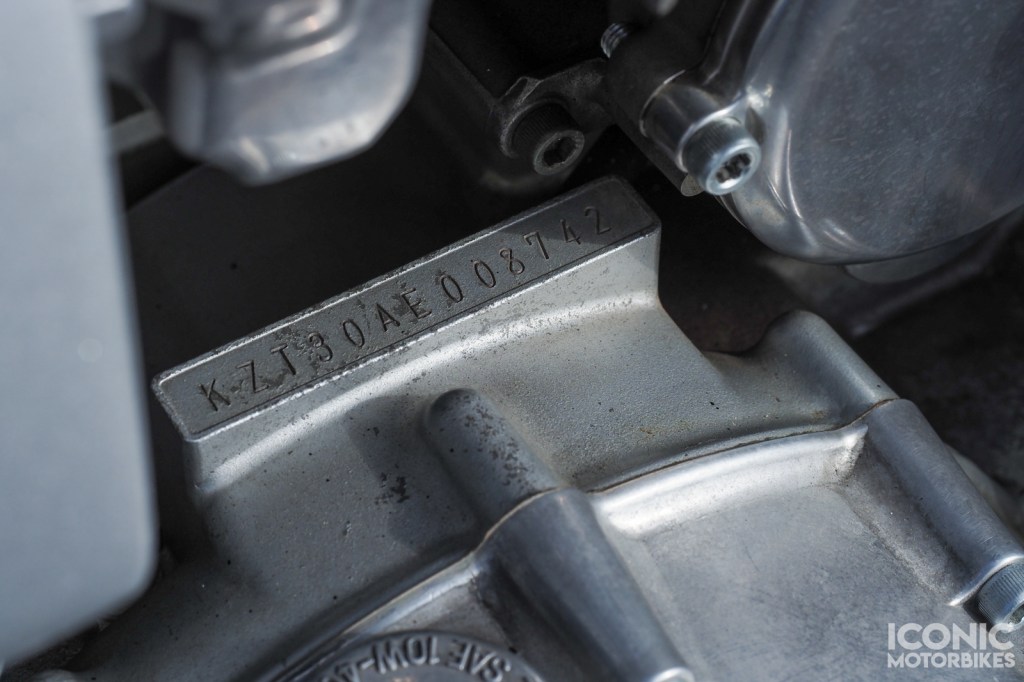
(Photo Credit: Iconic Motorbikes)
Tamiya’s letters are a little bit bigger. It is probably hard to make the letters thinner, like what’s in the reference photo above.
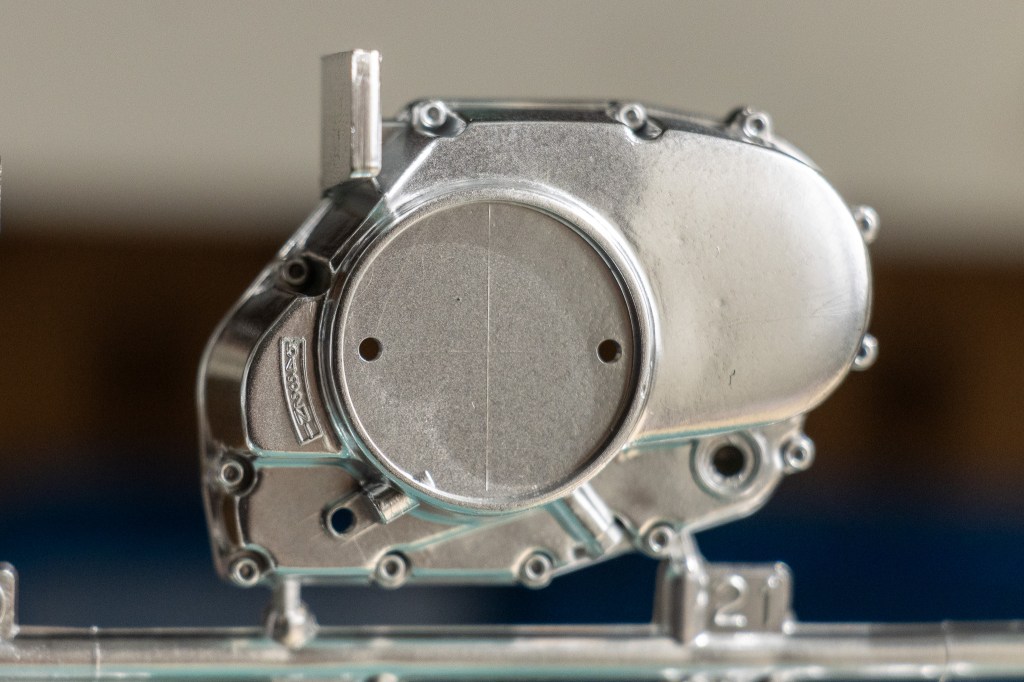
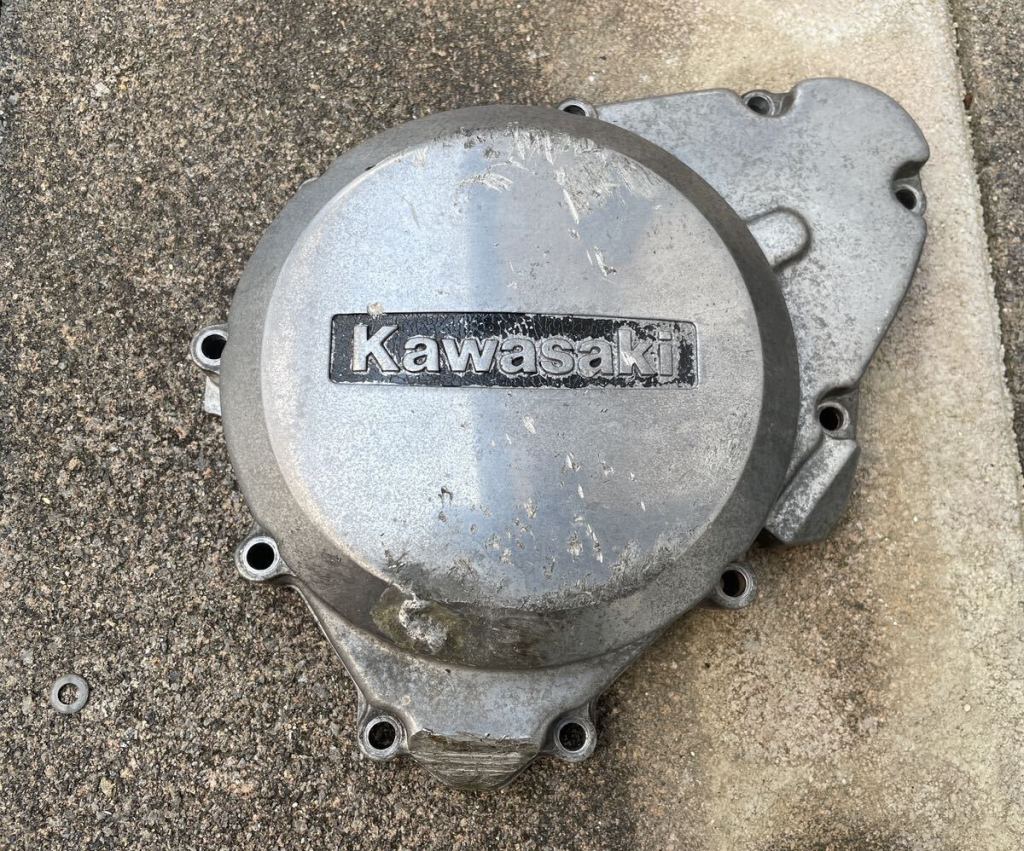
Of course, this is a transmission case cover – you see the 5-4-3-2-N-1 there.
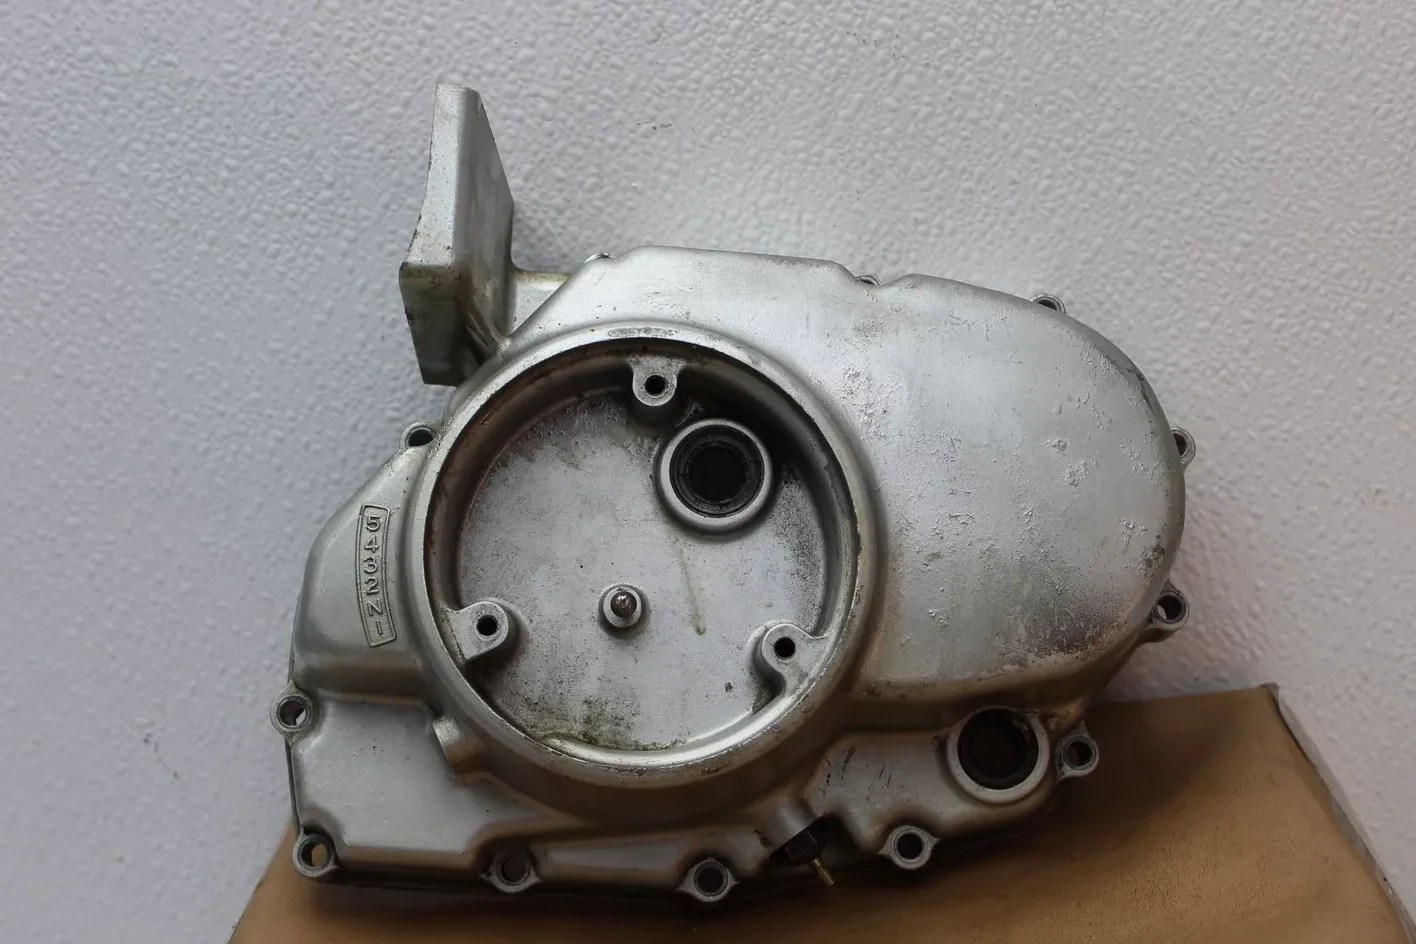
(Photo Credit: eBay)
It looks fairly accurate compared with the actual piece I found on eBay.
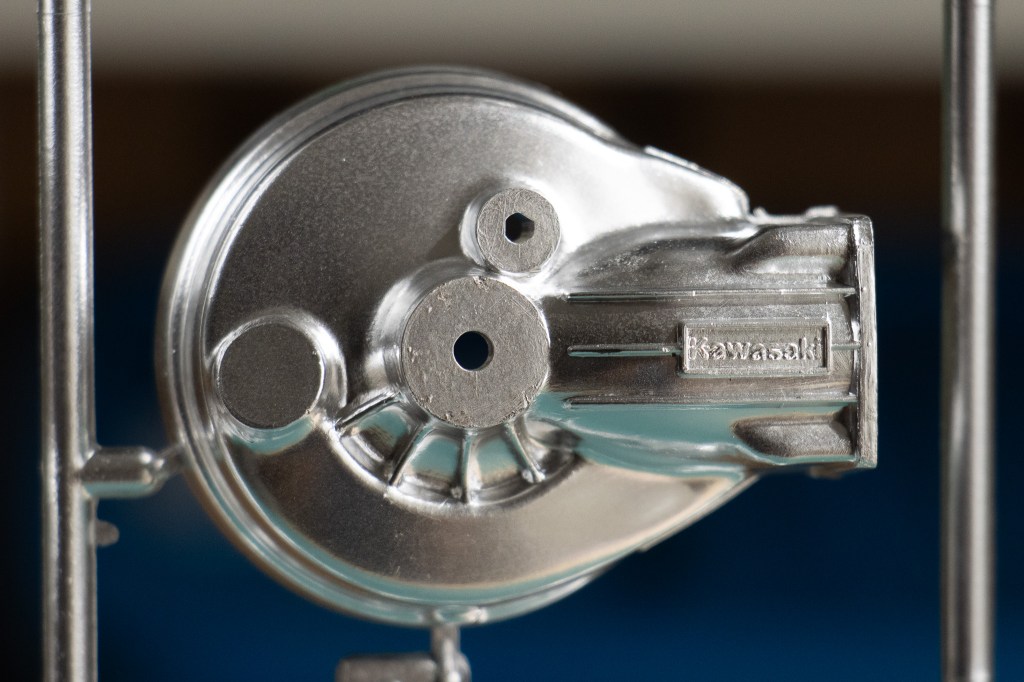
Differential gear cover.
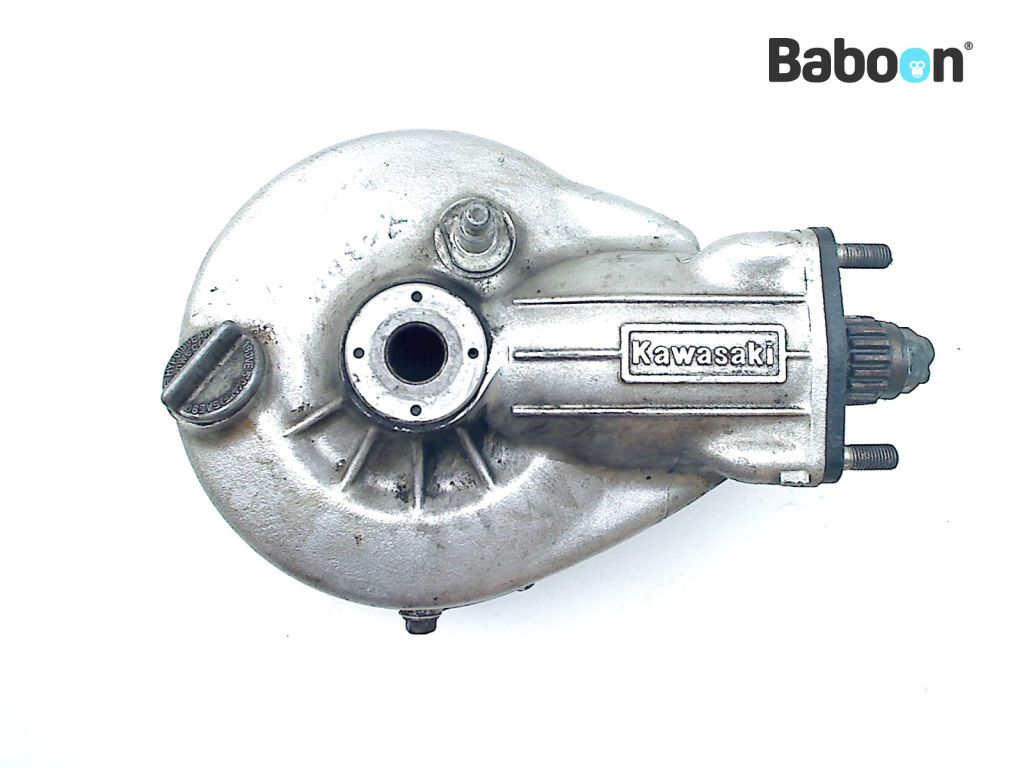
(Photo Credit: Baboon)
It is accurate, not surprisingly! What’s better, don’t worry about the chrome! Just strip the chrome and paint with heavy, greasy metal colours! And give it a good weathering wash!

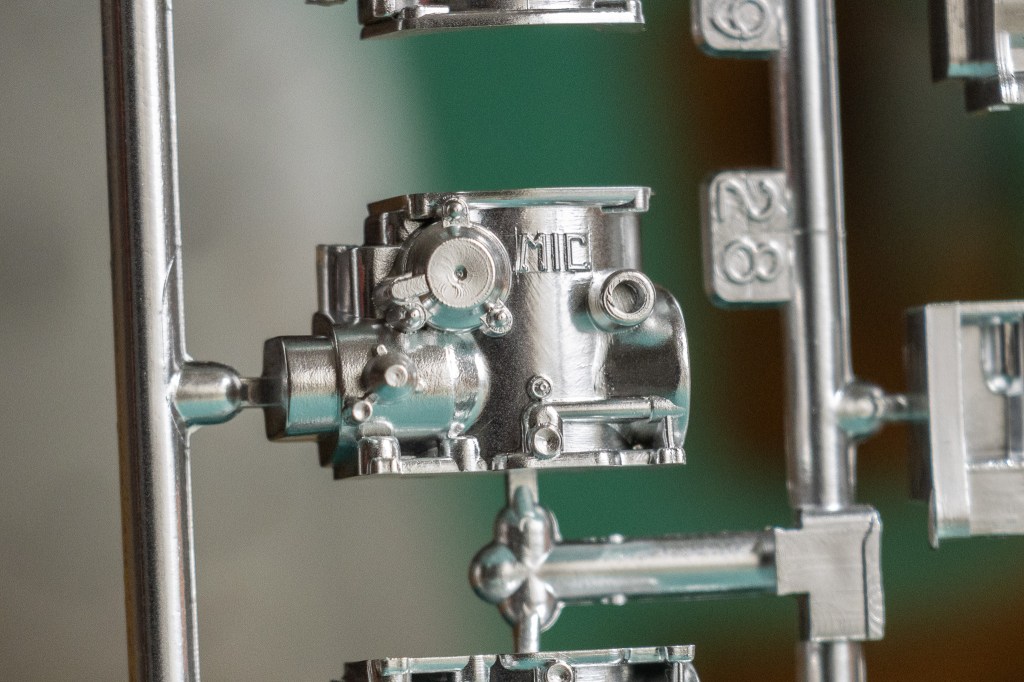
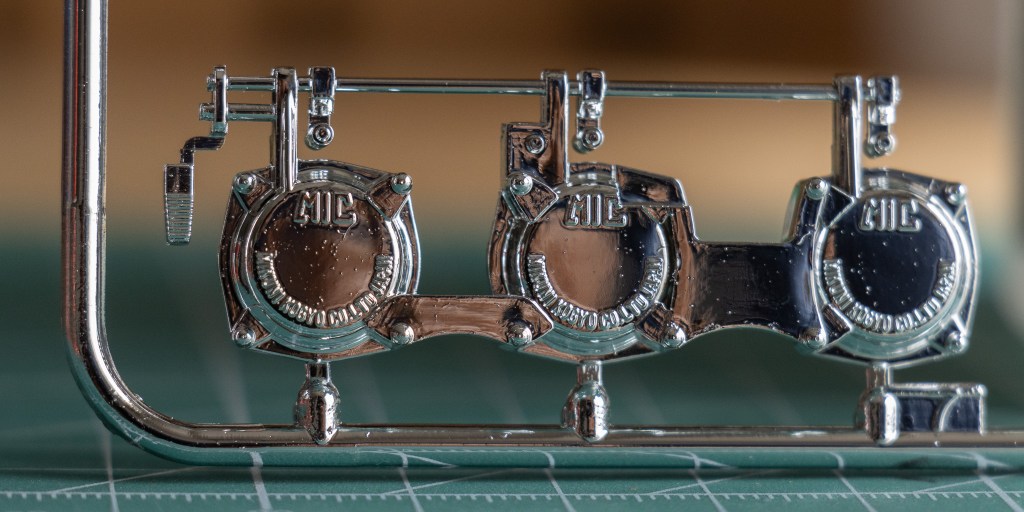
Half of the carburetor.
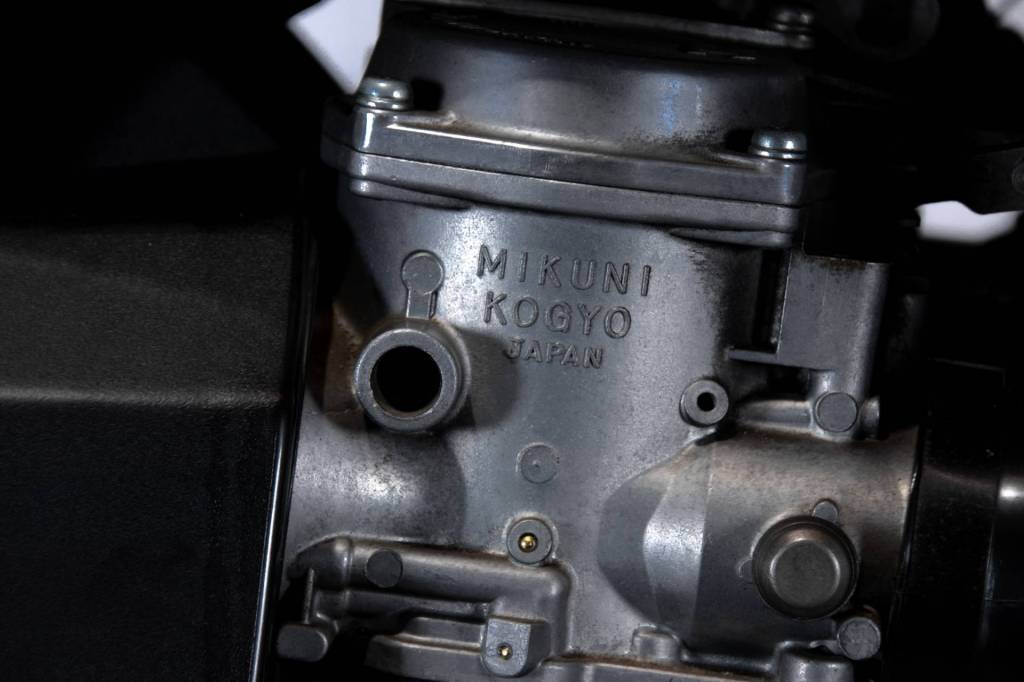
(Photo Credit: Car & Classic)
By now, I think one highlight of this kit is ACCURACY.
Also…I know it is not their intention – but the uneven chrome finish on these parts – somehow make these parts look even more realistic! If you won’t remove the chrome…
Mikuni Kogyo, 株式会社ミクニ, marked the 100th anniversary of its establishment in 1923 last year. The company was founded on October 1, which is exactly today, 101 years ago!
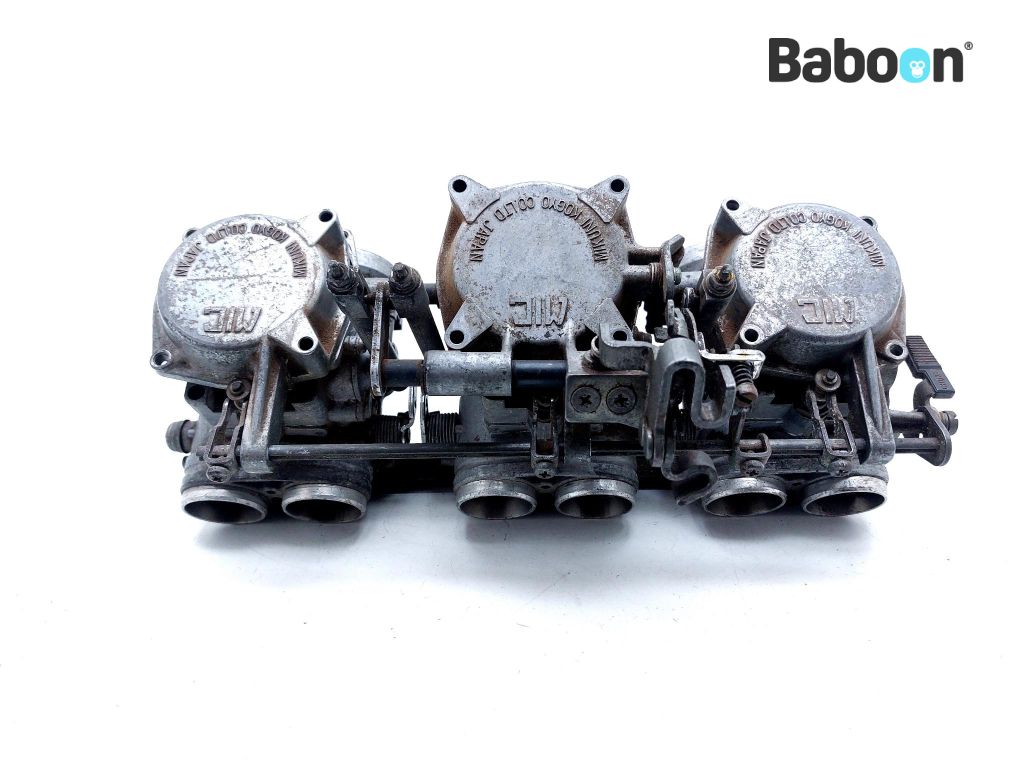
The other half.
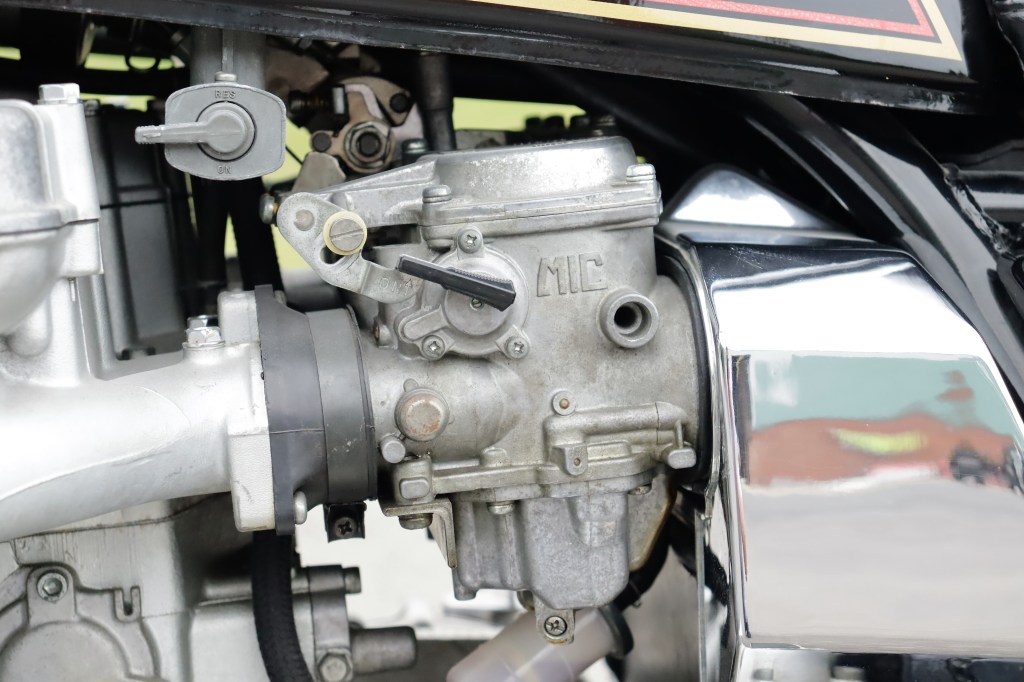
(Photo Credit: H & H Classic)
They say that MIC is short for Mikuni. Probably? Anyway, Tamiya did a fantastic job replicating the carbs. Keep reading for the other parts on different sprues to assemble these carbs.
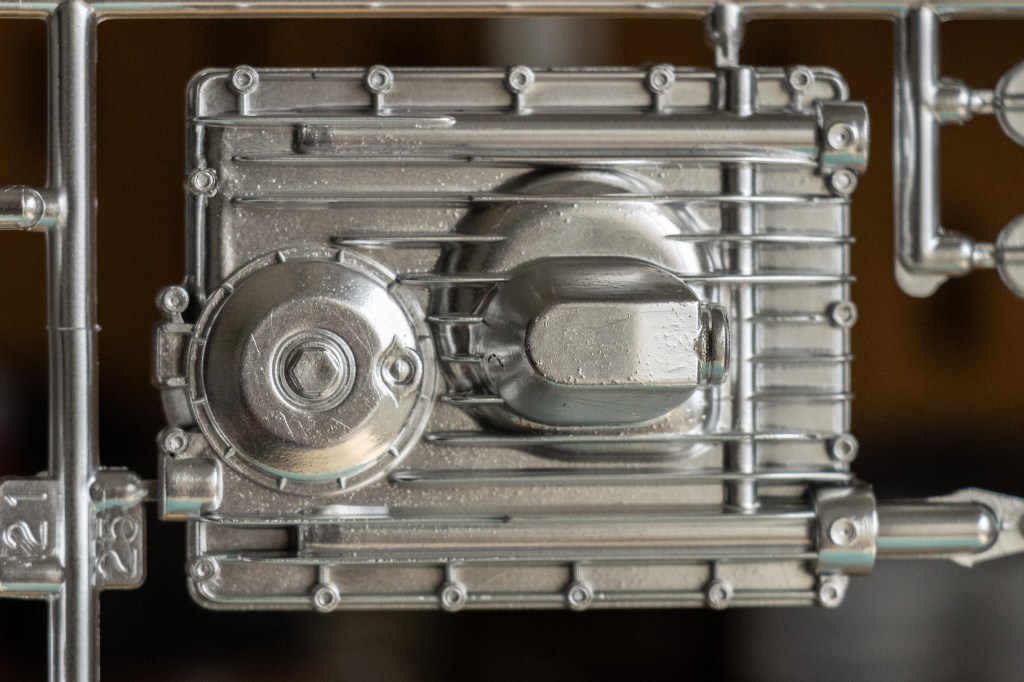
Oil pan.
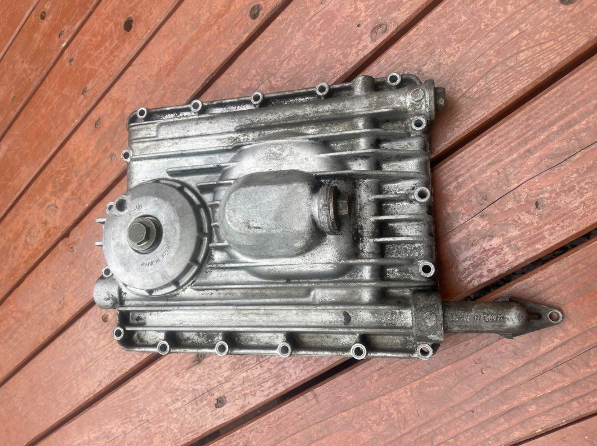
(Photo Credit: ユウジ, Mercari, picture rotated)
The accuracy of the part makes me excited. I can wait to wash it!
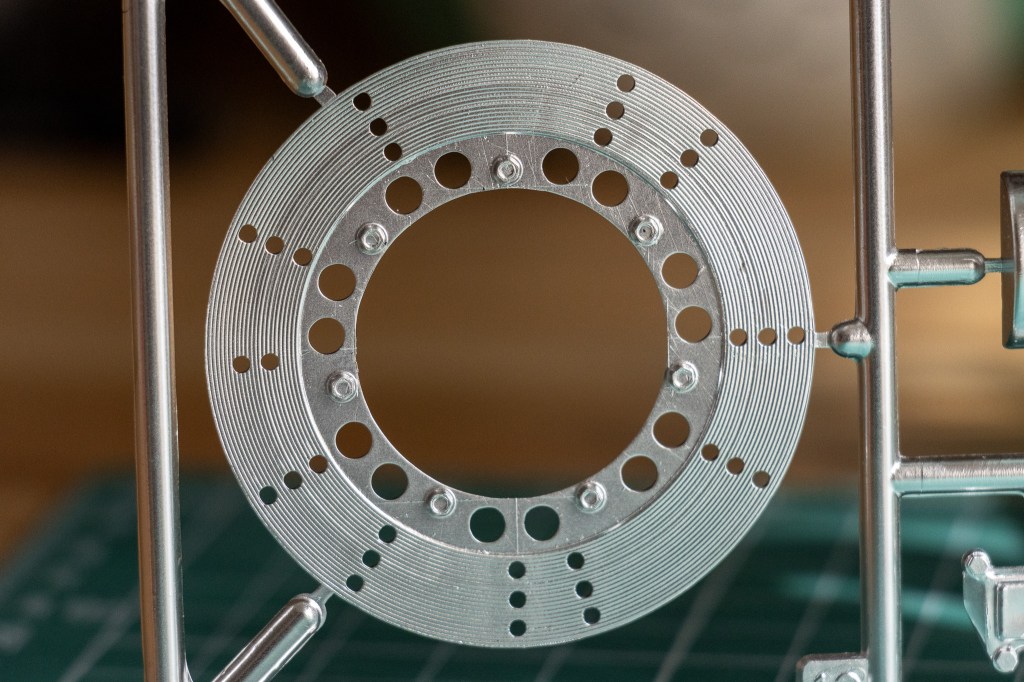
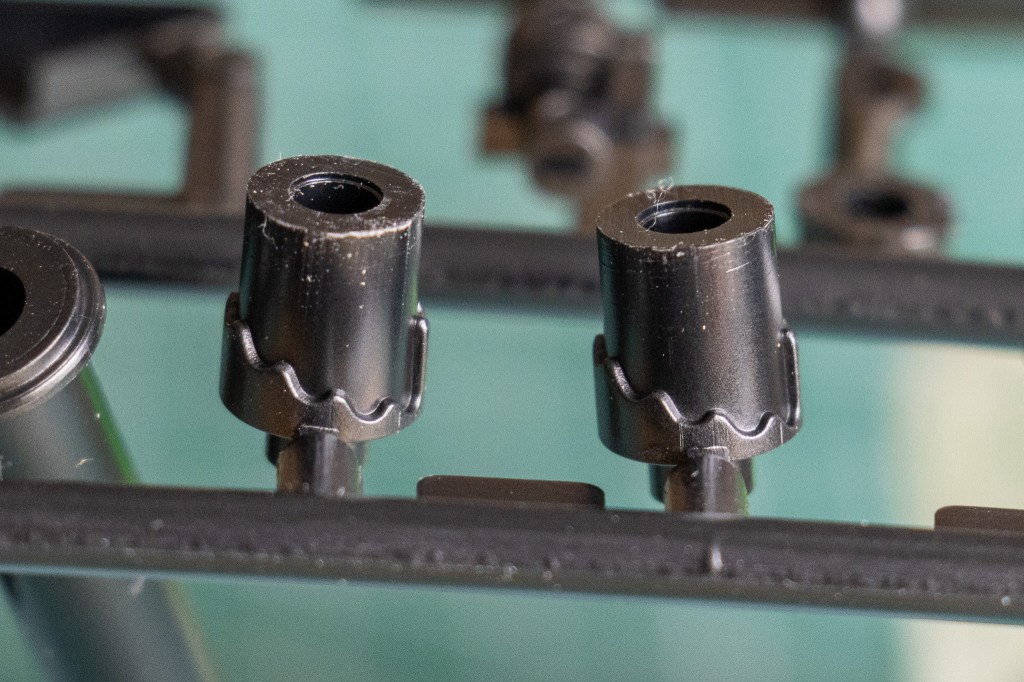
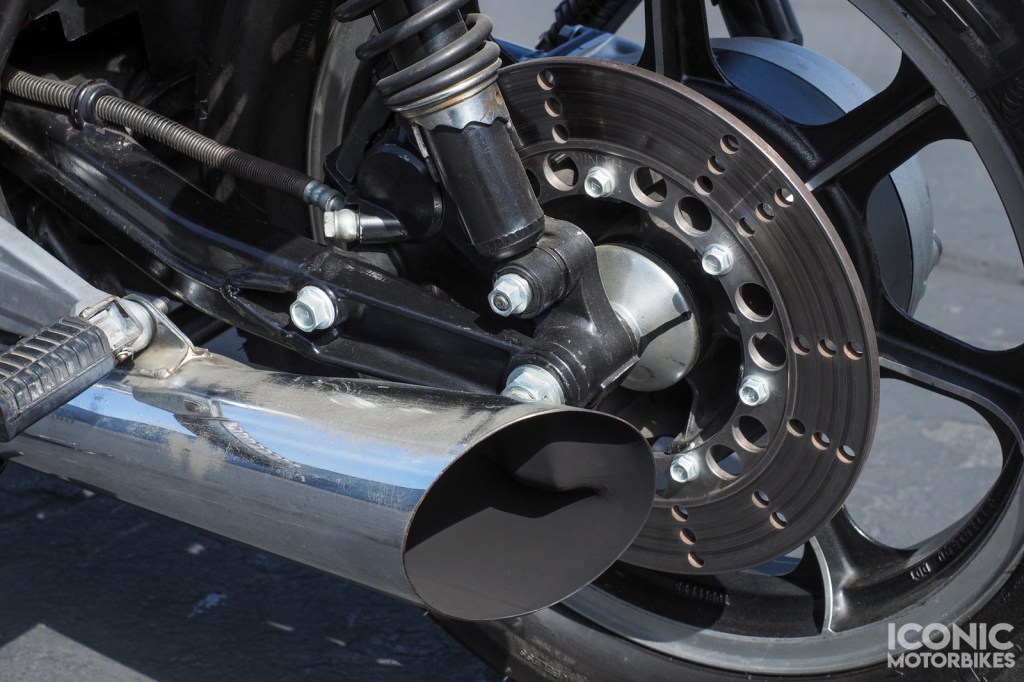
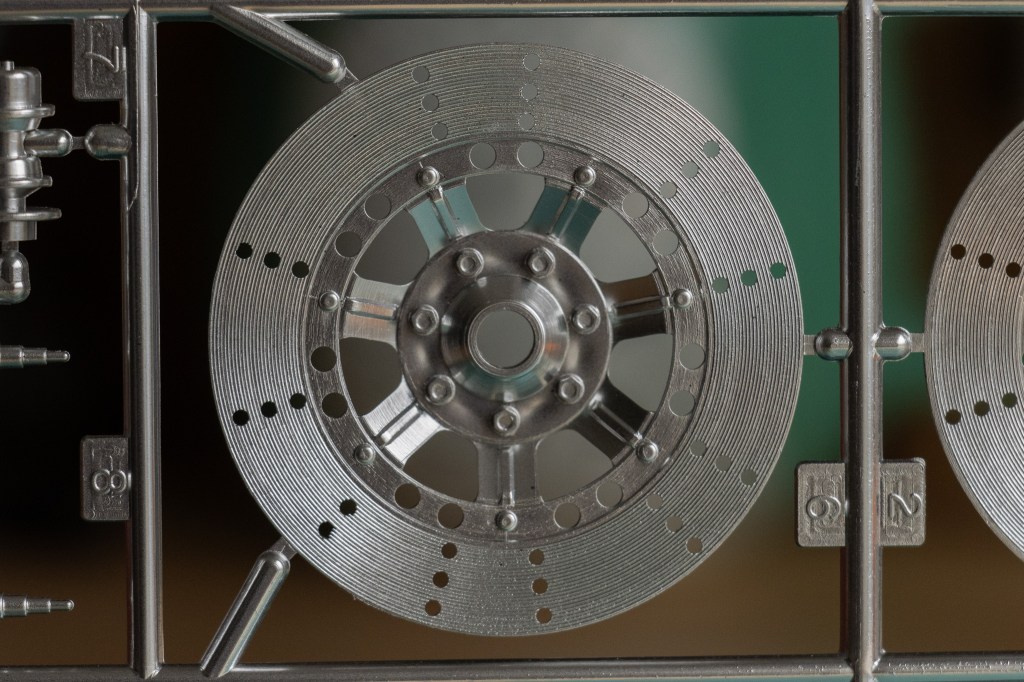
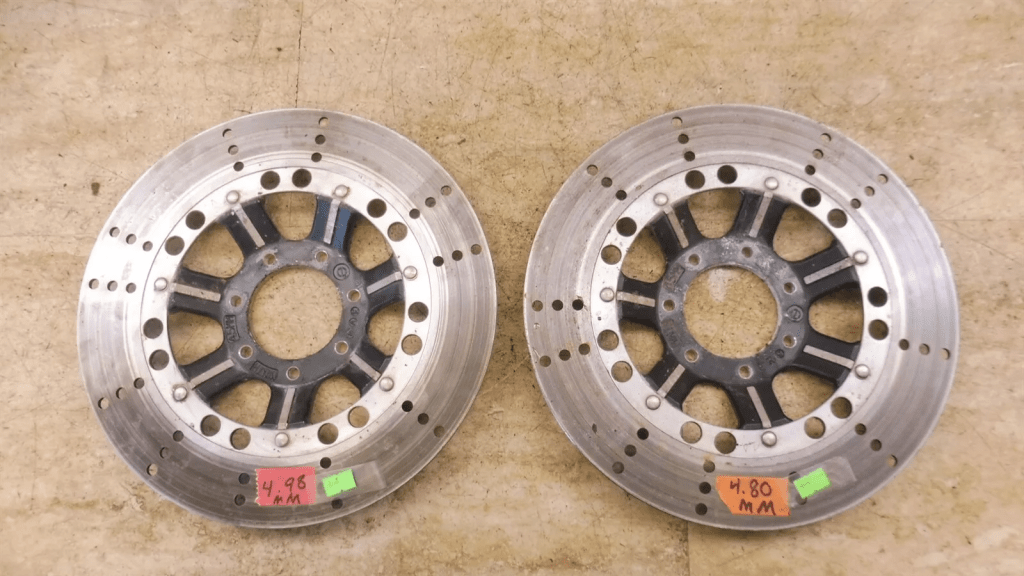
Rear brake disc.
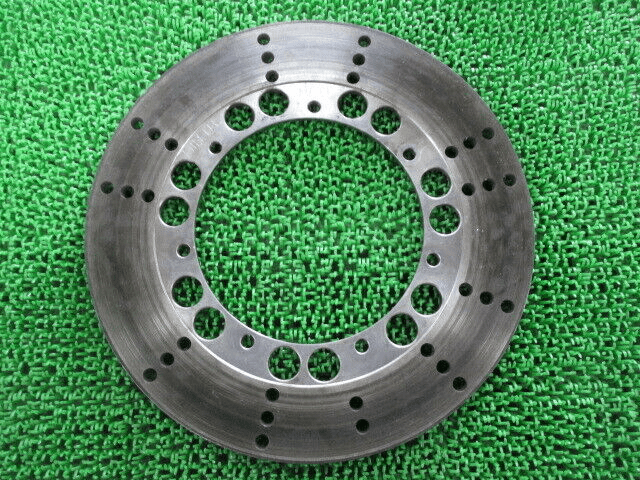
(Photo Credit: TS-PARTs-BIKE, eBay)
Accurate! The disc must be weathered as well.
Sprue A is pretty impressive, eh? Wait… if you find the engine charming but it’s too hard to find this kit…Tamiya offers you this:
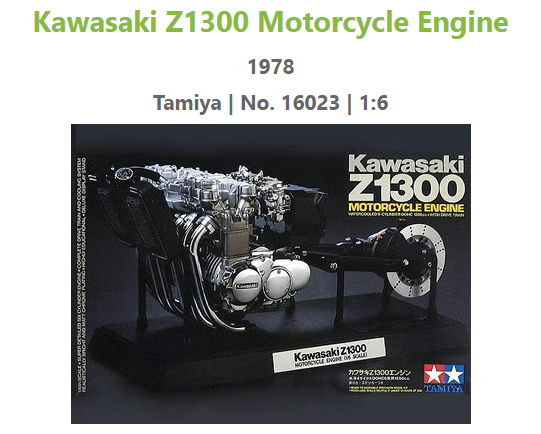
(Photo Credit: Scalemate)
That’s right! Here’s a display model kit of the six-cylinder beast!

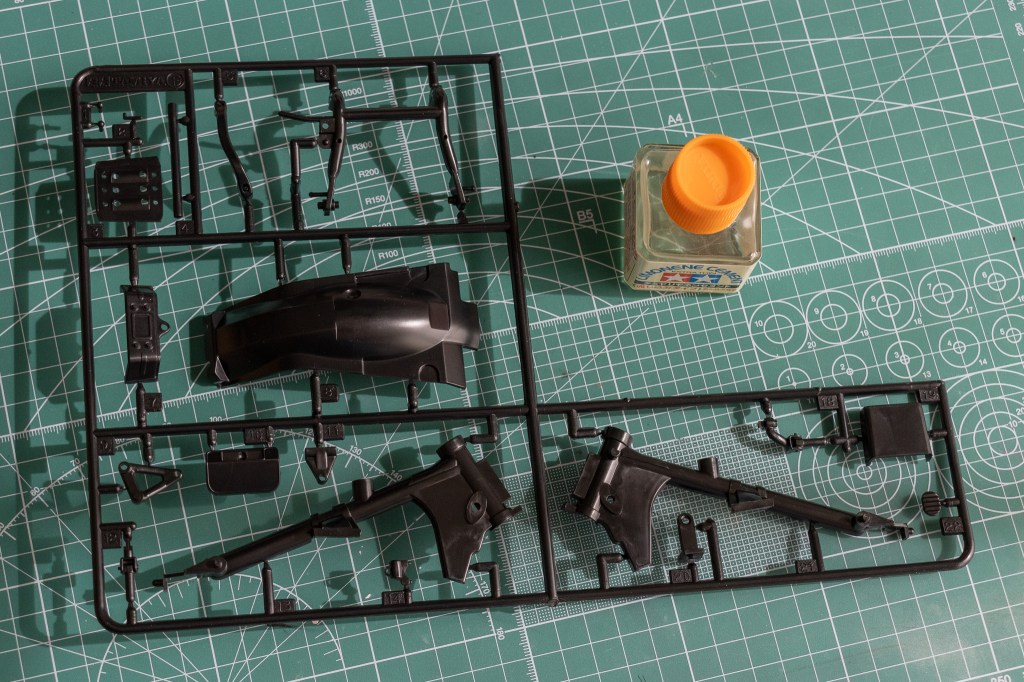
Sprue B.
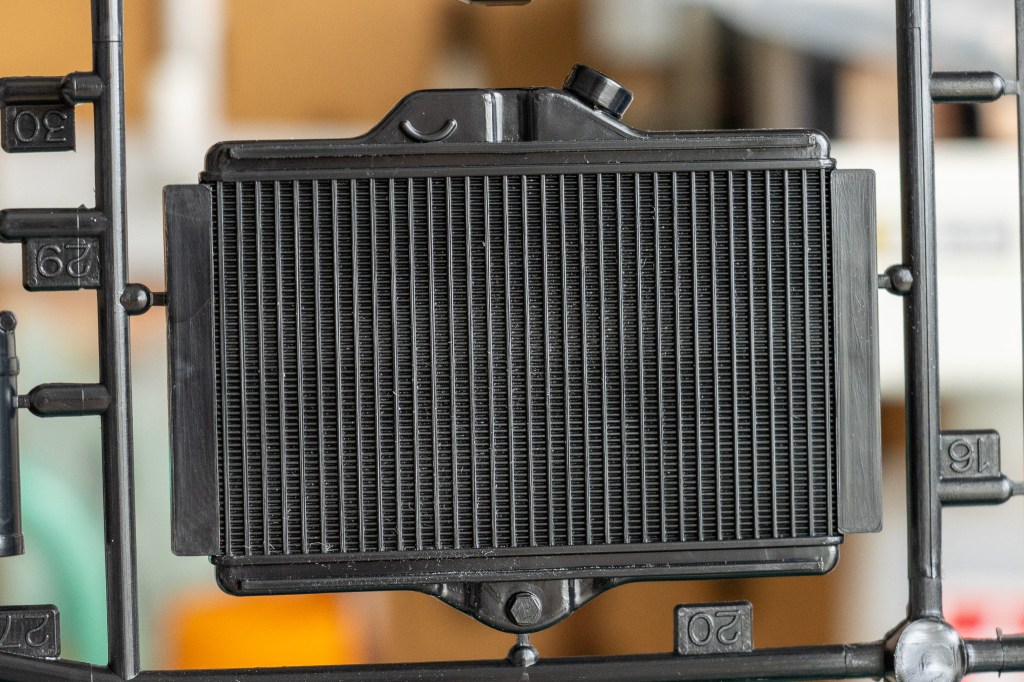
The big and eye-catching radiator.
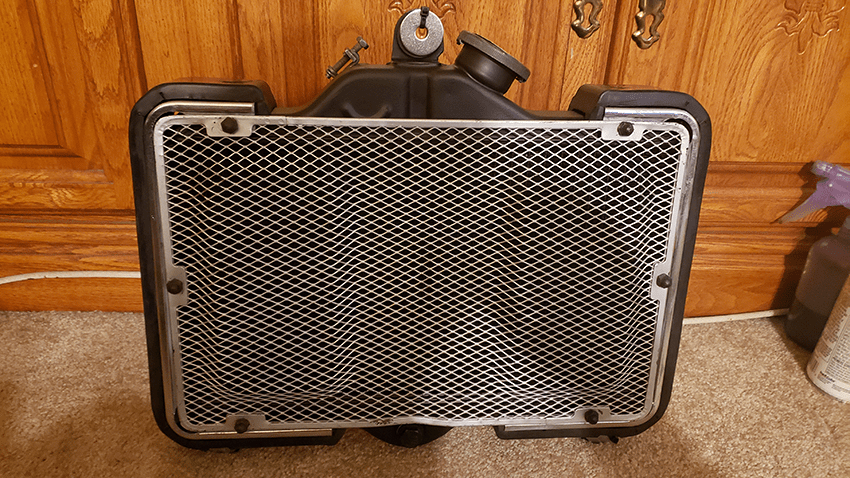
(Photo Credit: StanG, KZ1300.com)
Here’s photo of the real thing.

The screen looks good! The two lifted sections are faithfully recreated.
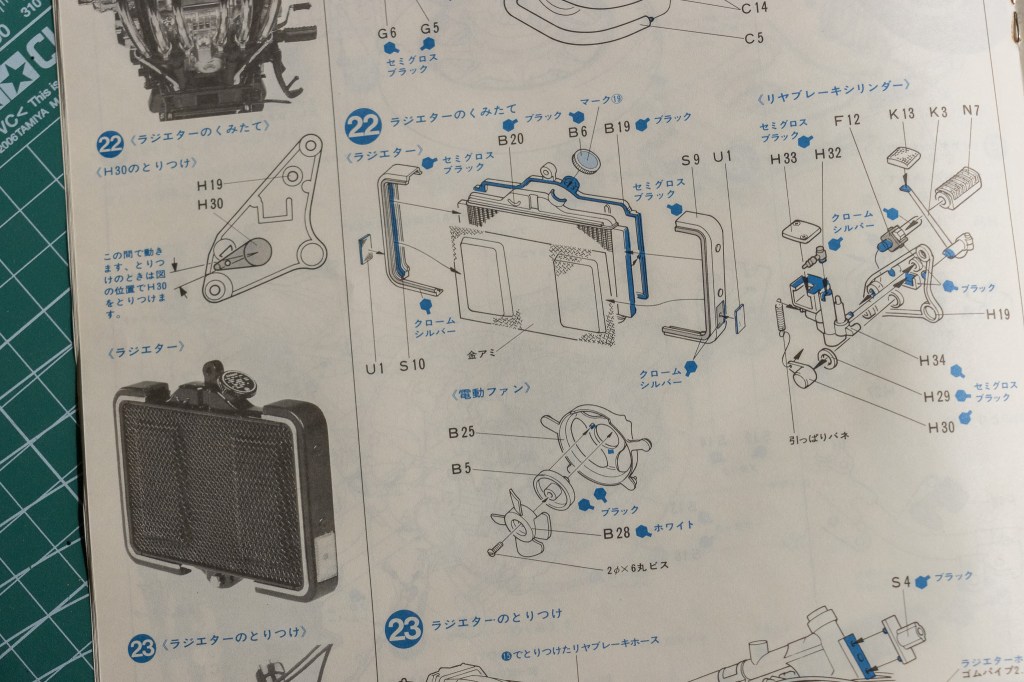
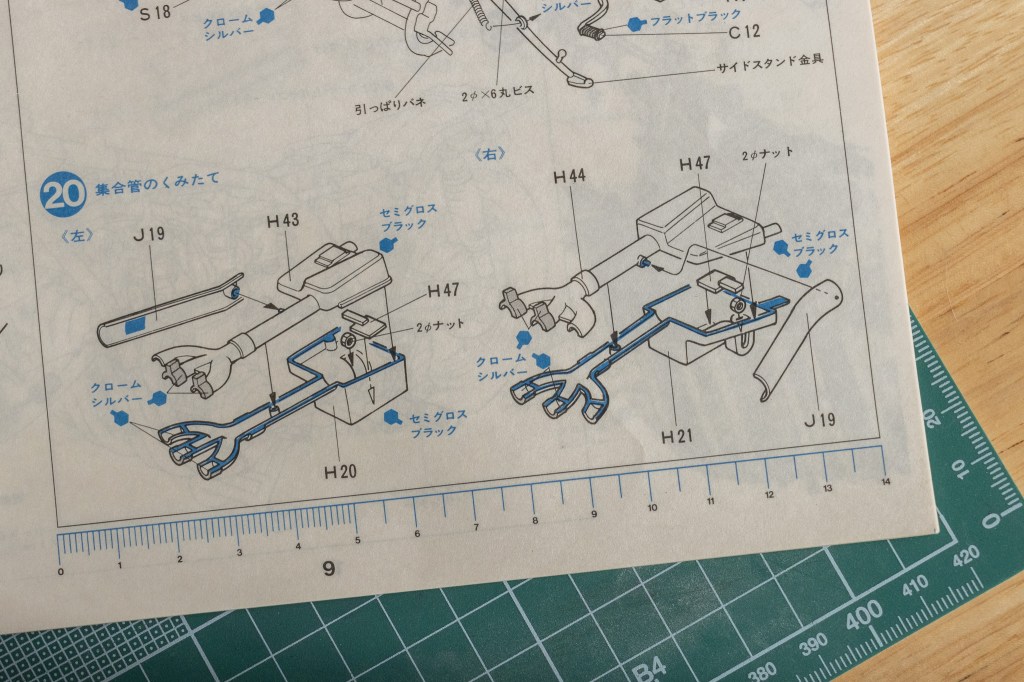
The assembly of the radiator is not exactly uncomplicated!
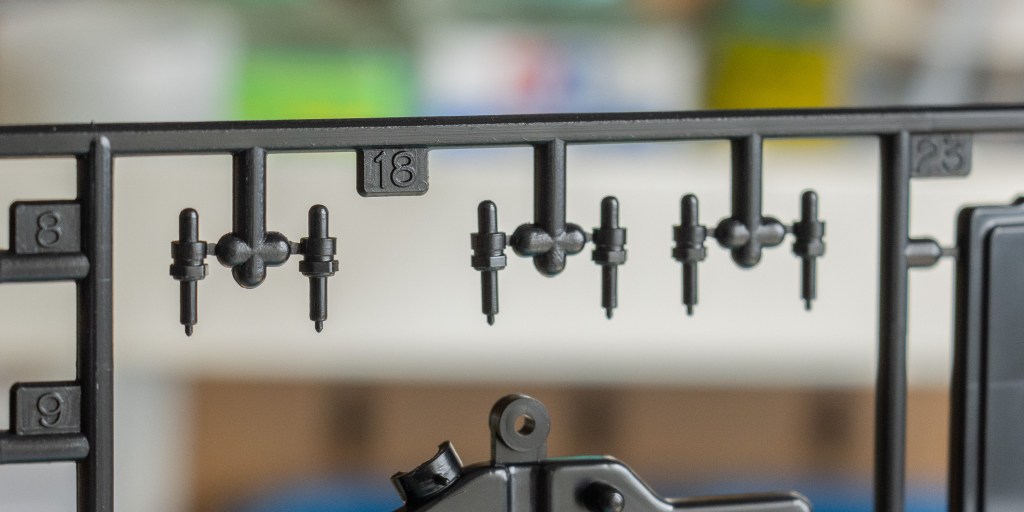
If I am not mistaken, these are the spark plugs!
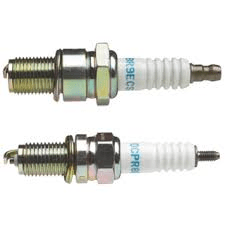
(Photo Credit: StanG, KZ1300.com)
Well, the kit spark plugs definitely won’t be the best spark plugs. Quite some details are omitted.

I never do this. You have to remove the parts first from the runner so you can clean the part, especially where the gate(s) is. I usually use masking tape or a small clip or whatever way that works to hold the part for painting.
Radiator fan housing.
These two parts make the complete radiator fan housing.
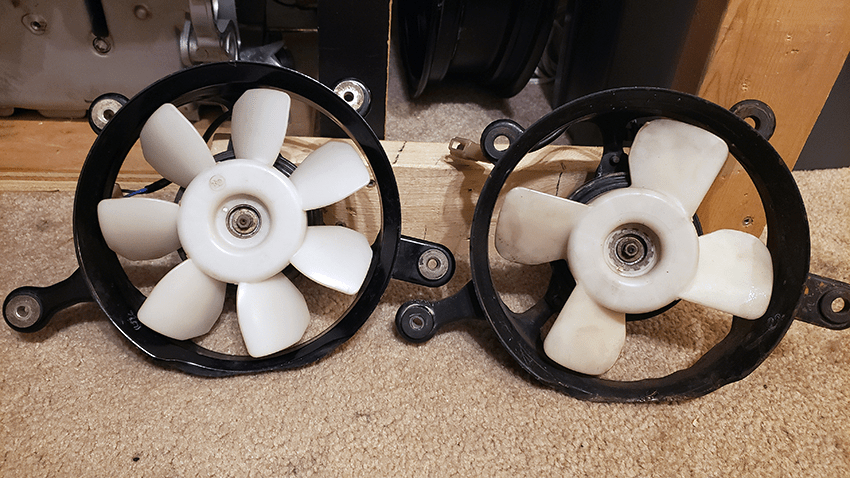
You’ve probably seen that already but the kit supplies the four-blade fan.
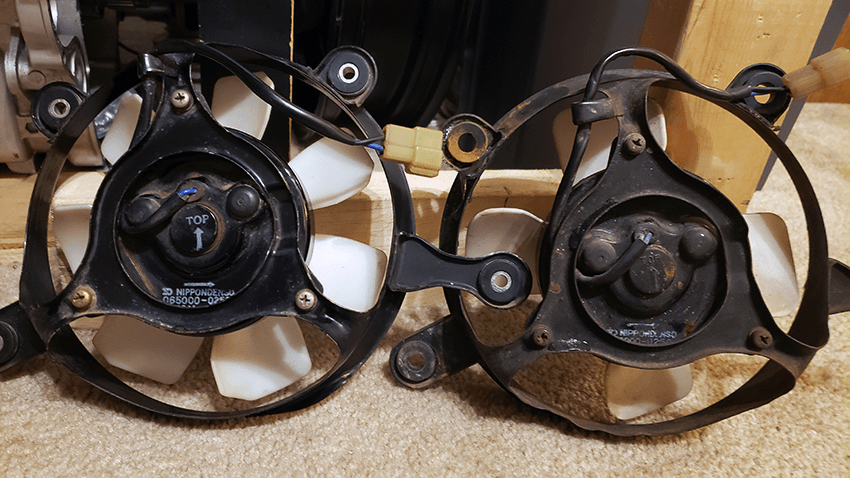
(Photo Credit: StanG, KZ1300.com)
Very accurate! Just the cable is omitted.
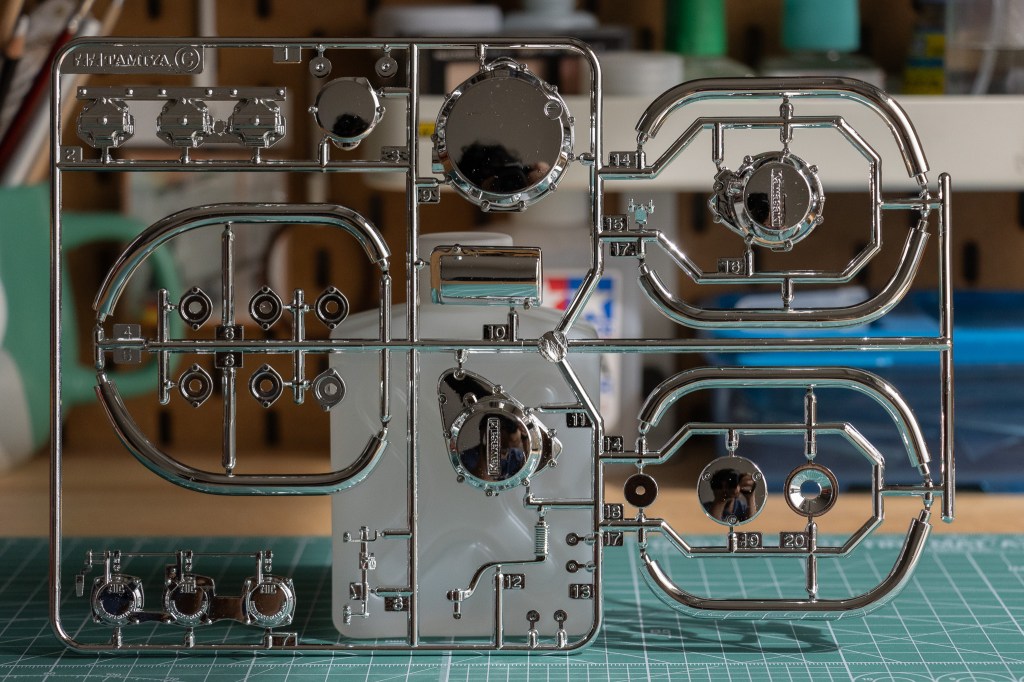
Sprue C is chrome-plated.

The quality of the chrome finish is questionable. I mean, it does not annoy me because I will nevertheless strip almost all of the chrome – but dannnng – just take a look at the finish. Tamiya, quality control, please!
The finish is rough.
(Photo Credit: Jtrane, Yahoo Auction)
Are you trying to pre-weather for us, Tamiya? Quality-wise, I think this is kinda unacceptable. Again, not like I intend to keep the chrome or anything close to that, but…
Carburetor covers? It is nice that the little black pedal is also included.
(Photo Credit: Baboon)
The chrome on the letters are so thick. Definitely gonna strip them.

It is everywhere…
Ugh!

(Photo Credit: Car & Classic)
Yes, GO AWAY, chrome!
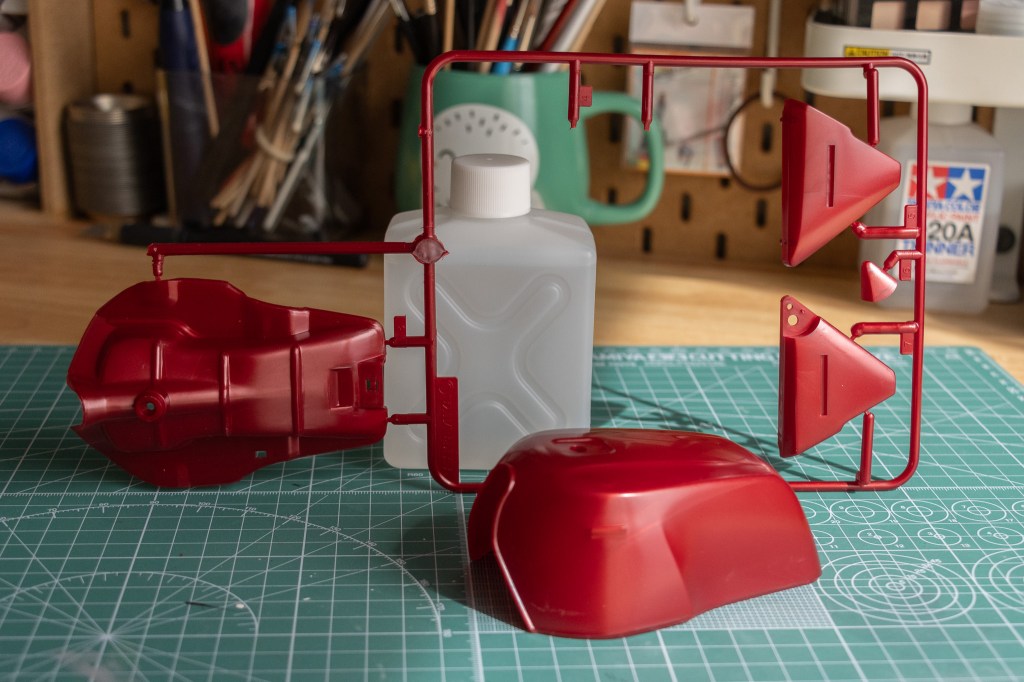
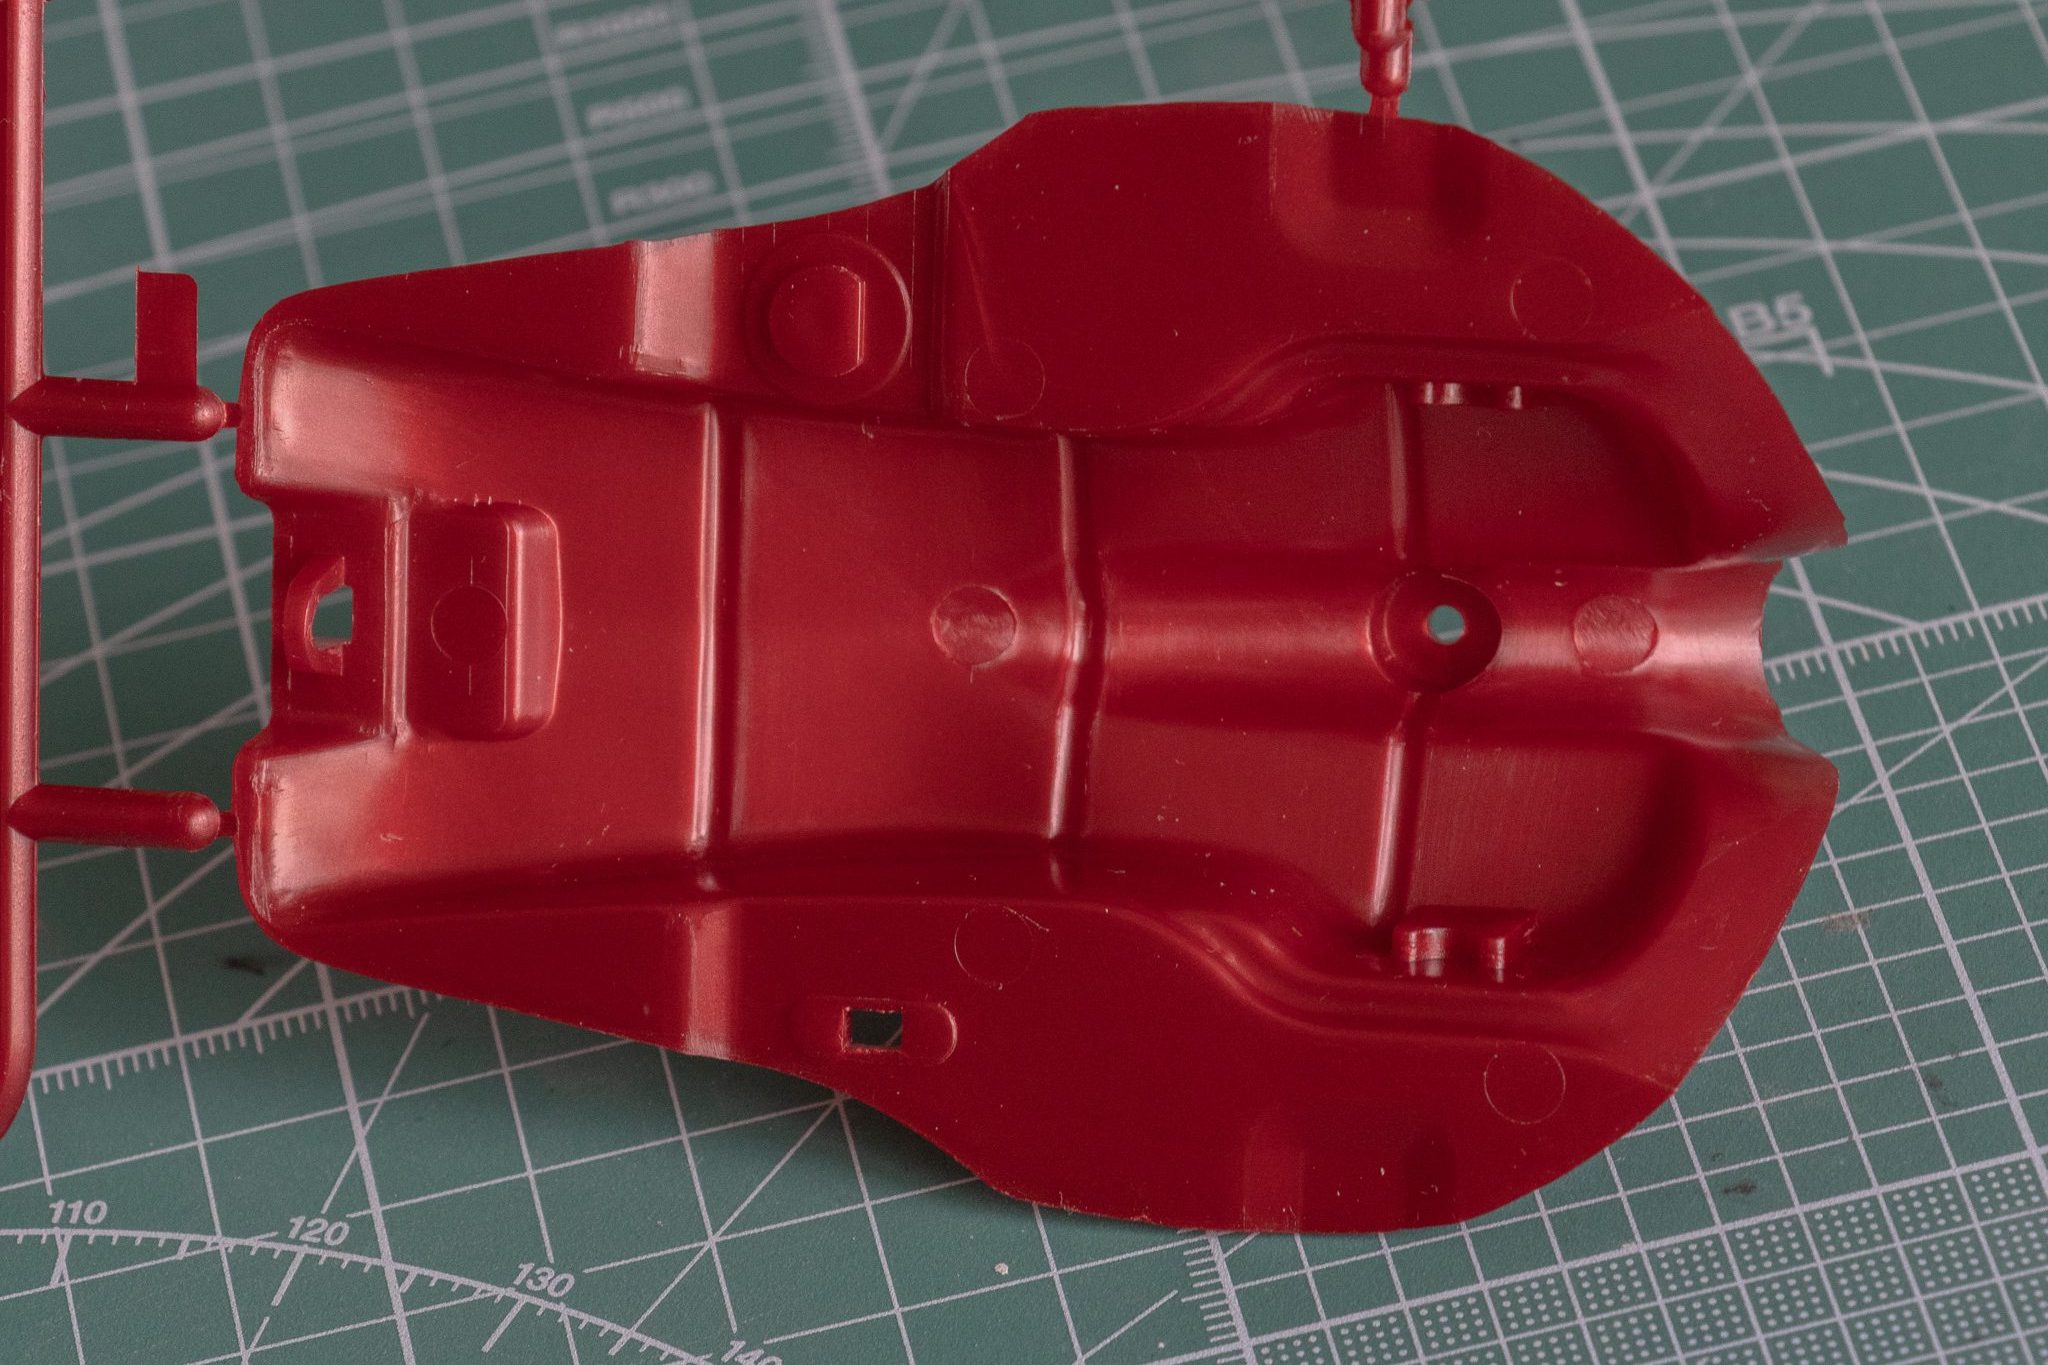
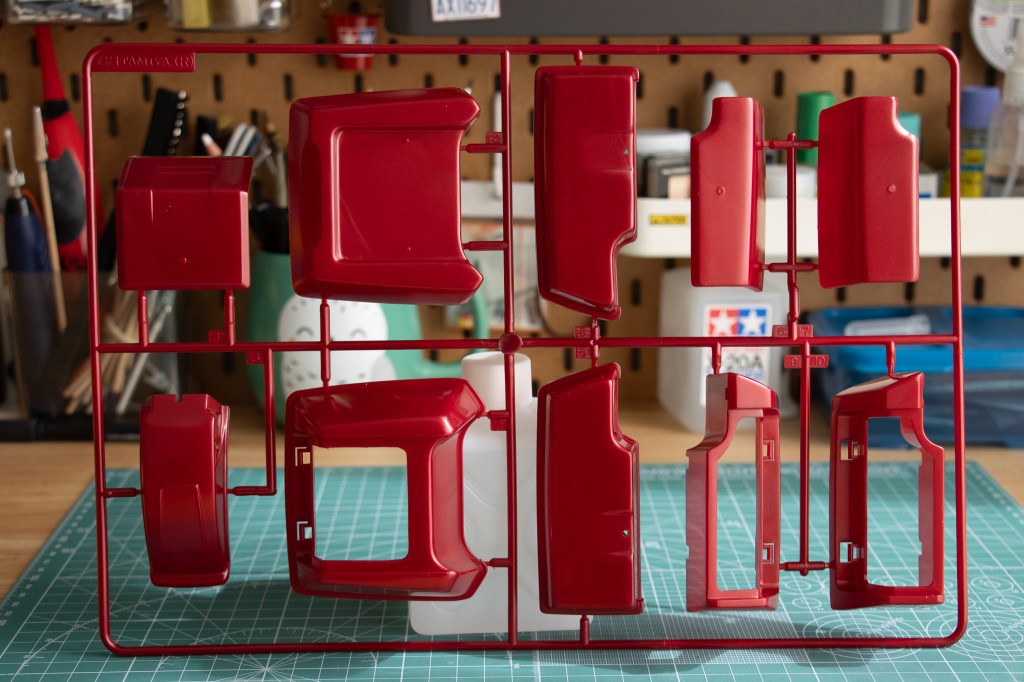
Sprue D. The enormous fuel tank fell from the runner as soon as I took the sprue out of the plastic bag.
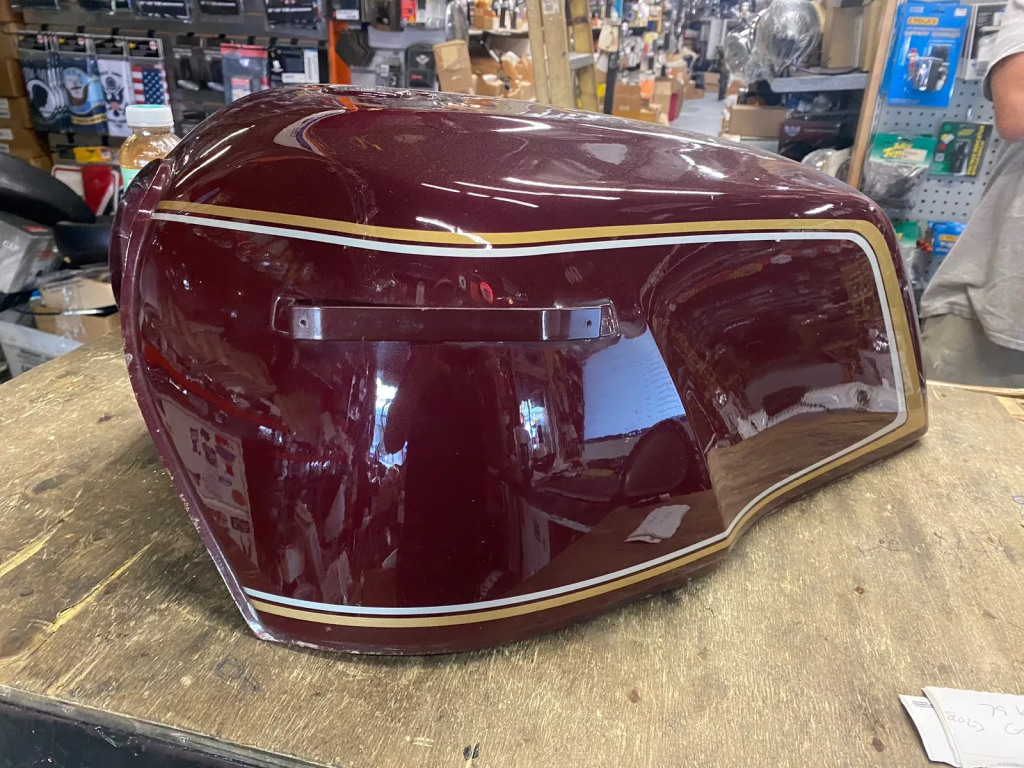
(Photo Credit: Cyclewarehouse, eBay)
I believe this is an original 1300B fuel tank, judging from the paint colour.

(Photo Credit: Cyclewarehouse, eBay)
Not a bad depiction of the 7.1 US gallon fuel tank.
(Photo Credit: Old Bike Australasia)
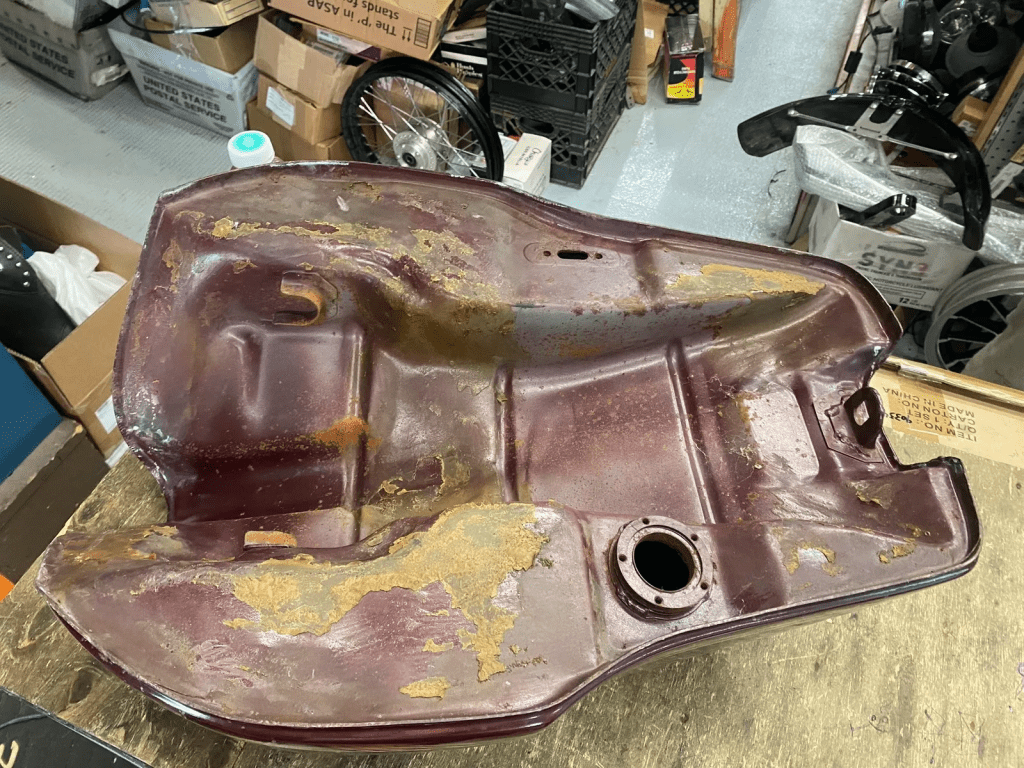
Though, not as big as this humpback…

The bike frame can be found on sprue E.
My only complaint would be the lack of weld lines. They can be made out of modeling putty, though.
Sprue F. Is it possible – since the engine code is moulded – that the frame number is also recreated?

(Photo Credit: H & H Classics)
The number can be found here. Let’s see…
Okay. :-\
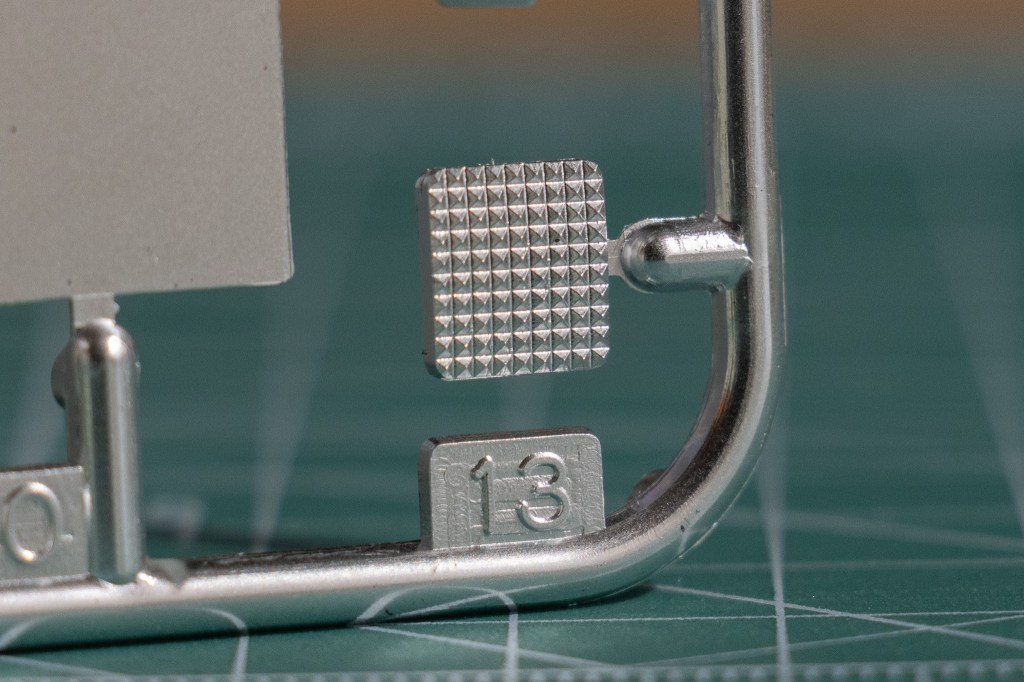
The crispy nuts details are presented everywhere.

Sprue G.
The moulding quality is top!

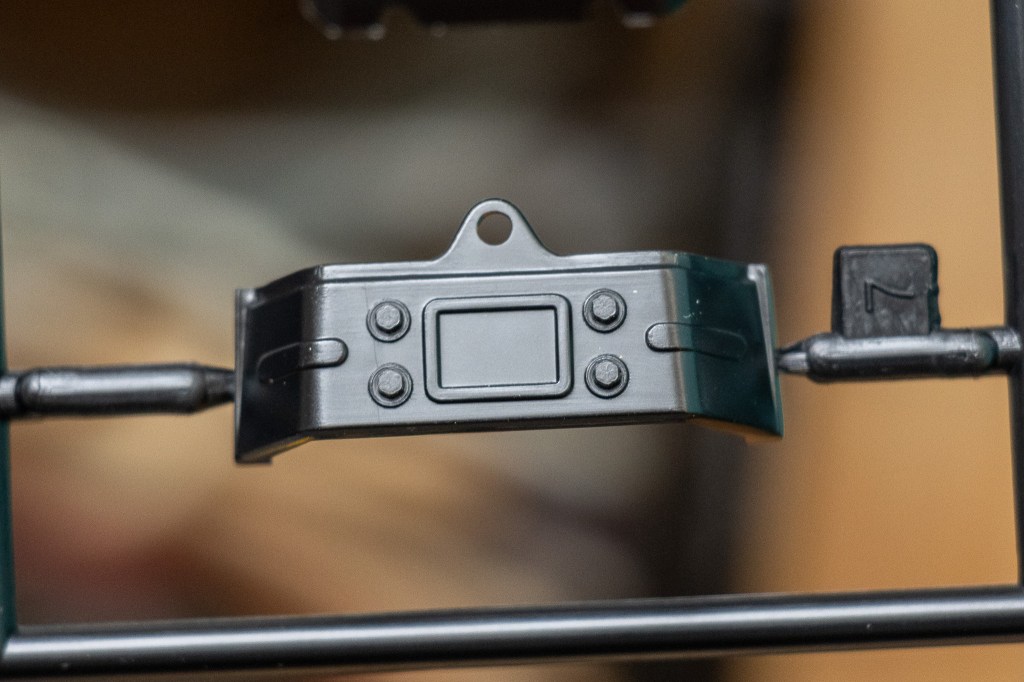
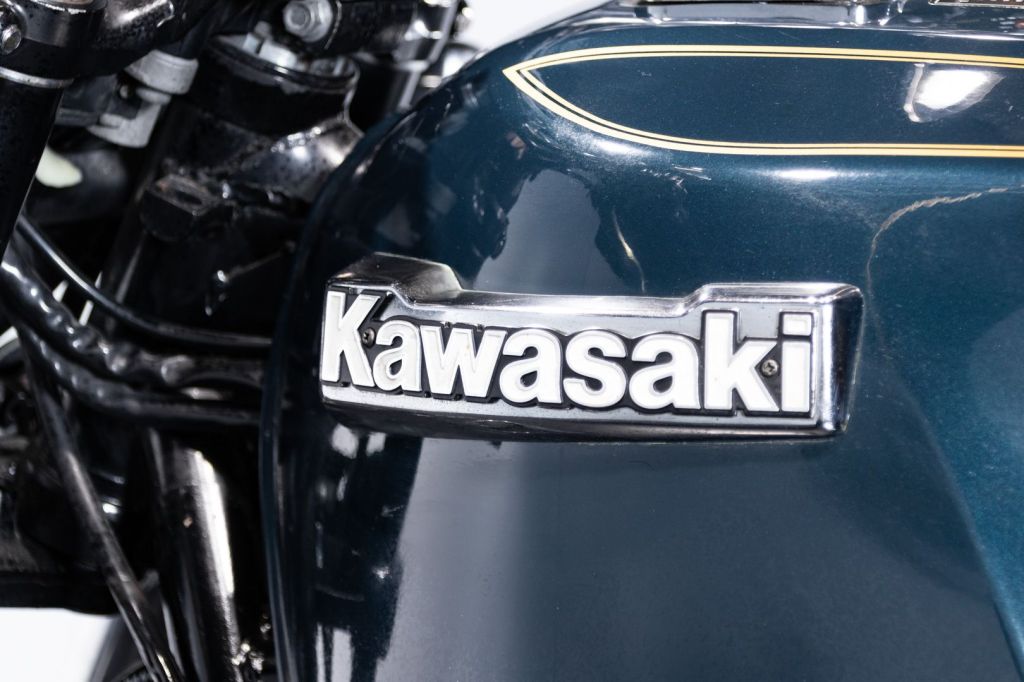
A Kawasaki logo plate.
(Photo Credit: Route da Sogno, zoomed)
It’s a pity that the texture here is missing. Maybe it was hard to do in the 80s? I mean this part itself is quite small.
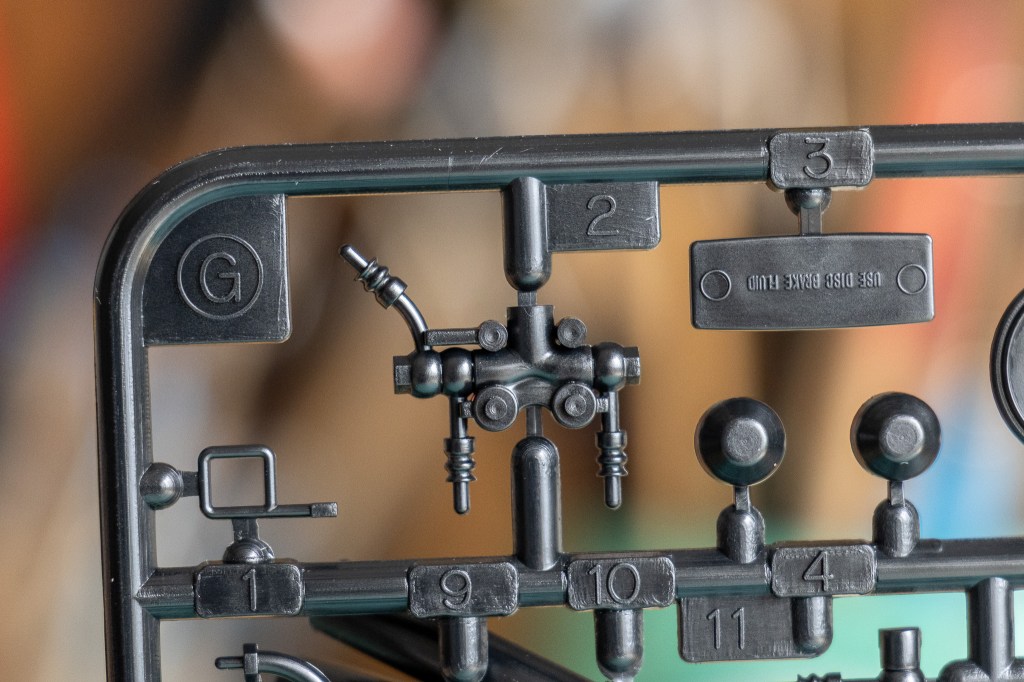
Brake calipers.
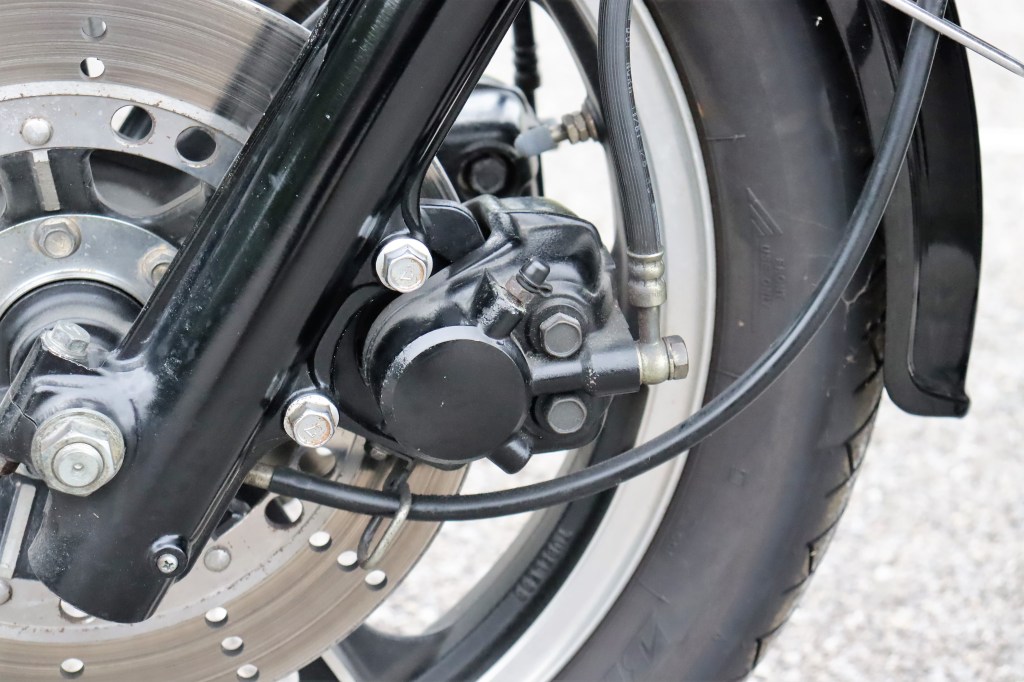
(Photo Credit: H & H Classics)
Looking good.
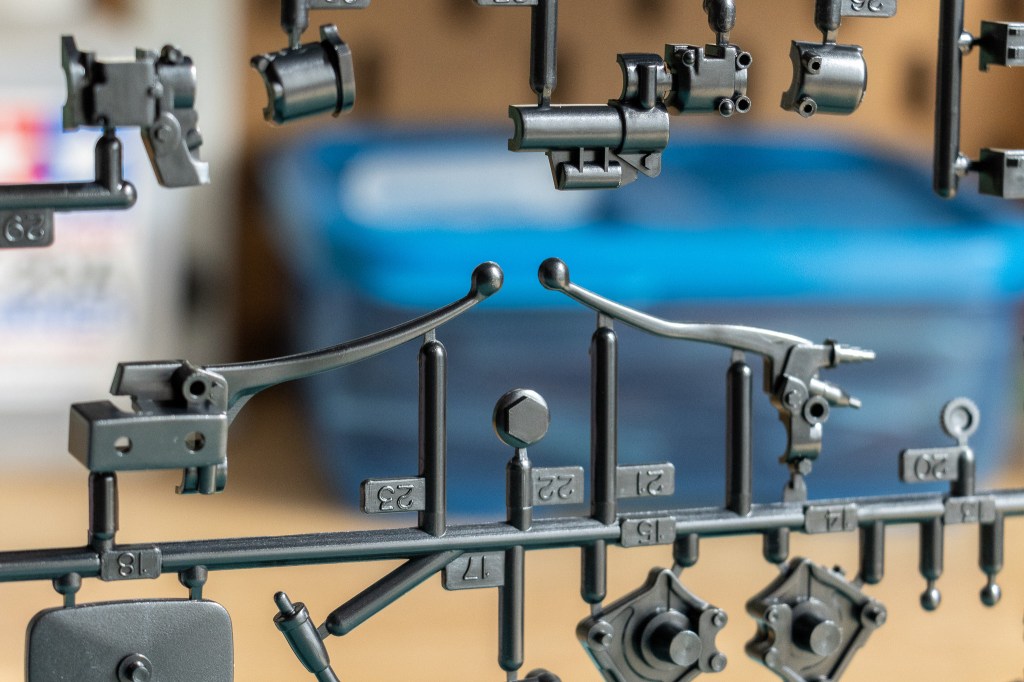
The two levers. Part# 21 is the clutch lever, #23 is the front brake lever.
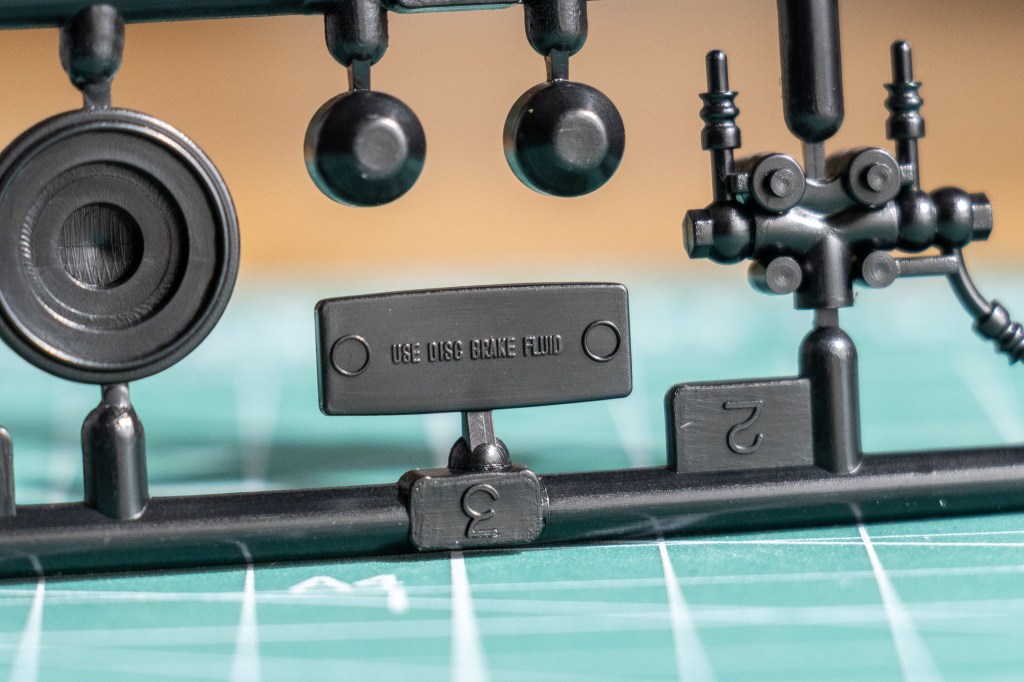
Front brake fluid tank(?) cover.
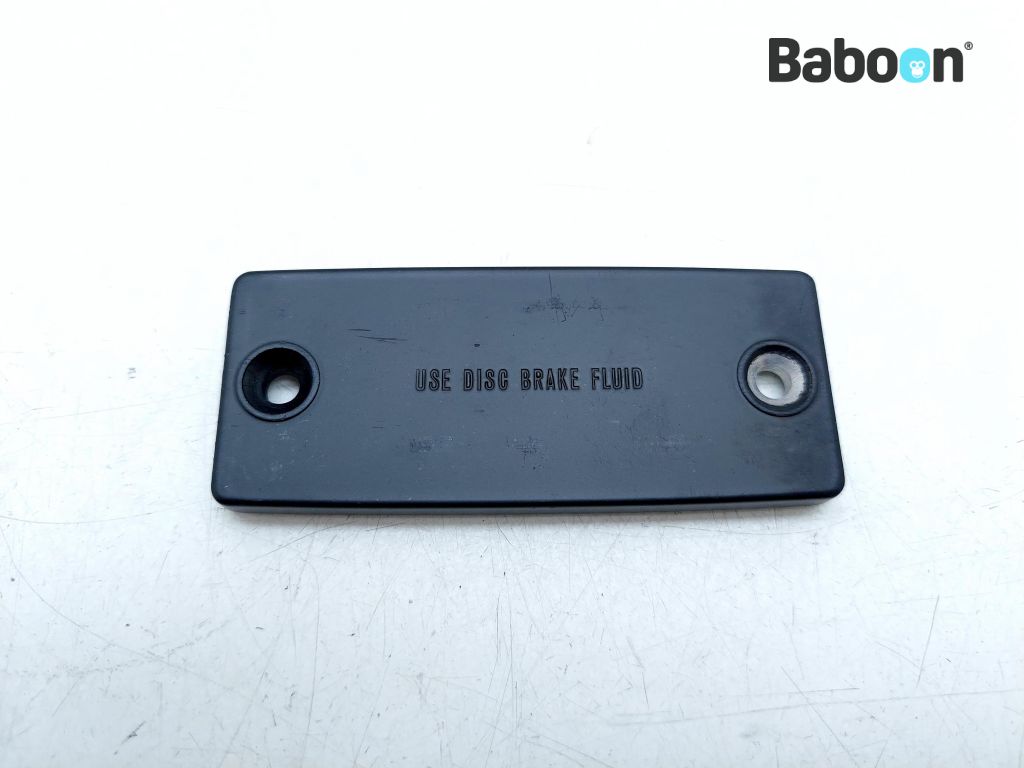
(Photo Credit: Baboon)
Here’s the real thing. Note the letters on the real thing are smaller.
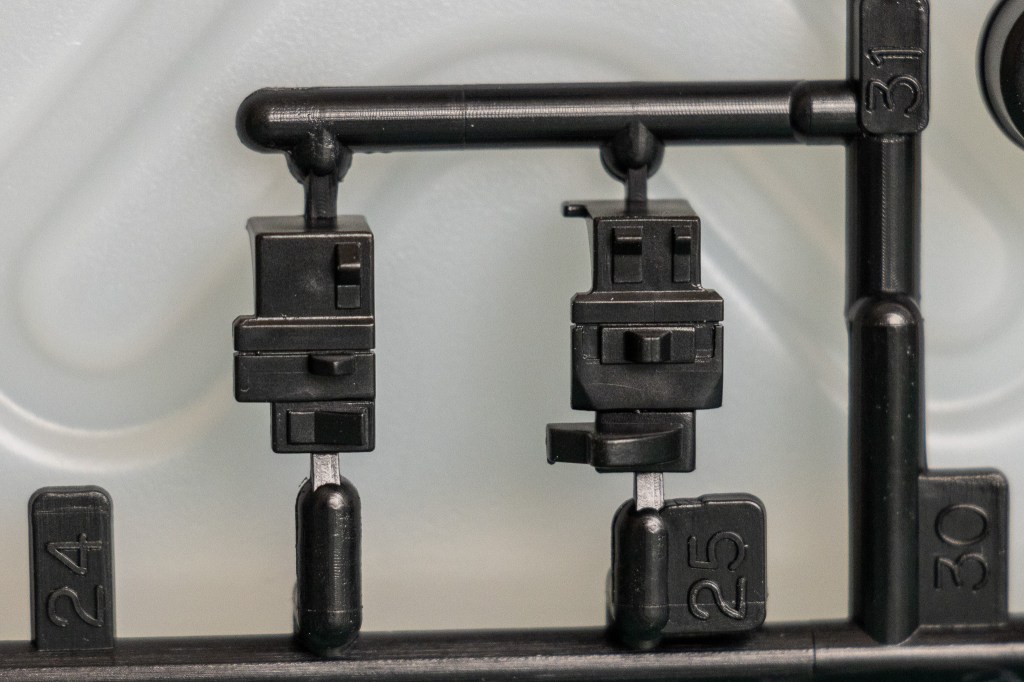
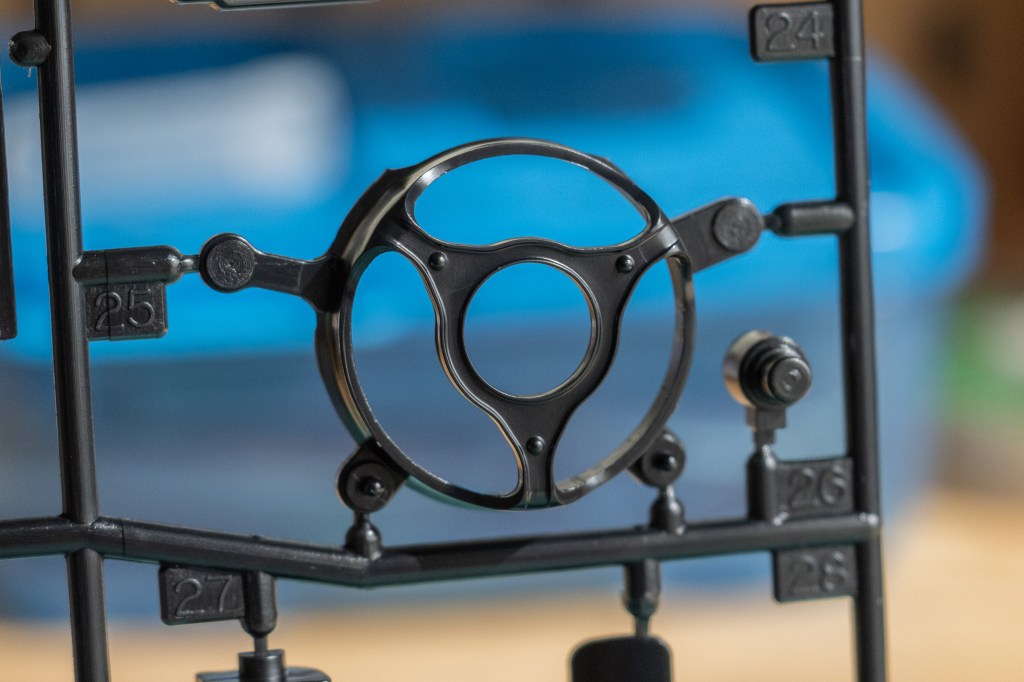
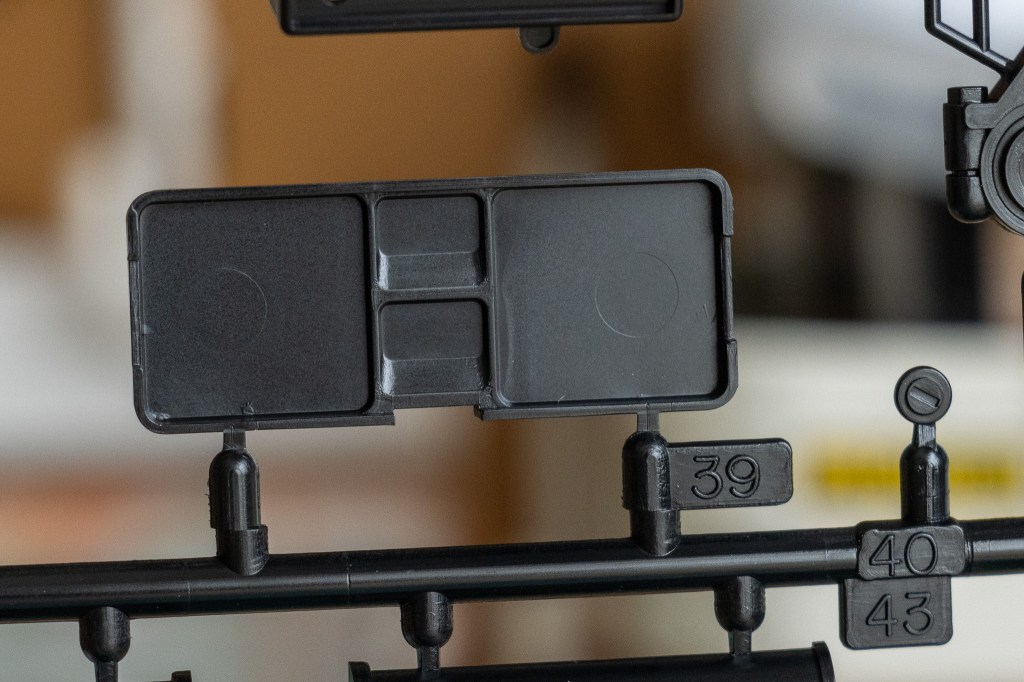
Talking about switches! Part# 25 is for left and #24 for the right hand.
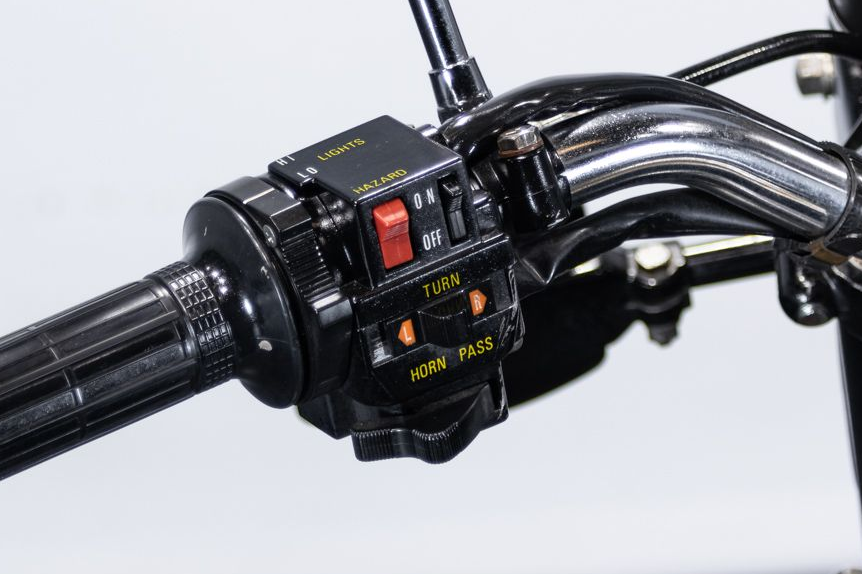
(Photo Credit: Route da Sogno, zoomed)
On the left hand, you have these…

(Photo Credit: Route da Sogno, zoomed)
Accurate! There is something missing though…
(Photo Credit: Jukka Ollikainen, Facebook)
Exactly! Note this is a sticker sheet for the actual car. But excellent reference for us, the modelers, to make extra details for what’s on the workbench.
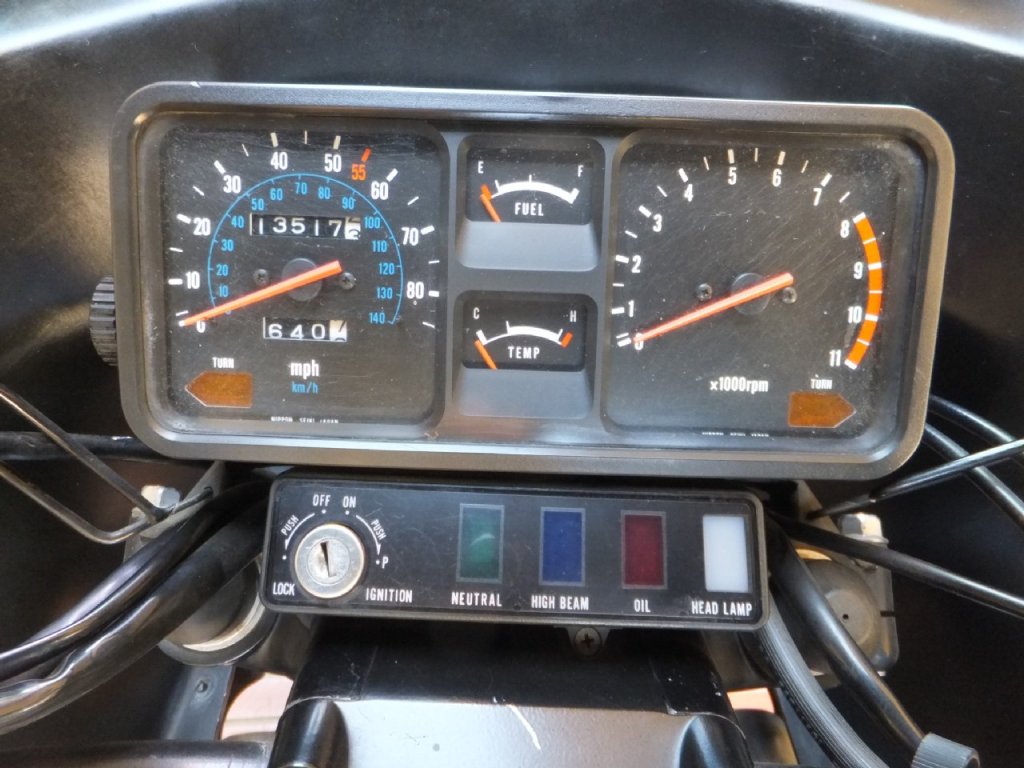
Main gauge panel.

(Photo Credit: zg1300kz1300z1300, Yahoo Auction)
This back panel looks extremely realistic, compared to the actual one. The acorn caps are incredibly replicated here.
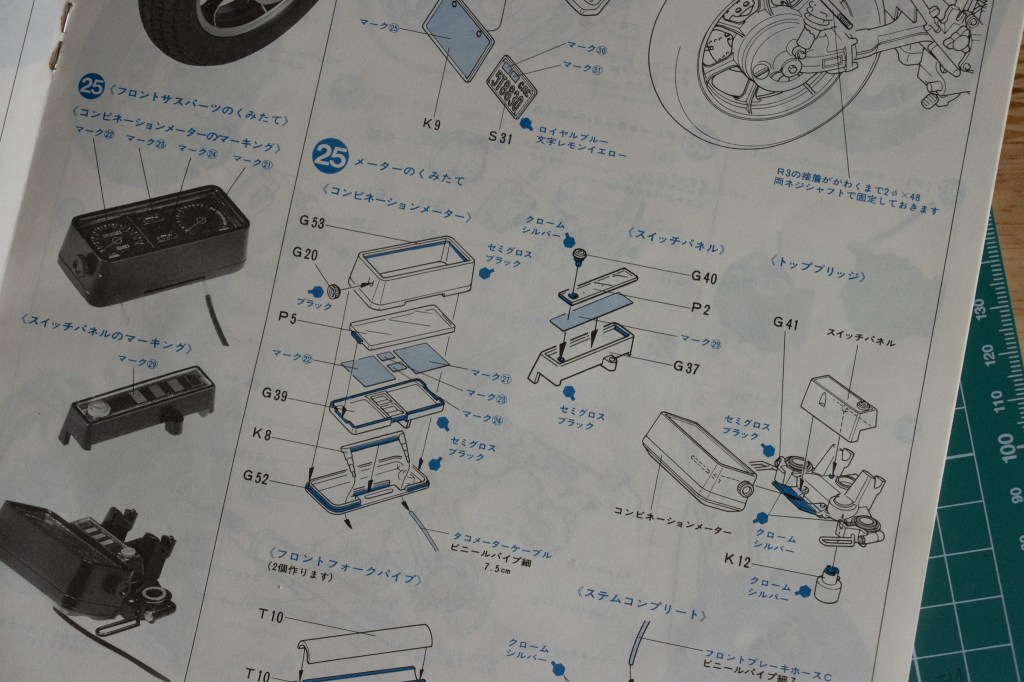
The instrumental clusters assembly is fairly sophisticated; but I am sure the result makes everyone smile.
(Photo Credit: 絶品輪業)
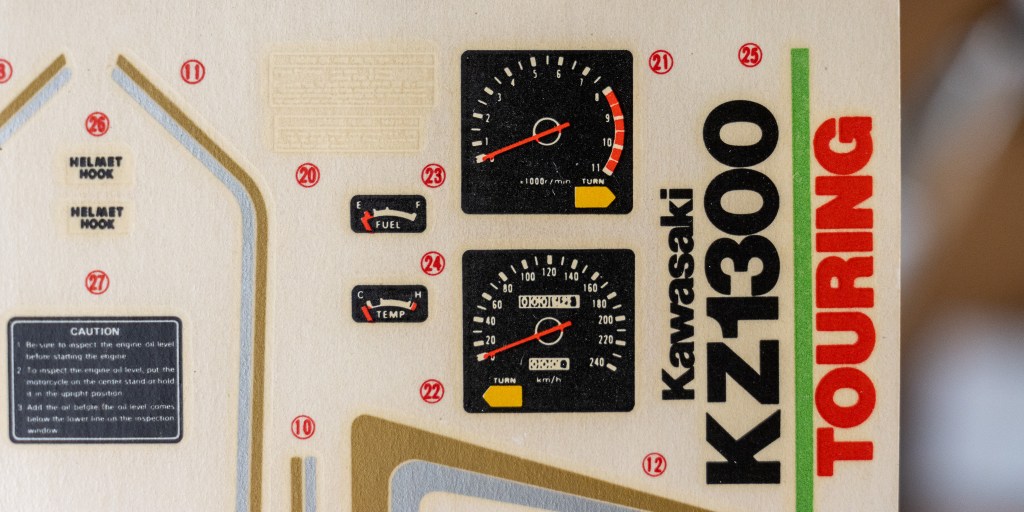
Not a big problem, but the printing quality on the decals is a little bit blurry. It is not crystal clear and crispy, at least; but it is also far from unacceptable.

A bit rougher on the smaller gauge panel. To be fair, these letters are extremely small.

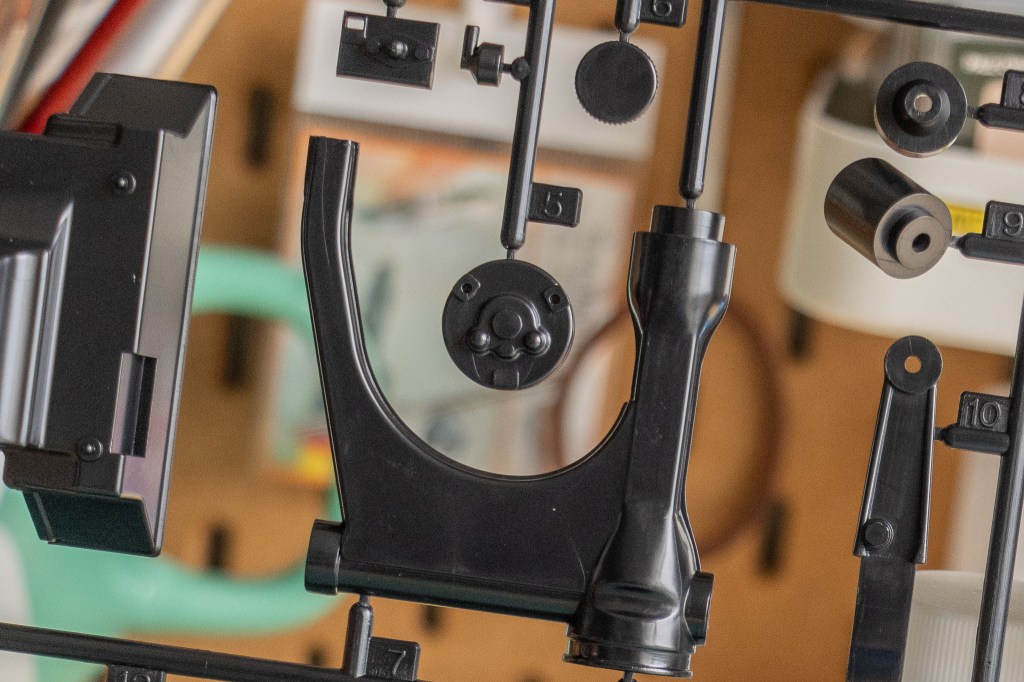
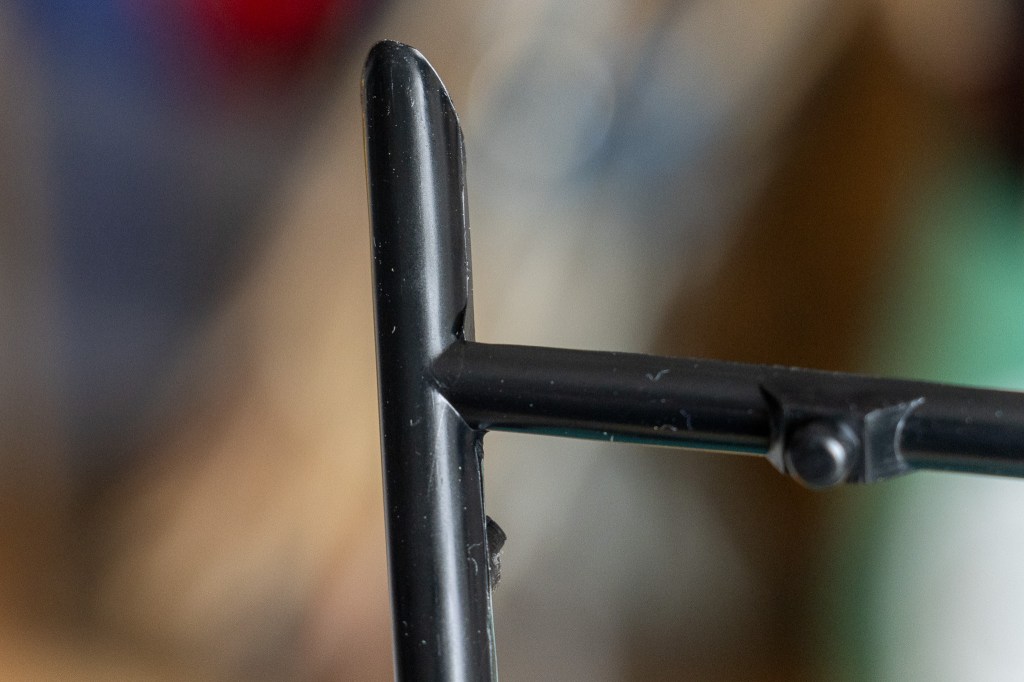
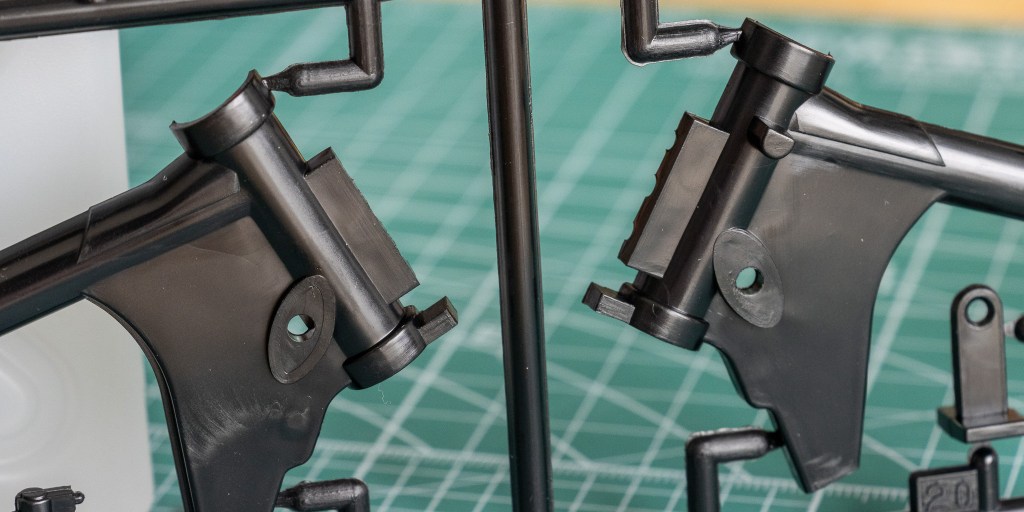
Fork yoke with cable guides.

(Photo Credit: Dkmotorcyclespares, eBay)
Here’s a real thing without the cable guides installed.
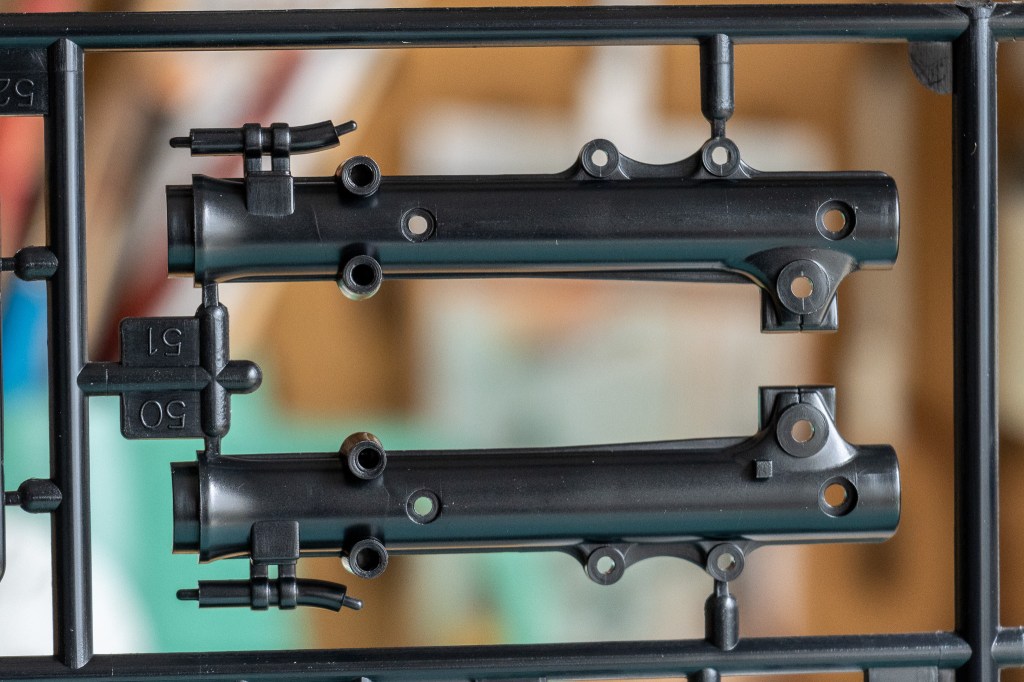
Not the easiest thing to work with parts that go together like this, but any experienced modelers should be able to handle it. Don’t worry, here’s a great opportunity for you and me to practice.
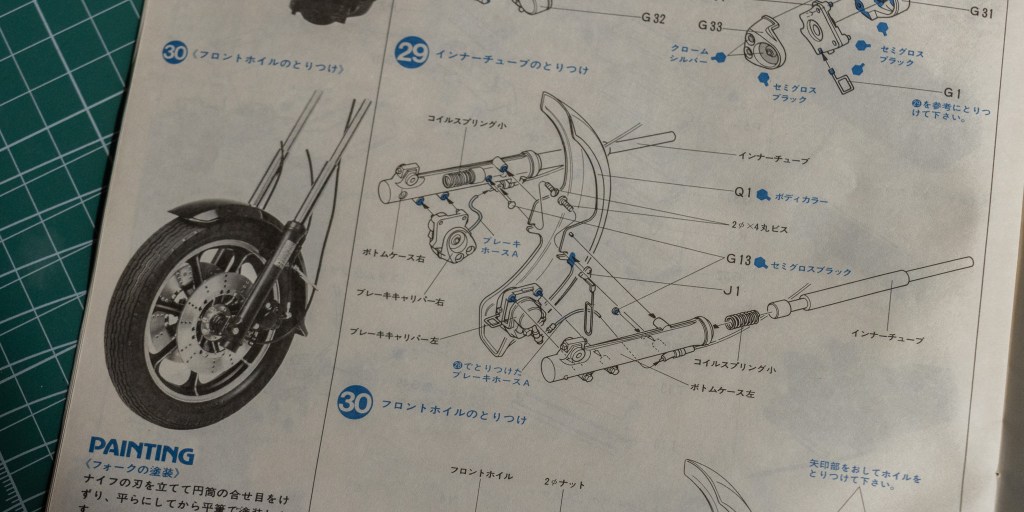
With the two springs inserted, the front suspensions are workable.
Next, sprue H.
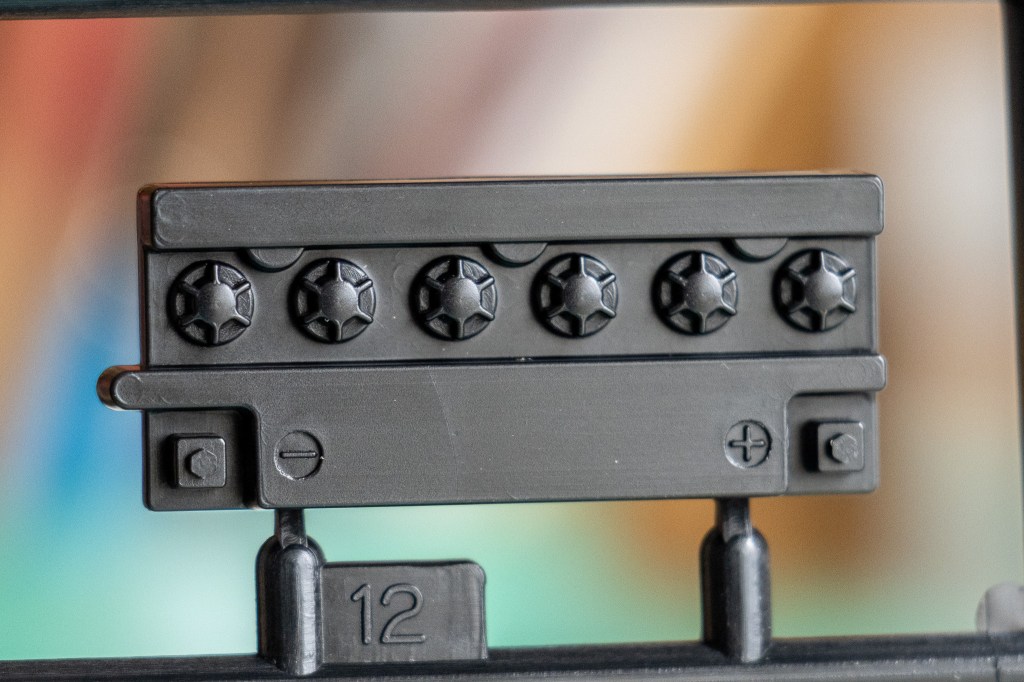
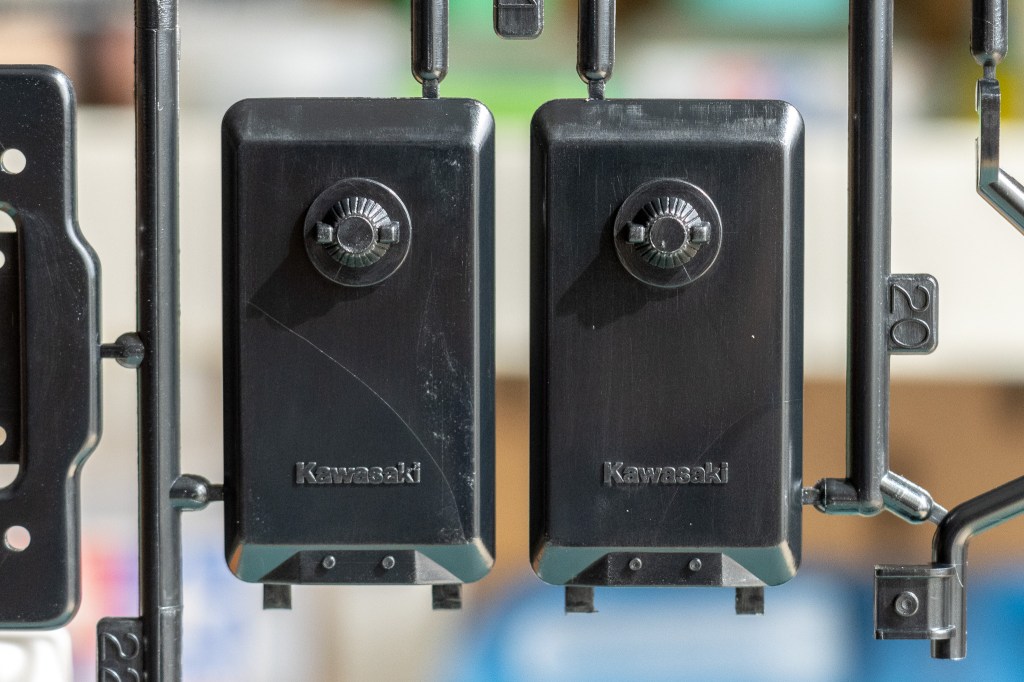
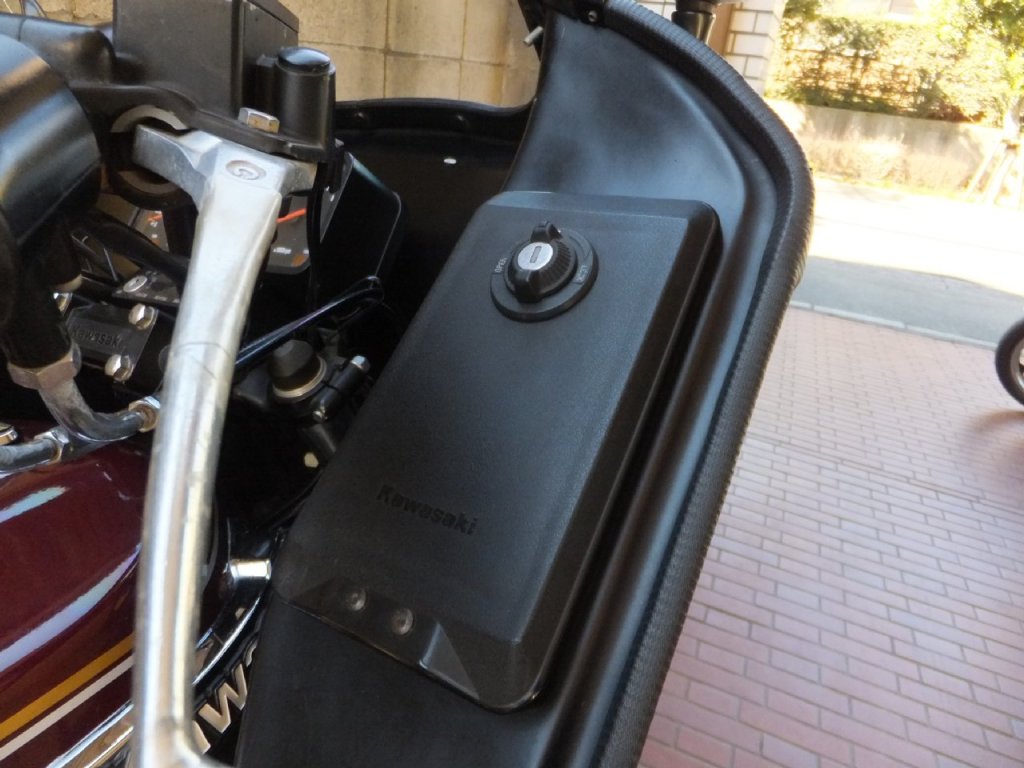
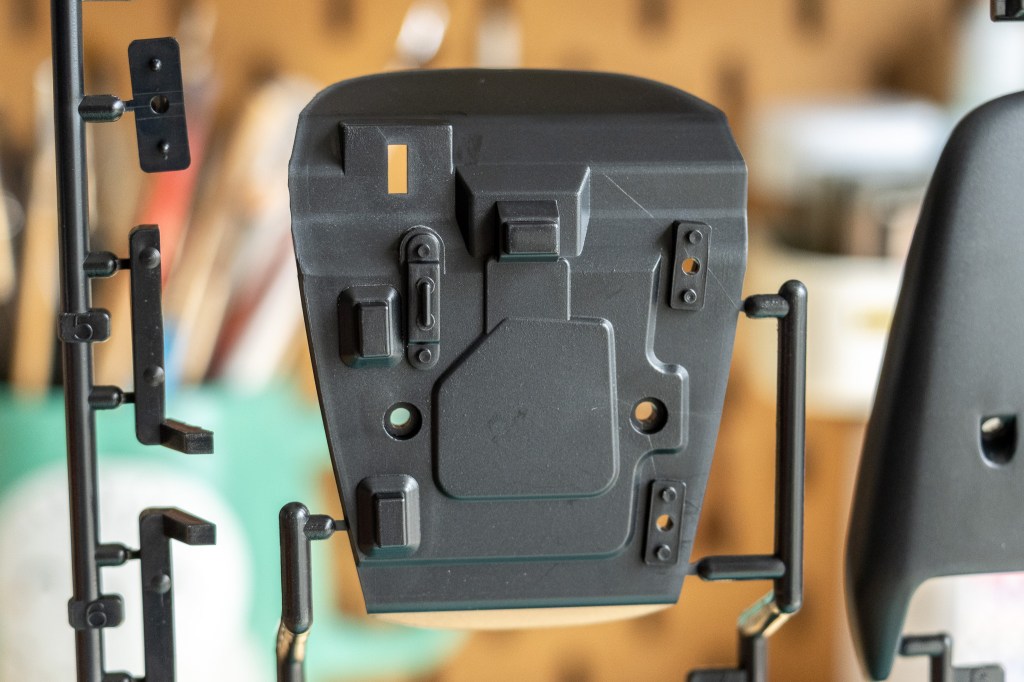
Battery top cover.
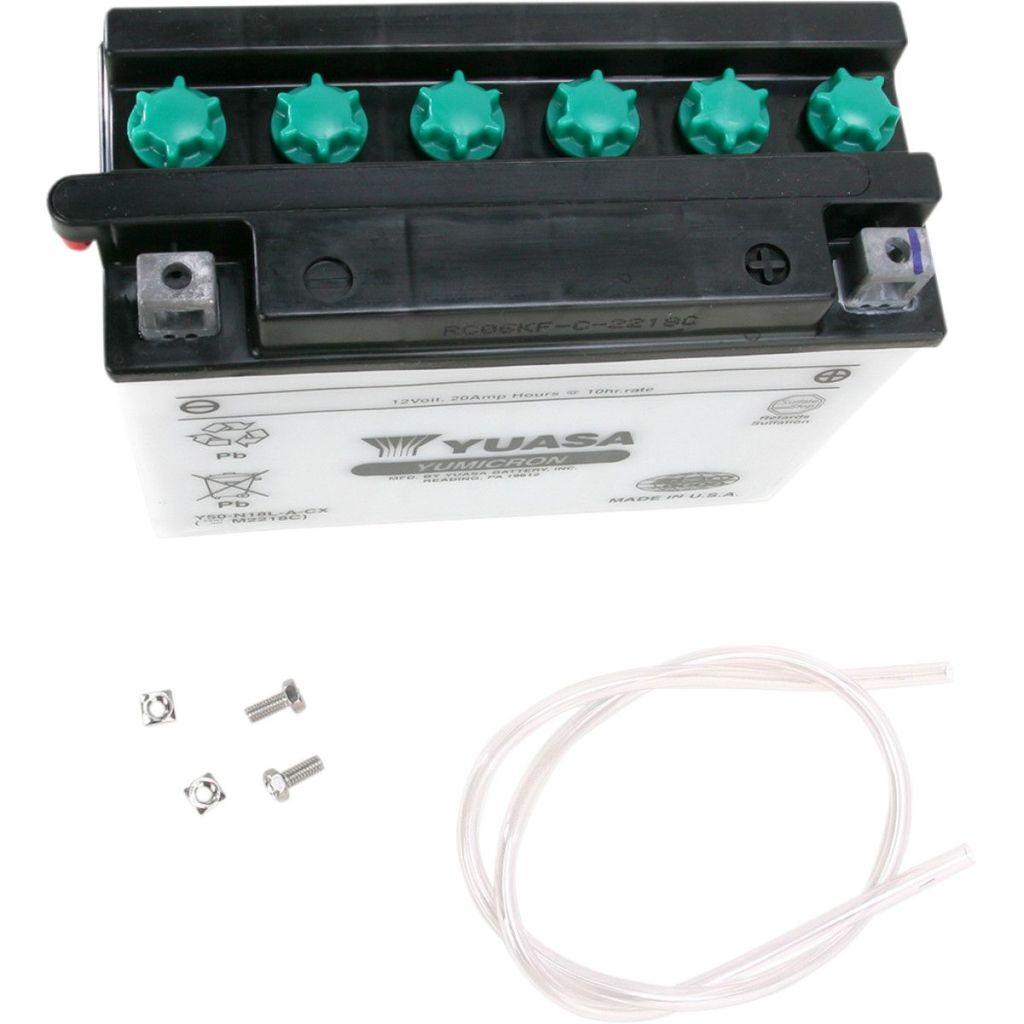
(Photo Credit: Fortnine)
It was hard to find the exact same YUASA battery, which is indicated in the decals as “Y50-N18L-A2.” Here’s a “Y50-N18L-A.”
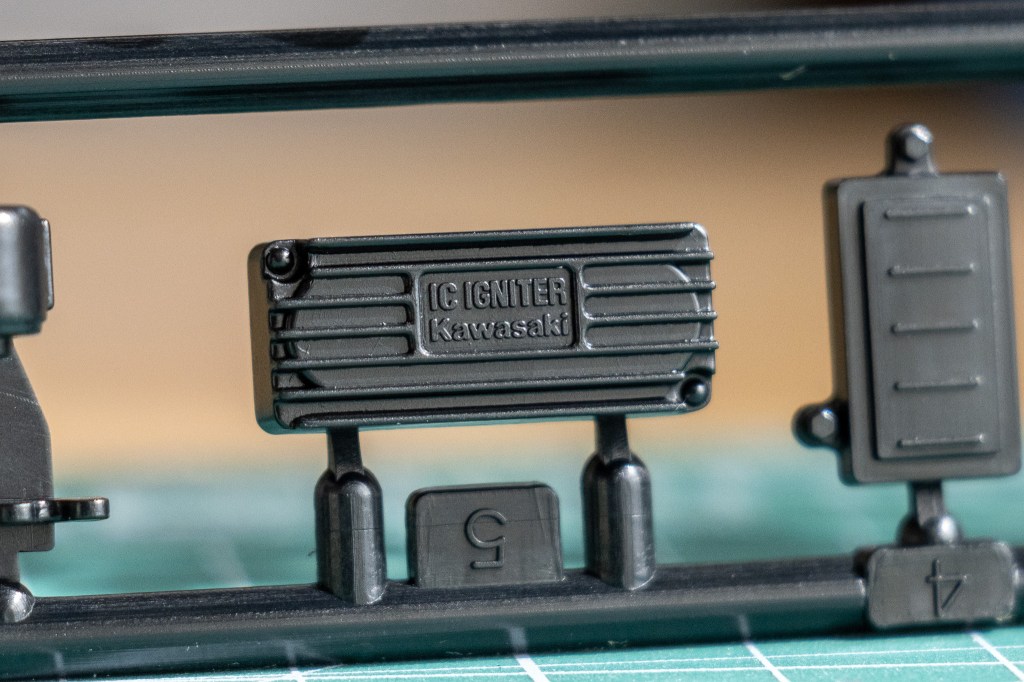
Igniter.

(Photo Credit: Kawaparts Store, eBay)
The cables are nowhere to be found, but the igniter looks exactly alike the actual piece.
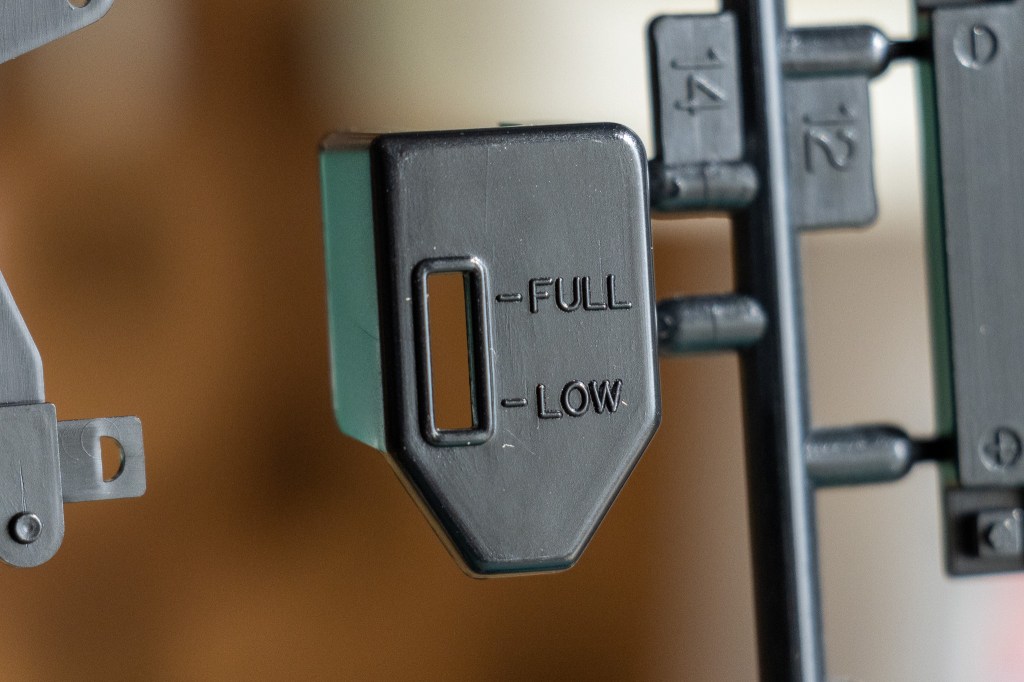
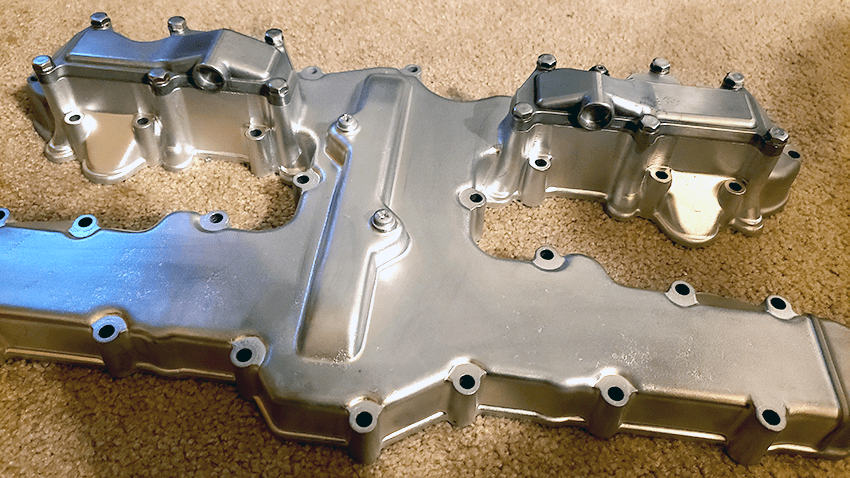
Liquid coolant tank cover. Extremely crispy details!
(Photo Credit: H & H Classics)
The above reference tells you how good that Tamiya part is.

Not too bad, the first several lines are still readable! 😀
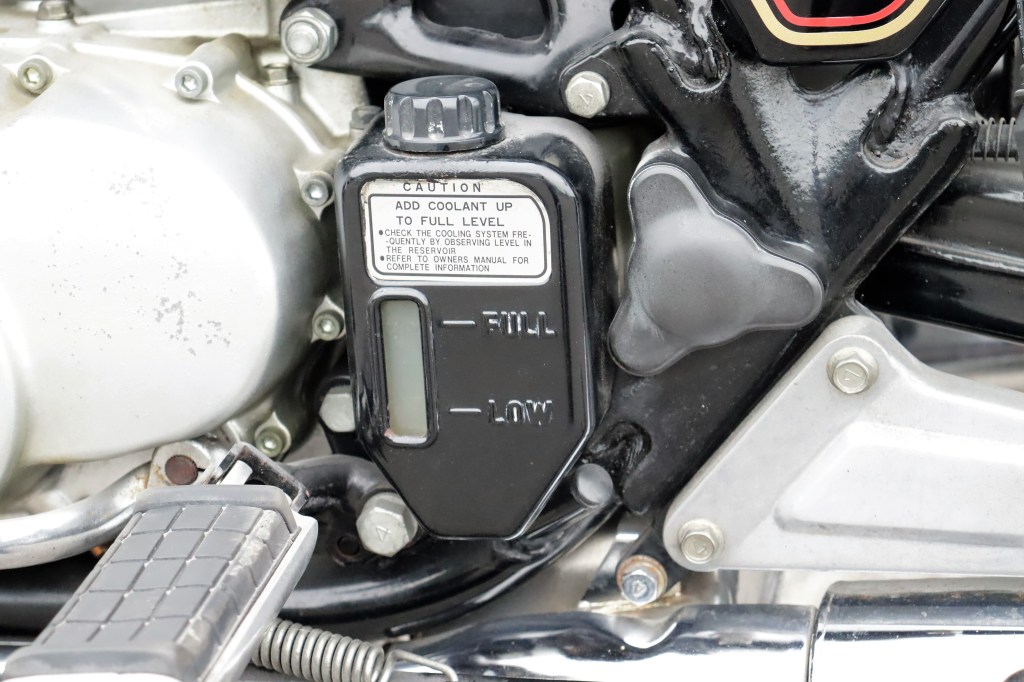
The coolant tank underneath the cover.
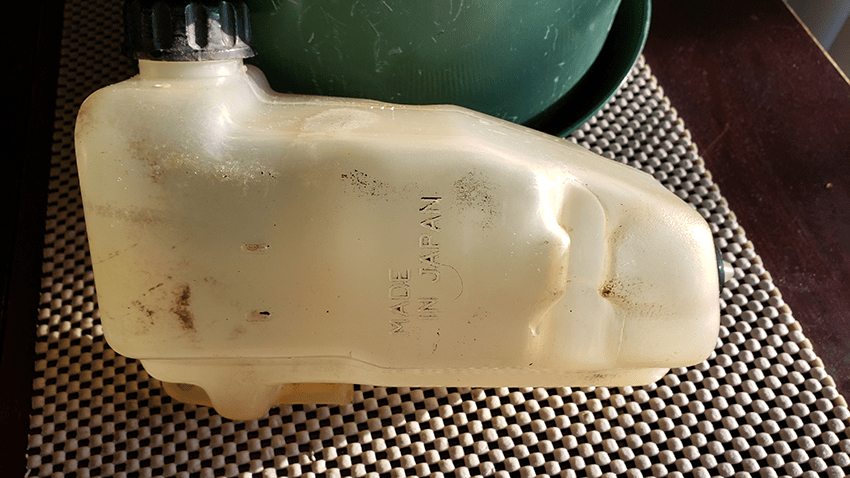
(Photo Credit: StanG, KZ1300.com)
This is what the real thing looks like. Again, if you have a 1/12 Tamiya 934/935 kit, you probably have seen these plastic sprues:
(Photo Credit: Kc0oig’s Model Parts, eBay)
We need this! We need this! We need this!
Now, you have to be creative with the observation window on the cover, as the inner tank is black. The easiest way is to paint the tank with a colour that is close to the half-transparent plastic tank.
More workload…
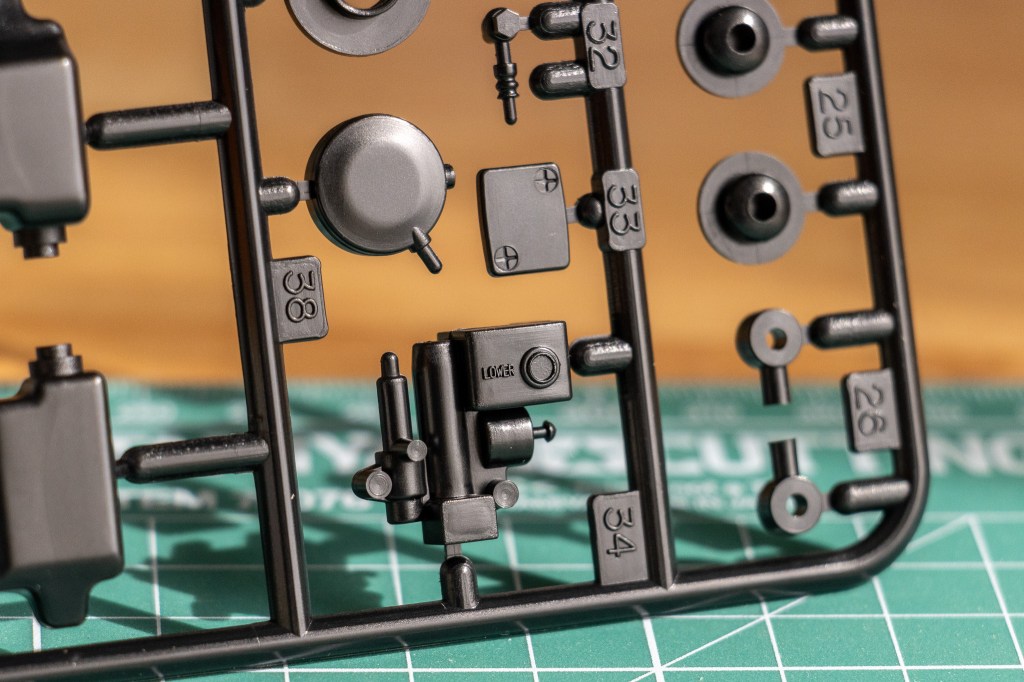
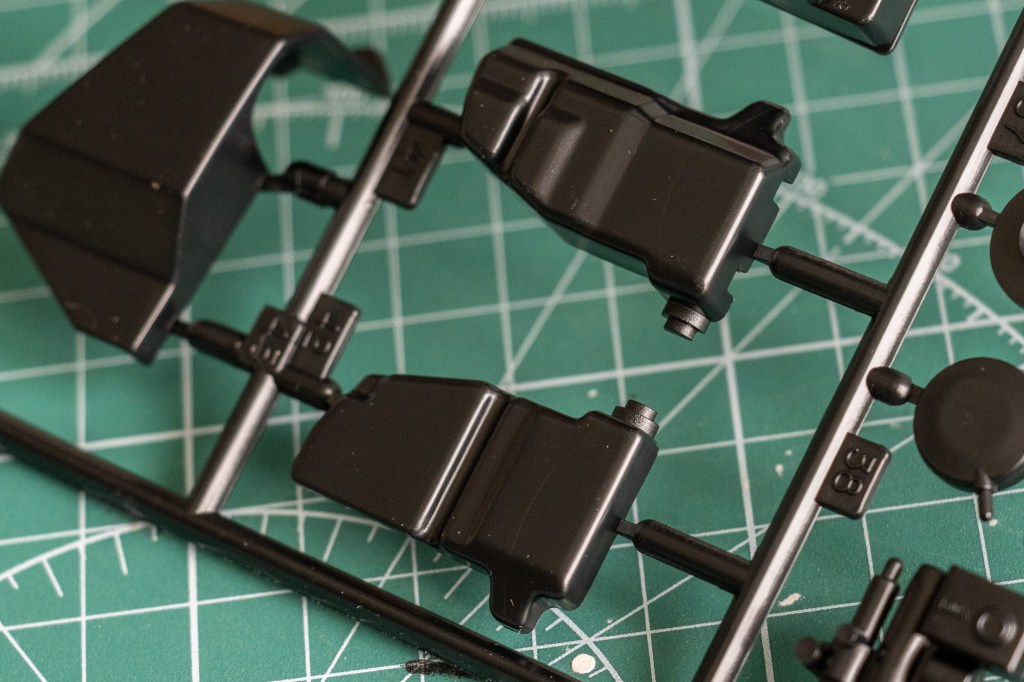
Rear brake master cylinder.
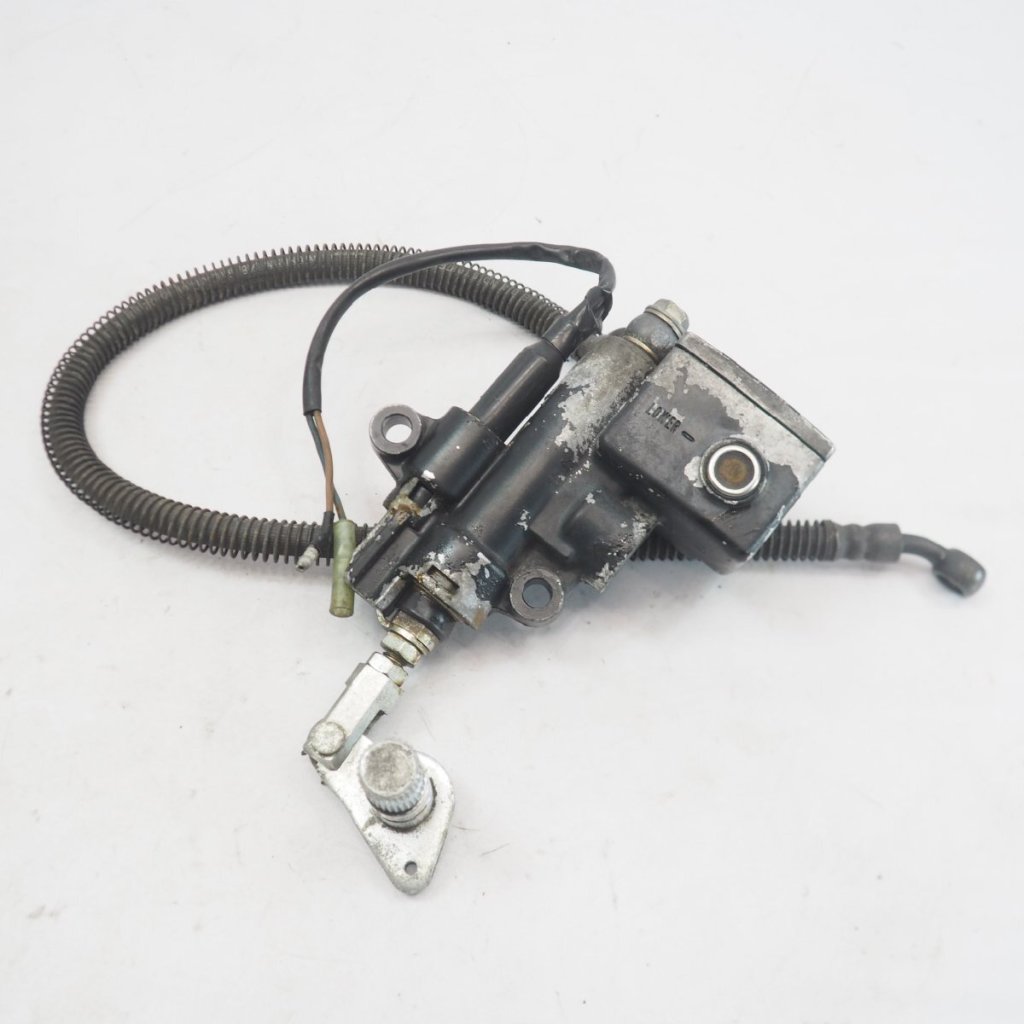
(Photo Credit: 壱濱部品, Yahoo Auction)
No measurement indication line? Tamiya, how can I tell if my brake fluid level is low? Huh? (Wait, how do you read this actually? Am I BS’ing?IDK lol)
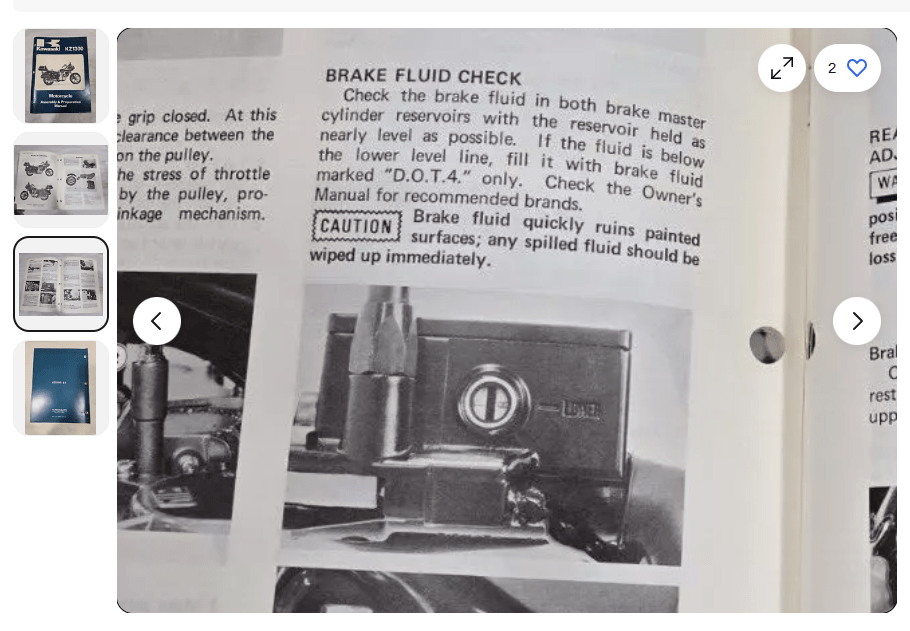
(Photo Credit: Scooterboy’s NOS Motorcycle Parts, eBay)
Aha! Guess what, I was right! Bad, Tamiya, BAD!
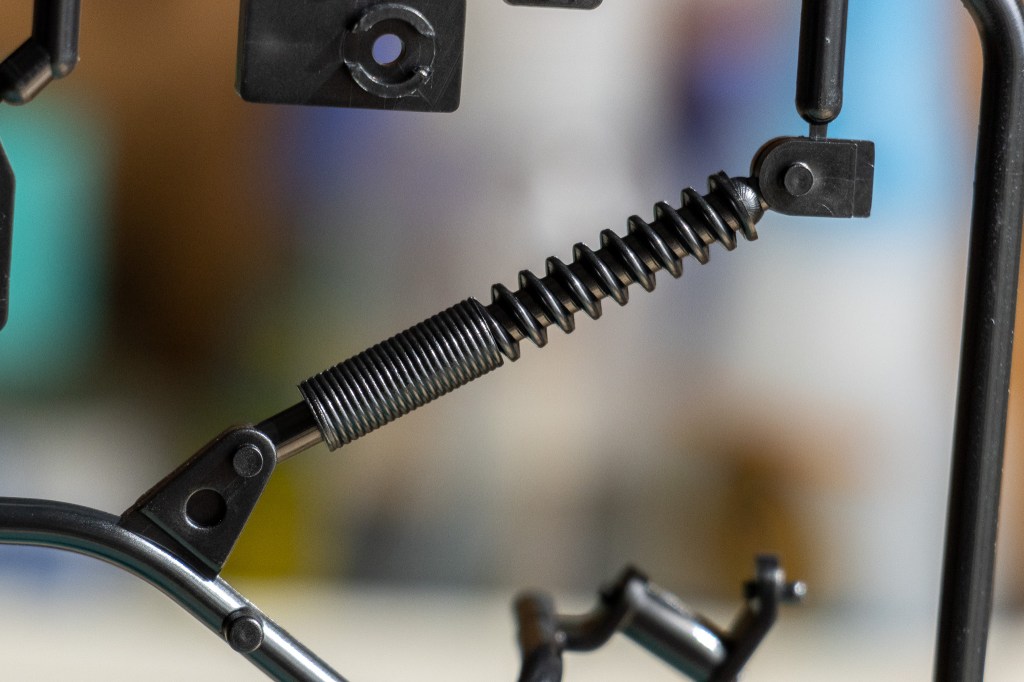
The KZ1300Bs are equipped with adjustable front and rear suspensions.
(Photo Credit: Iconic Motorbikes)
Don’t laugh, but my first thought was that that’s definitely a broken shock!
Sprue J has quite a few parts that are used in the original KZ1300 bike but not this touring version.

(Photo Credit: Route da Sogno)
The letters should be painted in white (and black outlines?).
(Photo Credit: GRYP 3D, eBay)
On the actual car, the letters are installed on a chrome stand. To replicate this requires some patience in masking and painting. Also, maybe drill two holes for the screws. Many small details take your work to a new level!
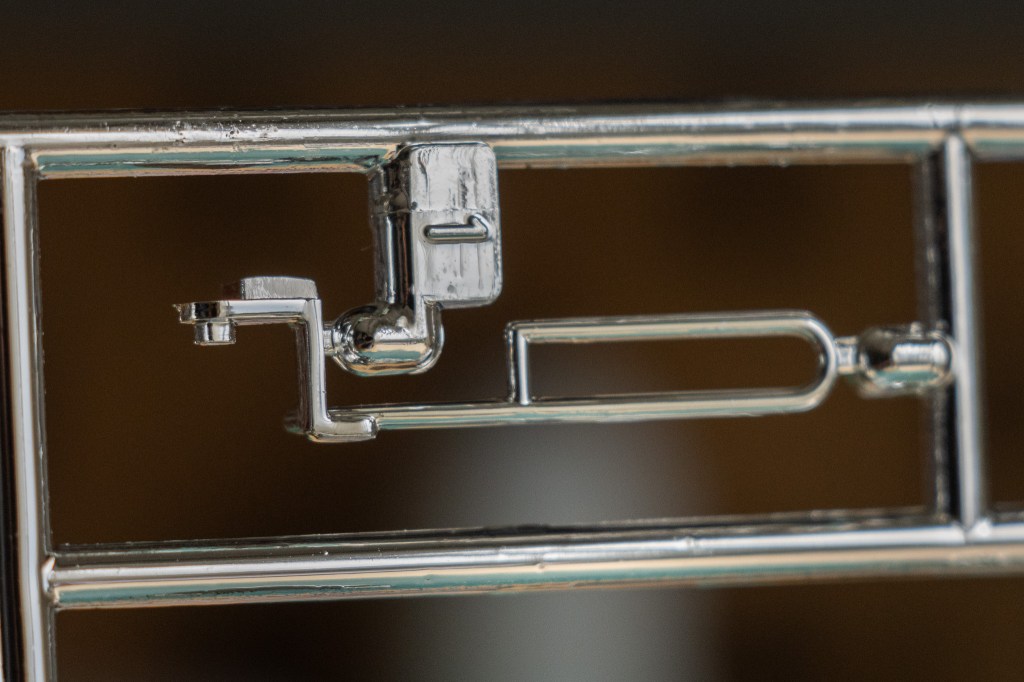
I believe this is the speedometer cable guide.
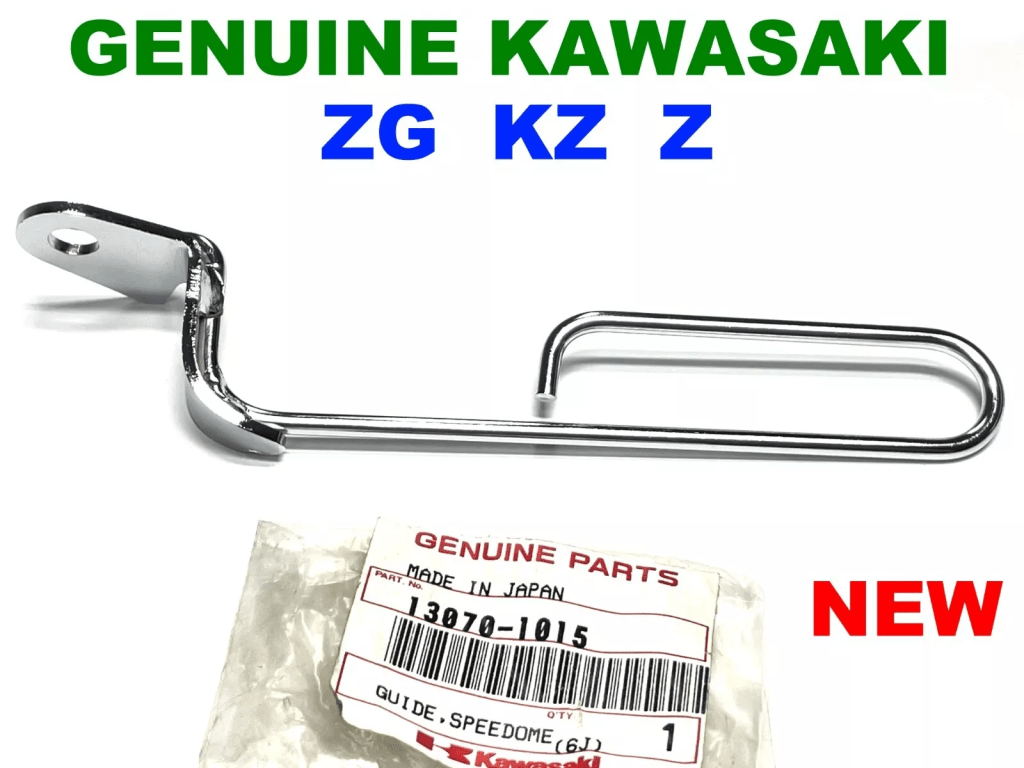
(Photo Credit: Bond’s Parts Emporium, eBay)
The actual part looks like this.
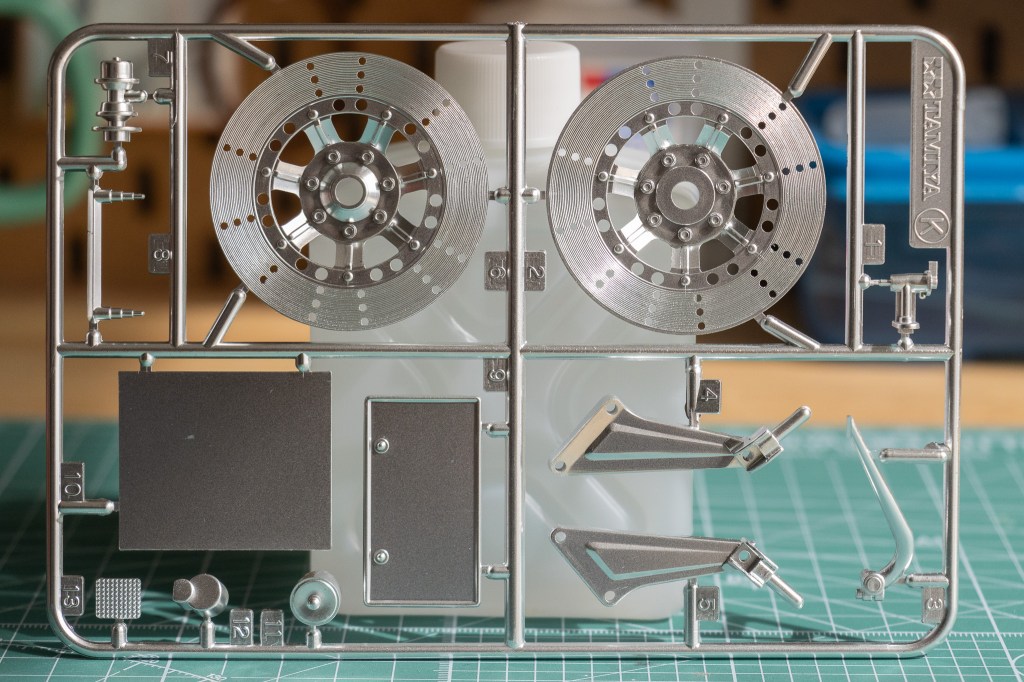
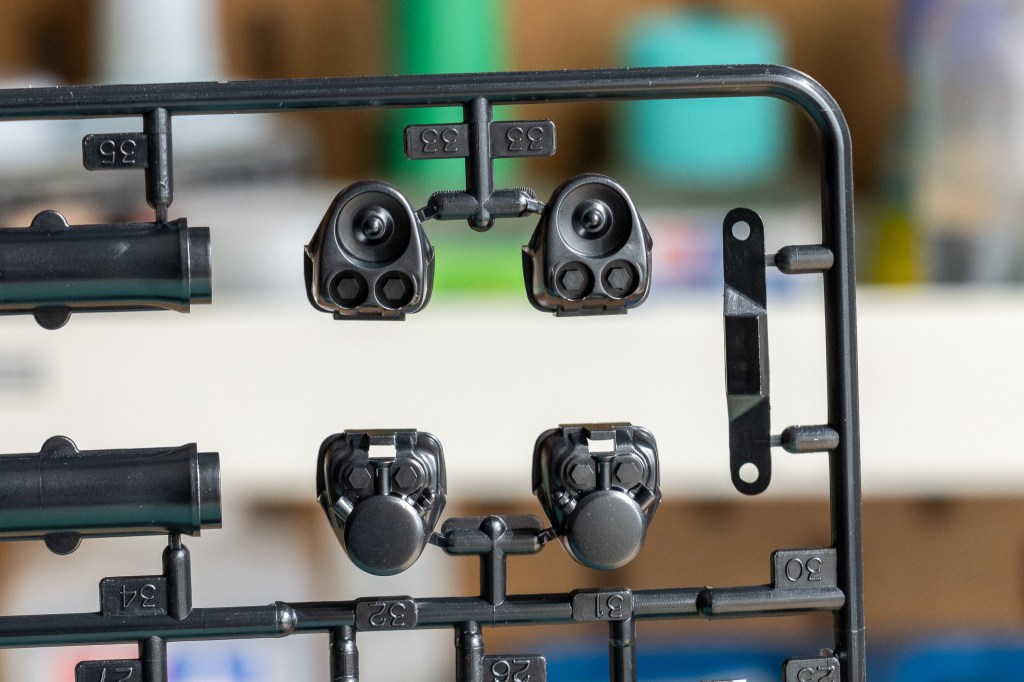
Sprue K.
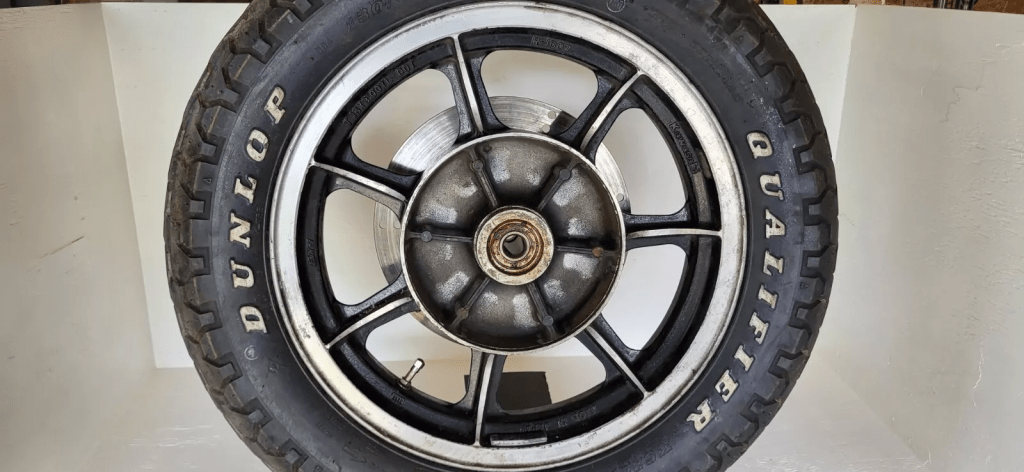
Front brake discs.
(Photo Credit: MRC Cycle, eBay)
Very good, very good!
Beautifully moulded part. You are looking at a brake pedal with a 3D-texture surface.

Sprue L only has two parts: front and rear wheels!
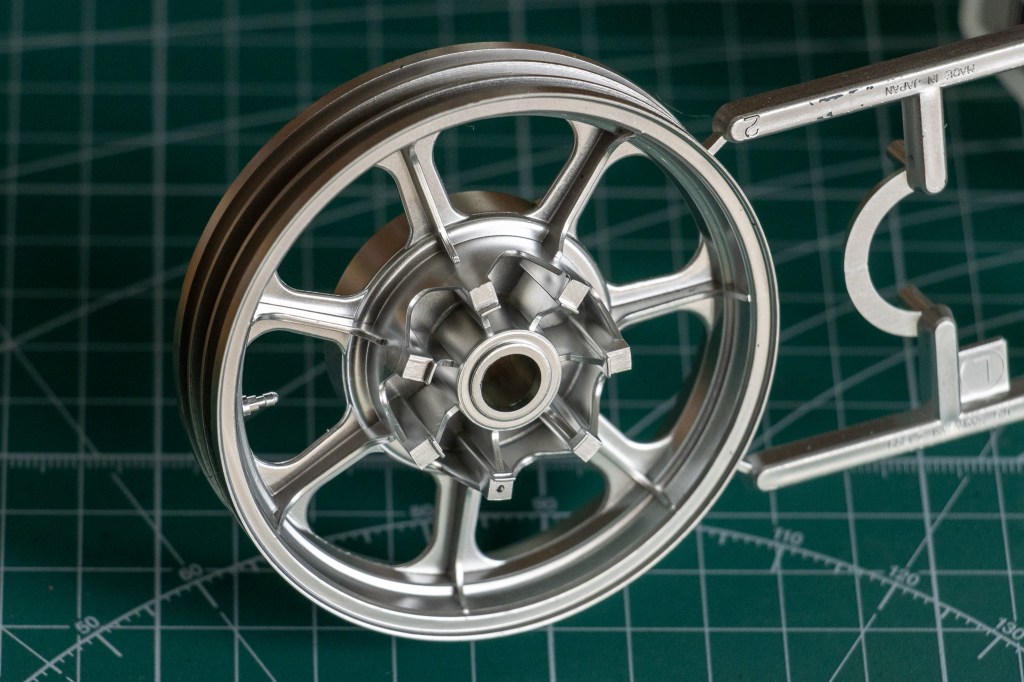
Despite the chrome finish is disappointing as I have mentioned earlier, the finish on the wheels looks incredible.
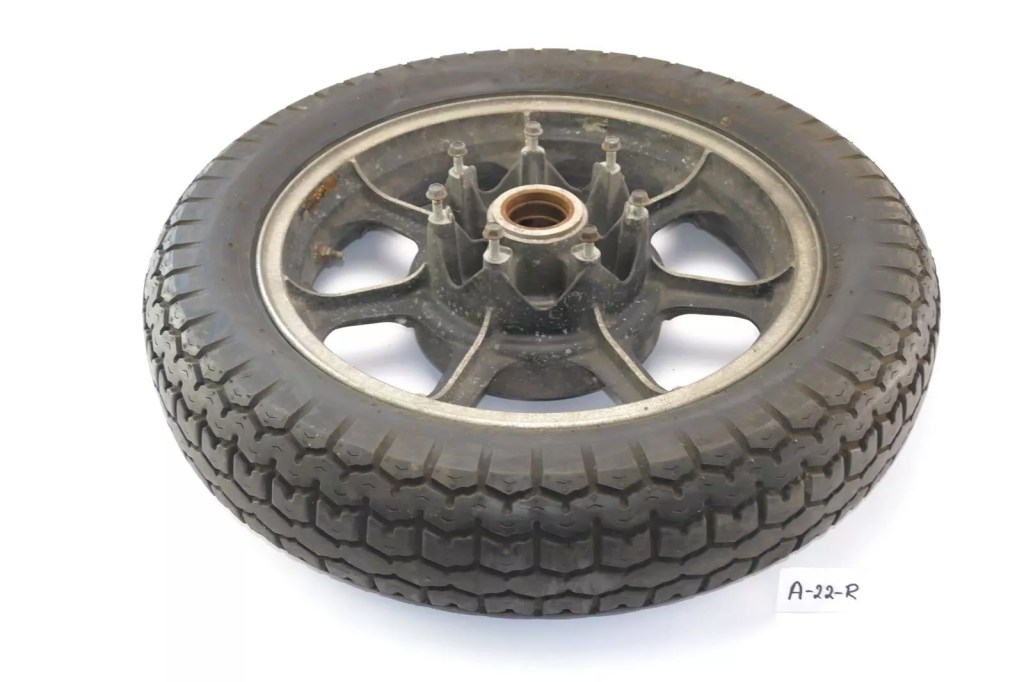
(Photo Credit: MotorradTeileHannover, eBay)
Again, accuracy is maintained at a top level here.
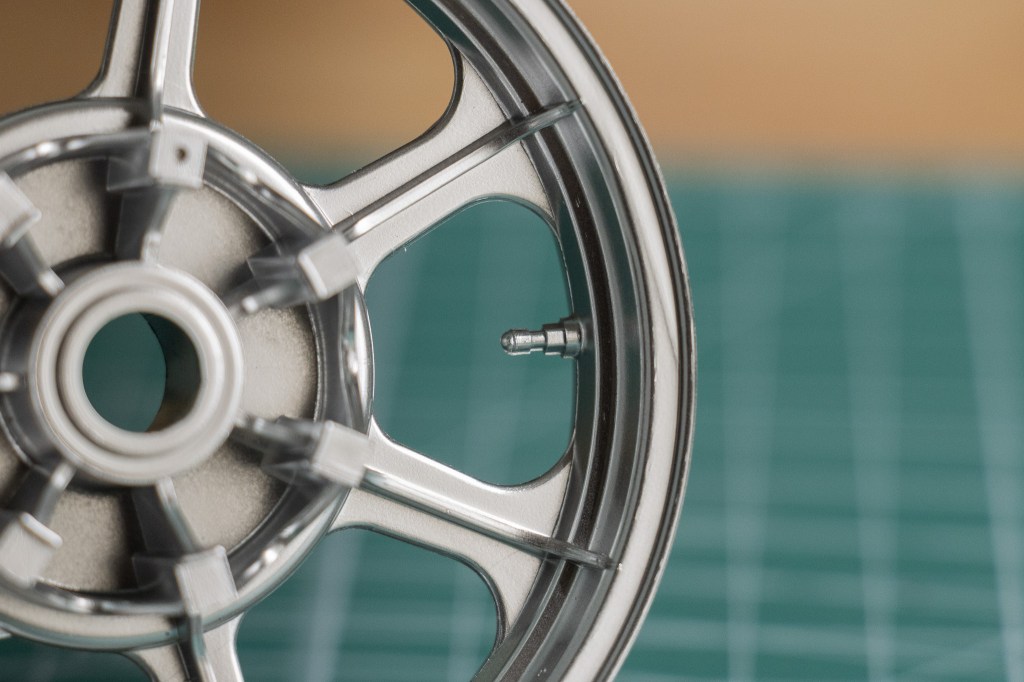
Air valve is included. Nice!
(Photo Credit: Vintage-Moto-Parts-Canada, eBay)
Masking here can be a bit tricky. What I have in mind right now is to cut some really thin masking tapes…hmm… I am not sure yet. What do you think?
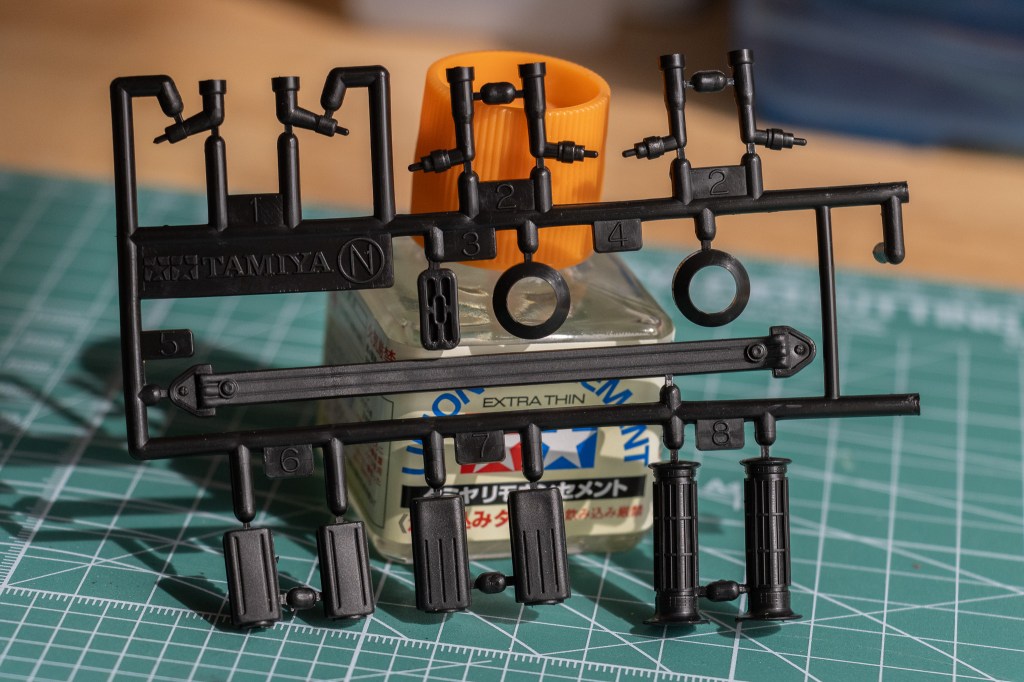
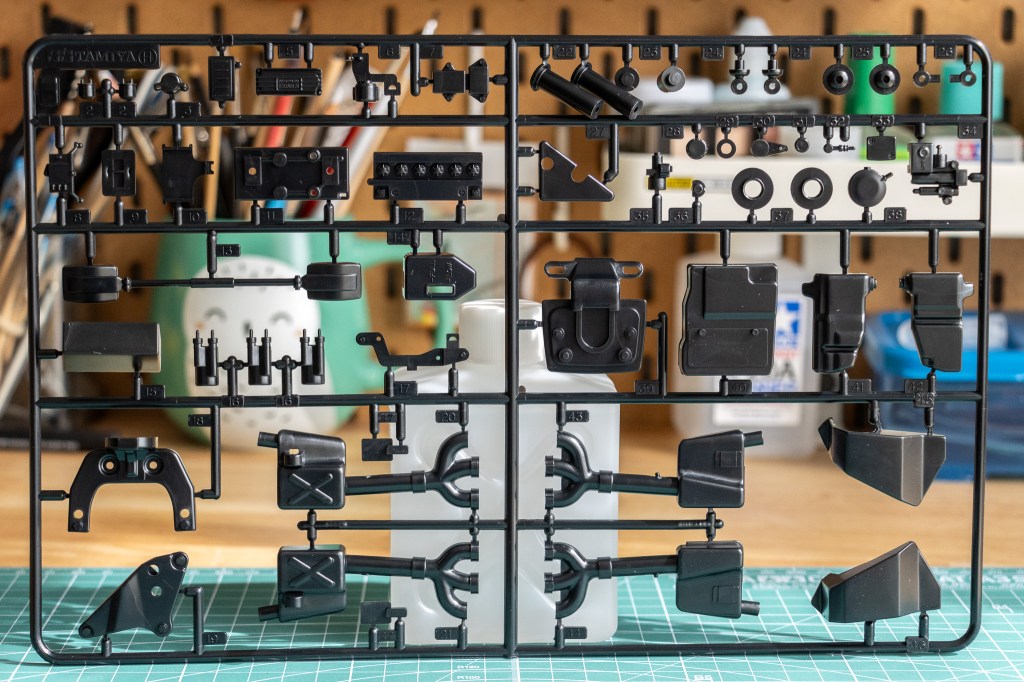
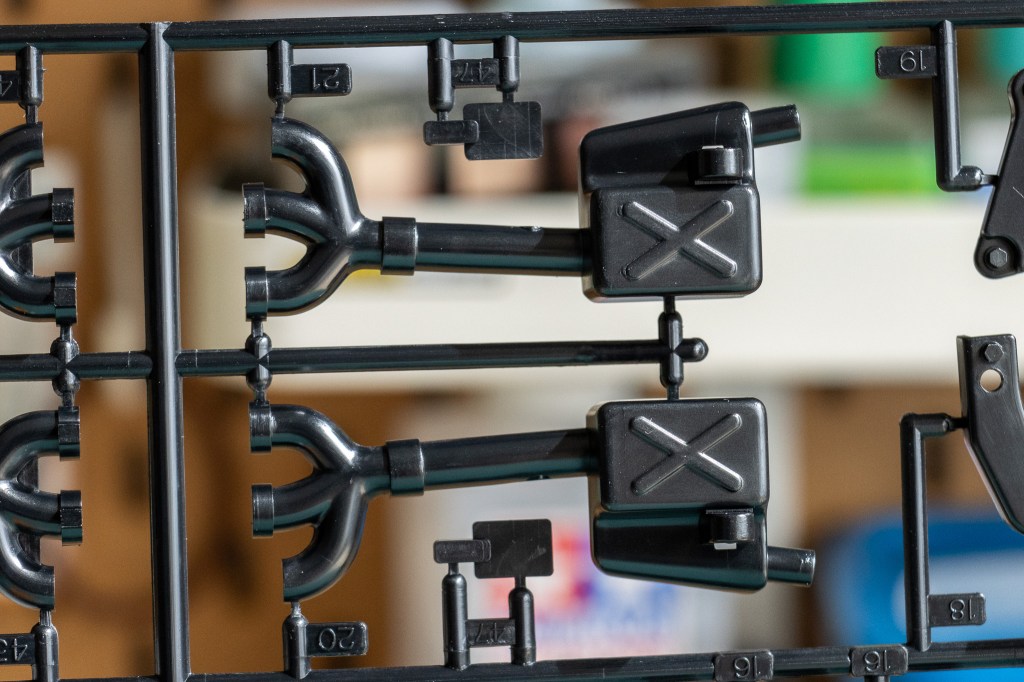
Sprue N contains all the parts made of rubber.
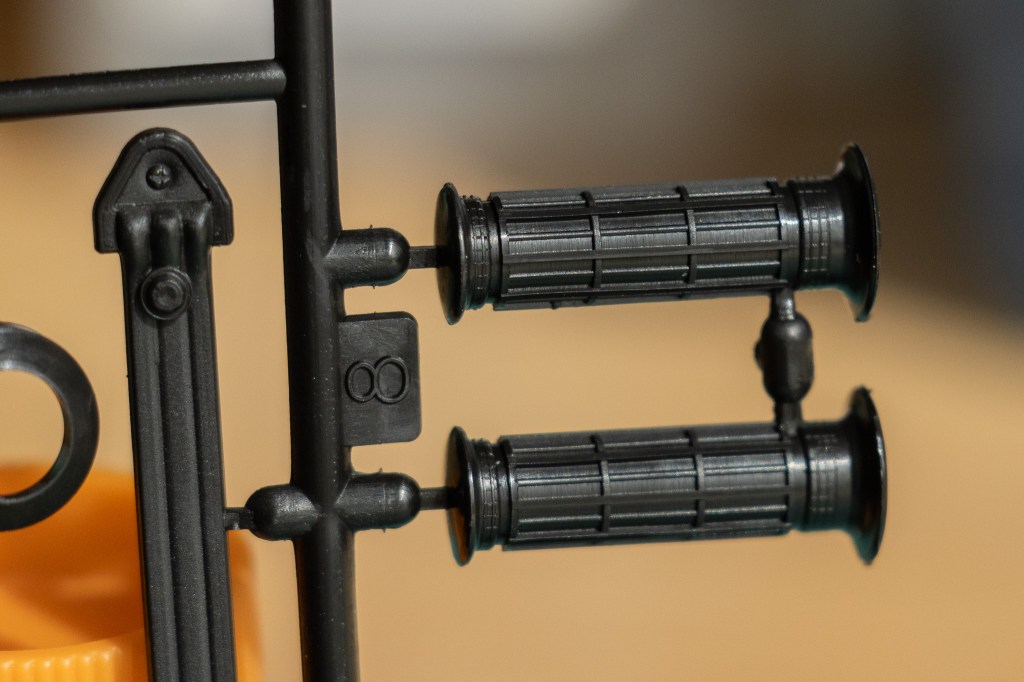
These grips look insanely detailed.
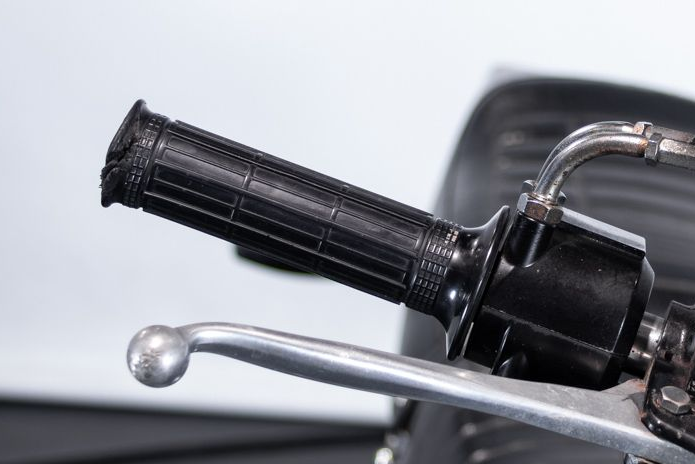
(Photo Credit: Route da Sogno, zoomed)
And very accurate!
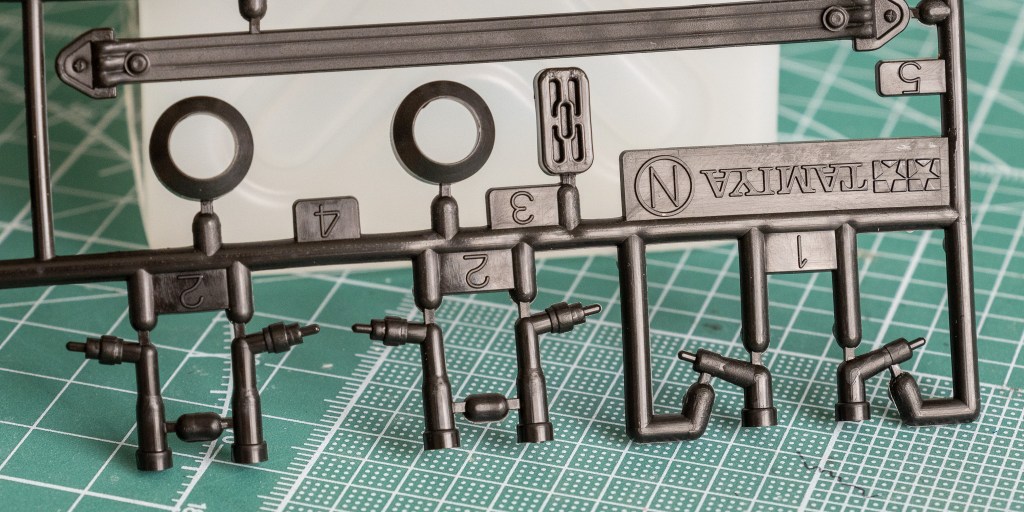
Six spark plug caps for the six spark plugs. Kinda hard to say this…
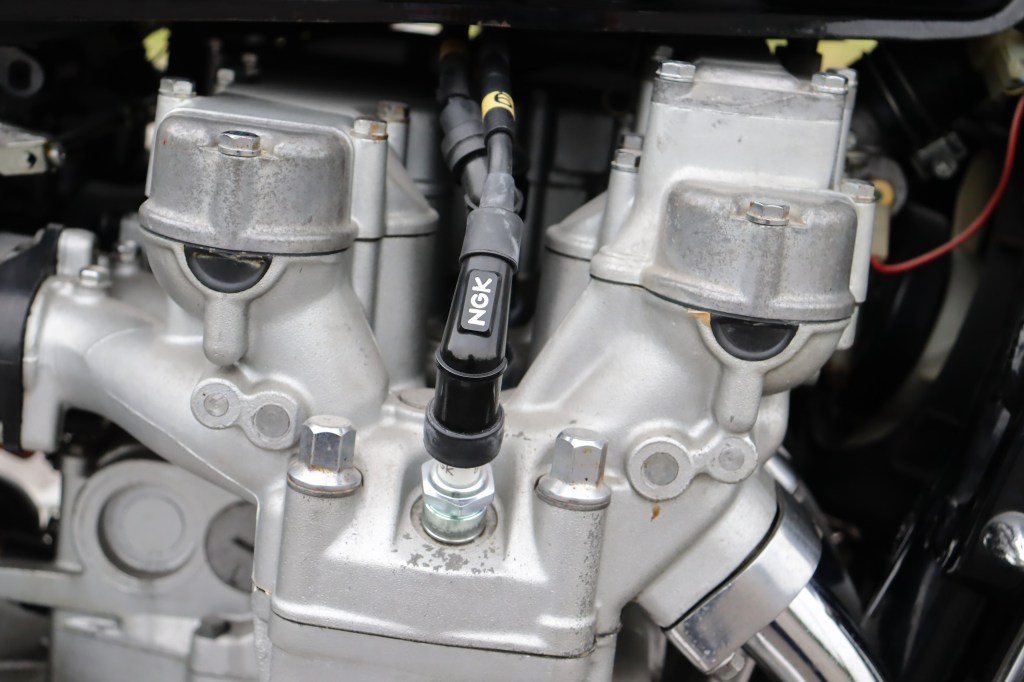
(Photo Credit: H & H Classic)
Yes, they do look realistic as well. Maybe add some NGK logo?
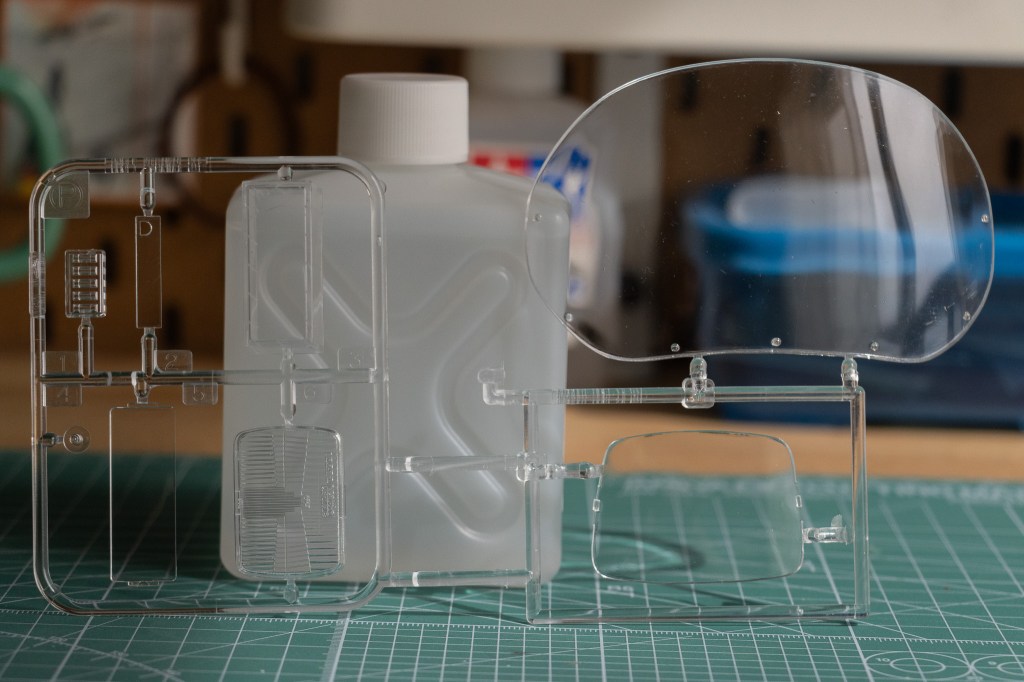
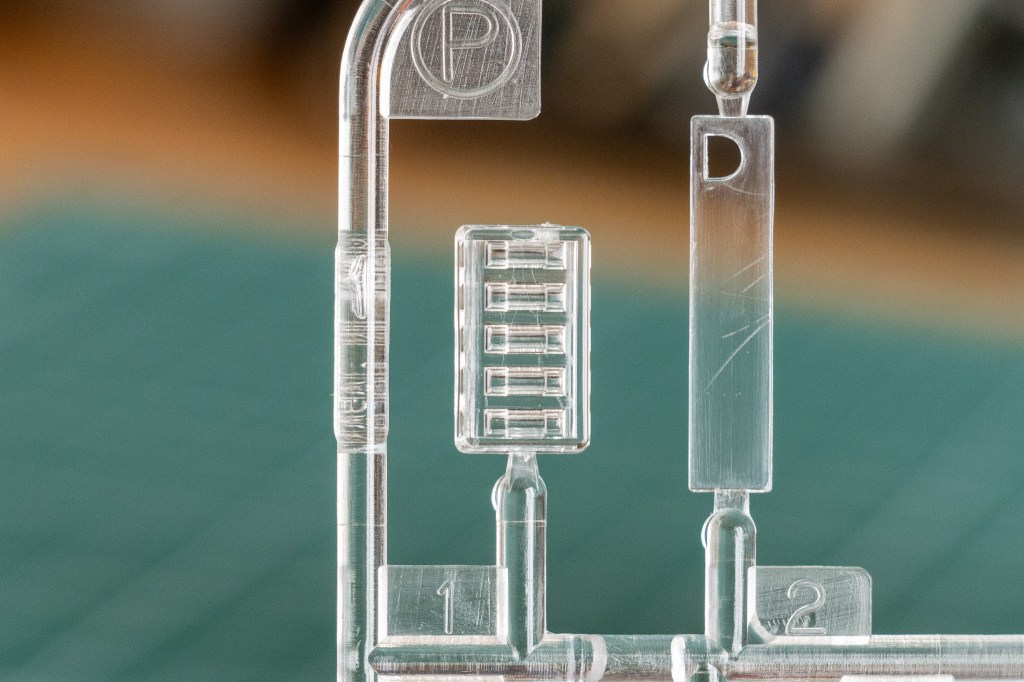
Here comes the clear sprue, sprue P.
(Picture Credit: Gustafsson Plastics)
This heavy touring bike had two types of windshields before. Tamiya’s offer comes with the short type. Here’s a reference to the taller windscreen, which seems much more common in the photos of the surviving bikes on Google. Personally, I like the shorter type better.
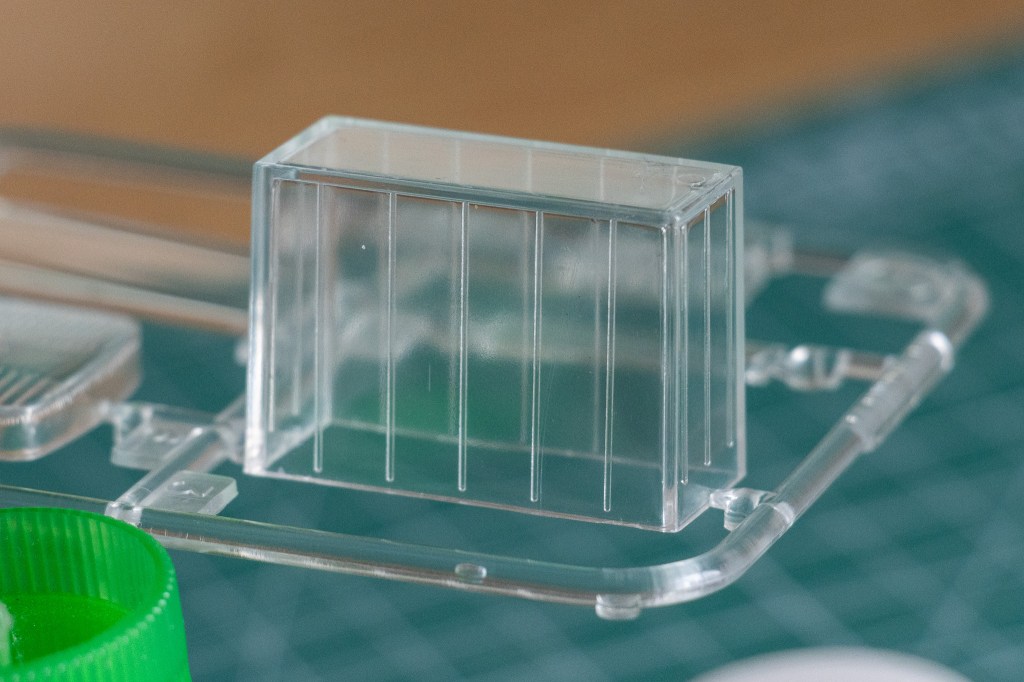
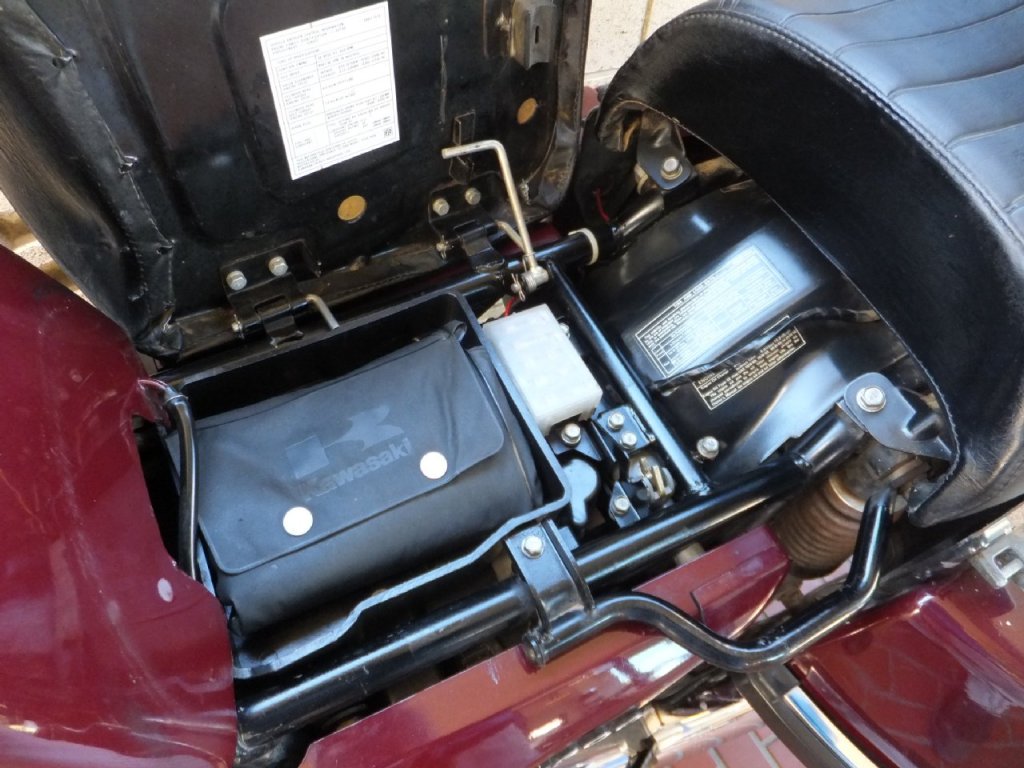
A fuse box! Tamiya really dug deep in details on this bike!

(Photo Credit: 絶品輪業)
KZ1300B’s fuse box is located under the front seat.
What you are looking at is the battery box.

(Photo Credit: Coryscyclerepair, eBay)
Would you take a look at this picture…I was finally able to find a photo of the Y50-N18l-A2 battery, which matches the battery decal provided in this kit, despite this one is clearly a Honda NOS. This also showed me why a clear box is included in the Tamiya’s kit. These old acid batteries surely look cool!
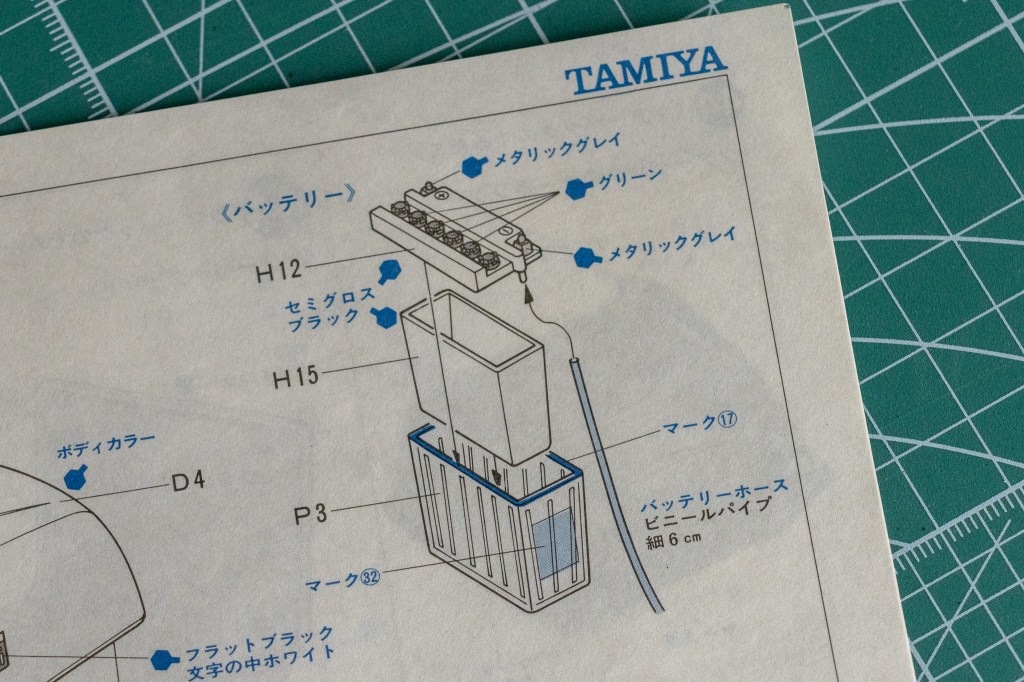
So…instead of using kit supplied H15, which is a smaller black plastic box, I can potentially make something more historically accurate?
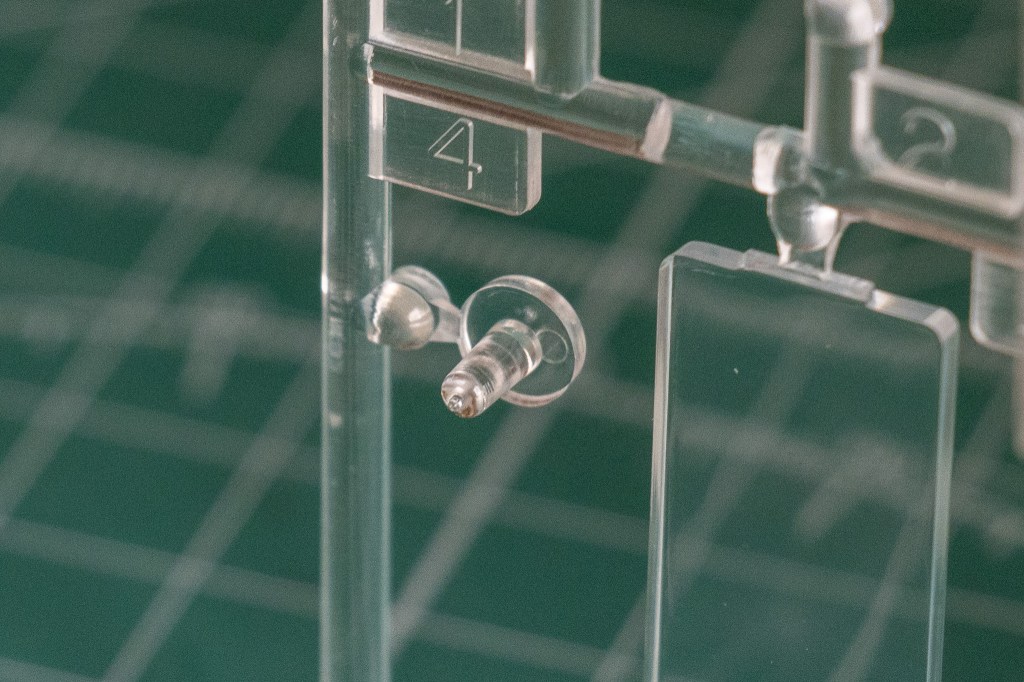
What’s this?

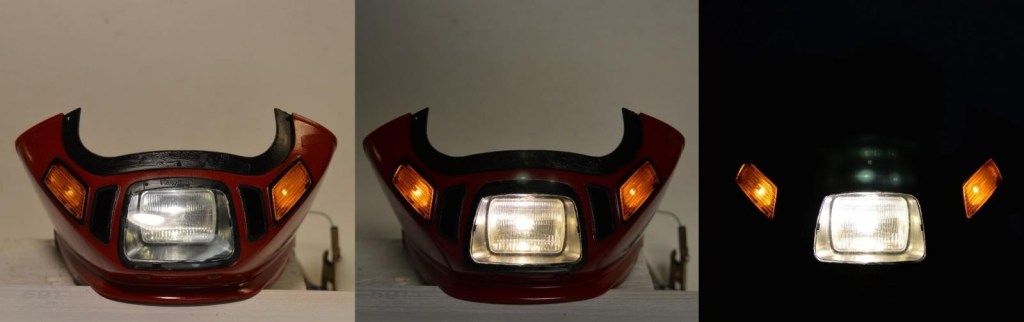
Believe or not, that’s headlight bulb. 😀

Headlight lens.
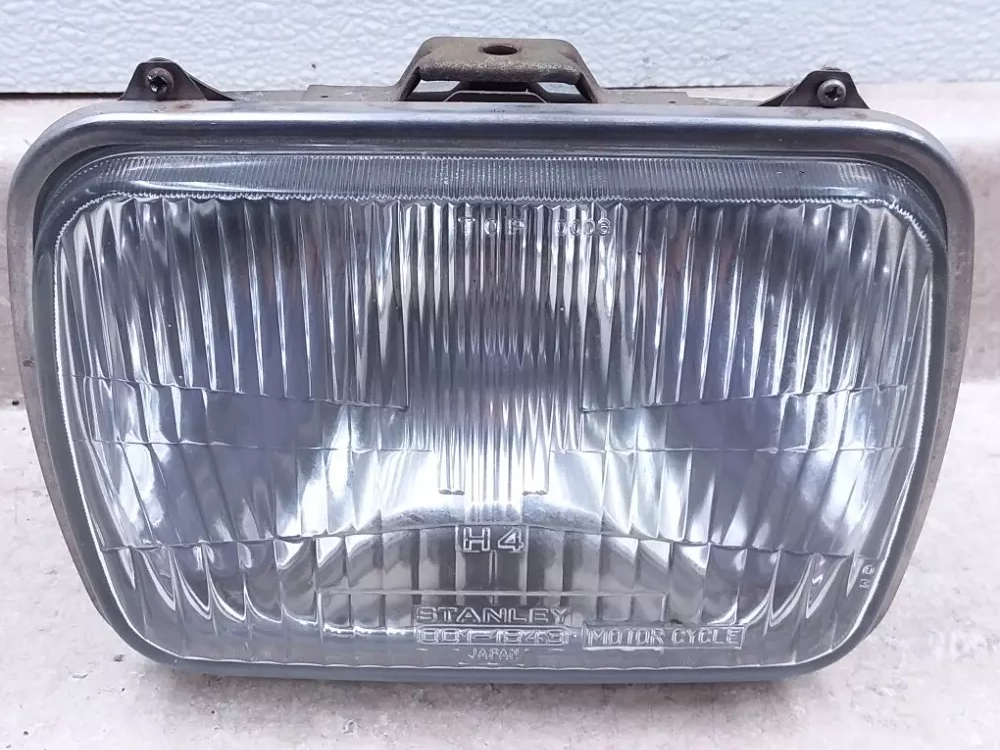
(Photo Credit: Sichley Cycle Parts, eBay)
Whoa! I am again impressed by how accurate this kit is. This clear part looks like an exact copy of the real lens, just 6 times smaller.

Sprue N contains the front fender and front fairing parts.
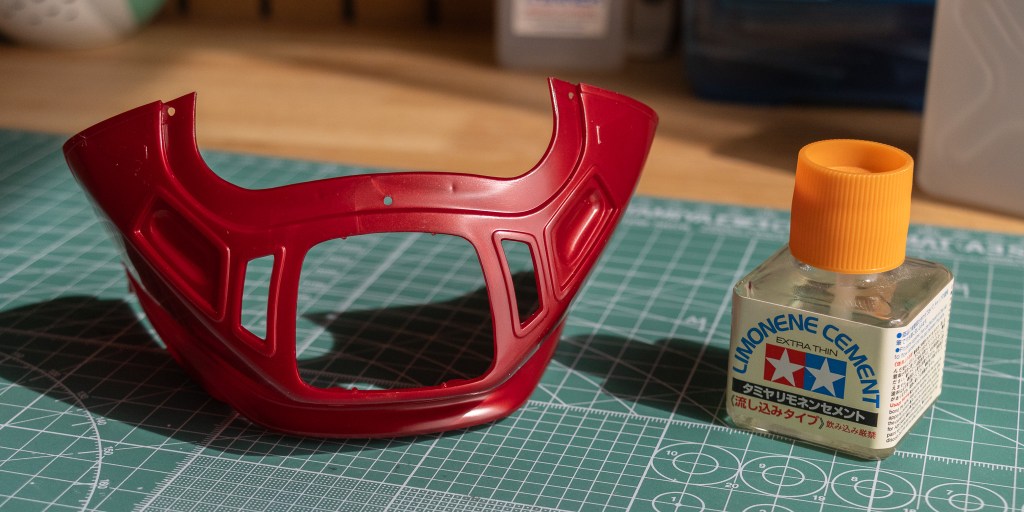
The fairing is HUGE! Such a unique design. Upon first glance, I thought what the heck was that I just saw, but now I have fallen in love with it!
(Photo Credit: Harry Brogan, iModeler.com)
Remember the light bulb? Yes, it is pretty easy to add LEDs to this model! Take a look at Harry’s demonstration above. What a gorgeous result!
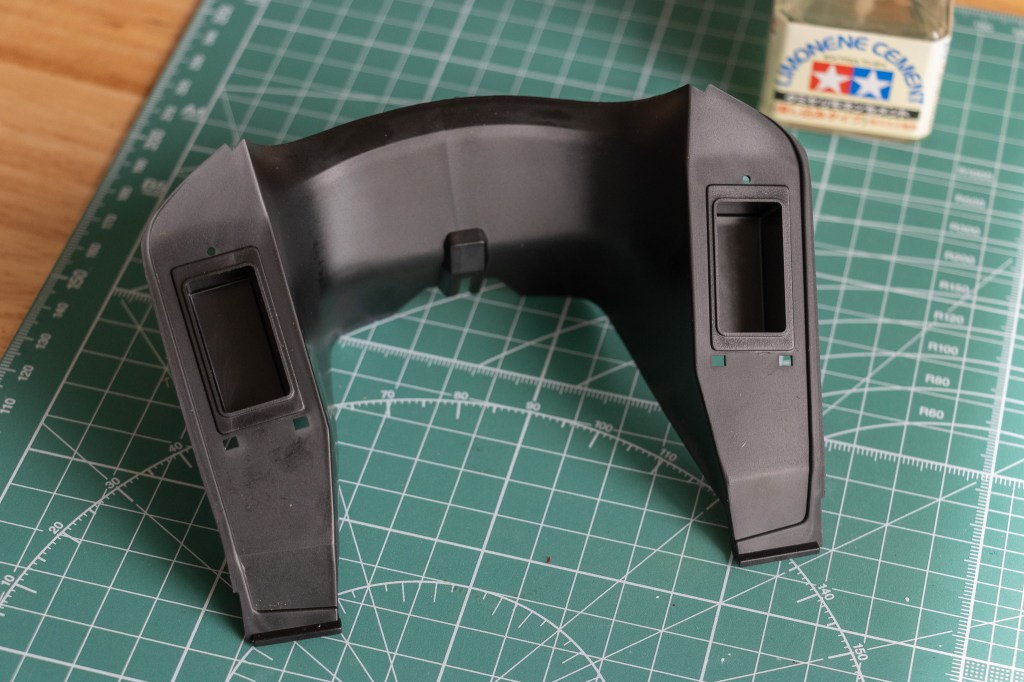
The fairing interior panel.
Sprue R.
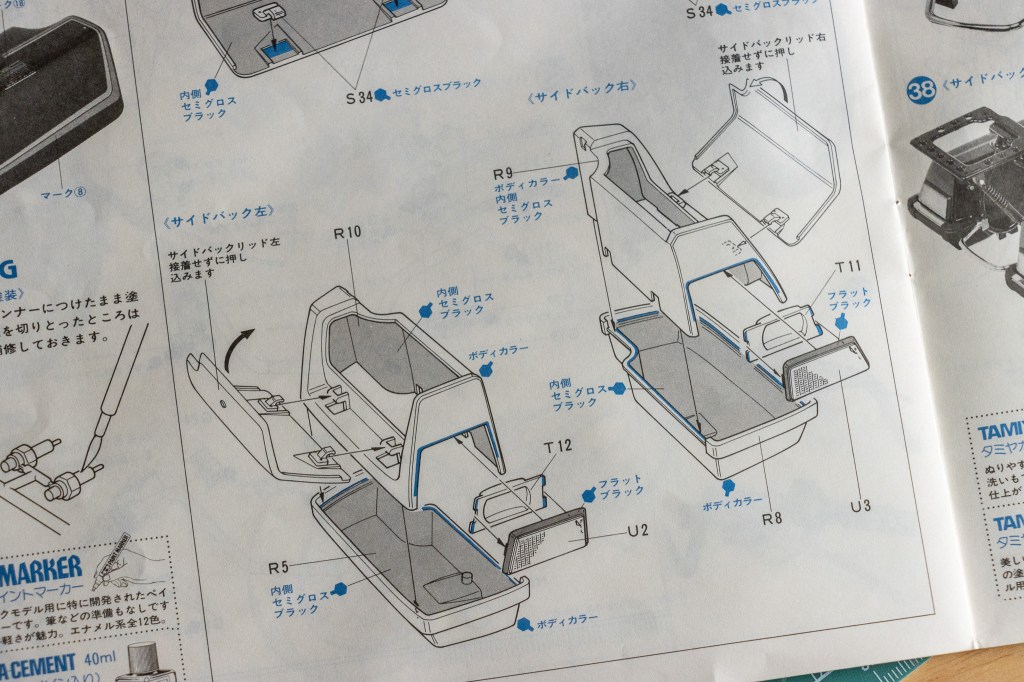
All these saddle bags can be opened.
Sprue S.
Two lids for the storage boxes on the front fairing.
(Photo Credit: 絶品輪業)
Only the keyholes and instruction writings are missing.

Headlight housing.
Seat bottom panel.
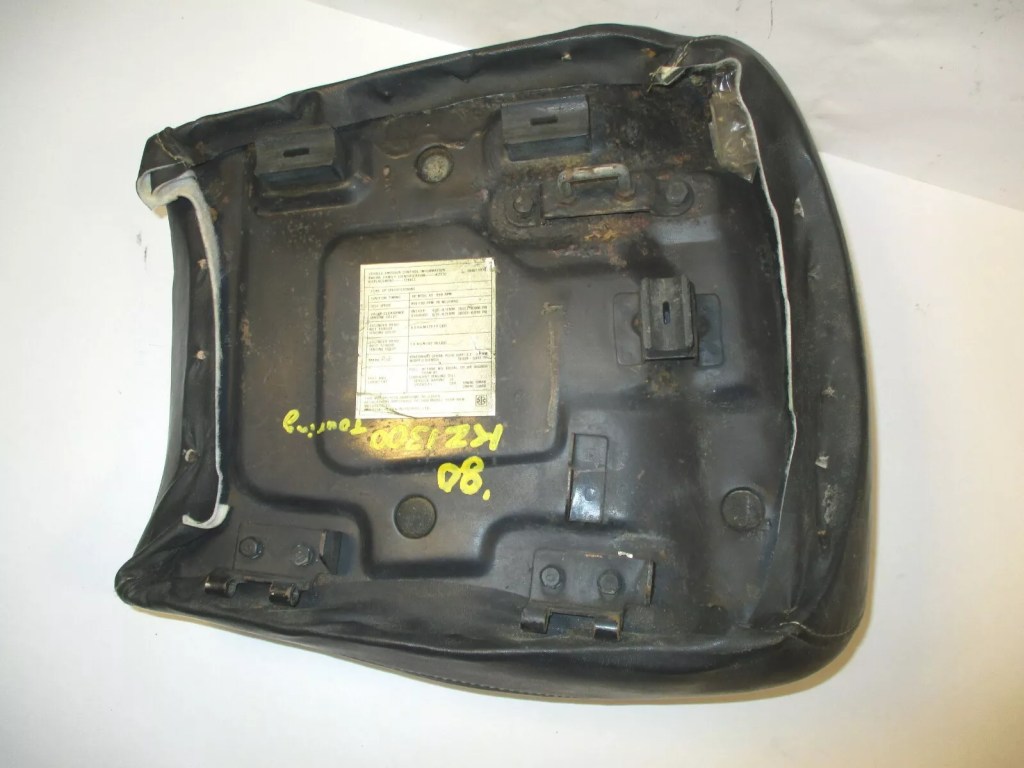
(Photo Credit: Midway Cycle, eBay)
Here’s a photo of the OEM touring front seat.
An Interesting part here to be found on this sprue.
(Photo Credit: 絶品輪業)
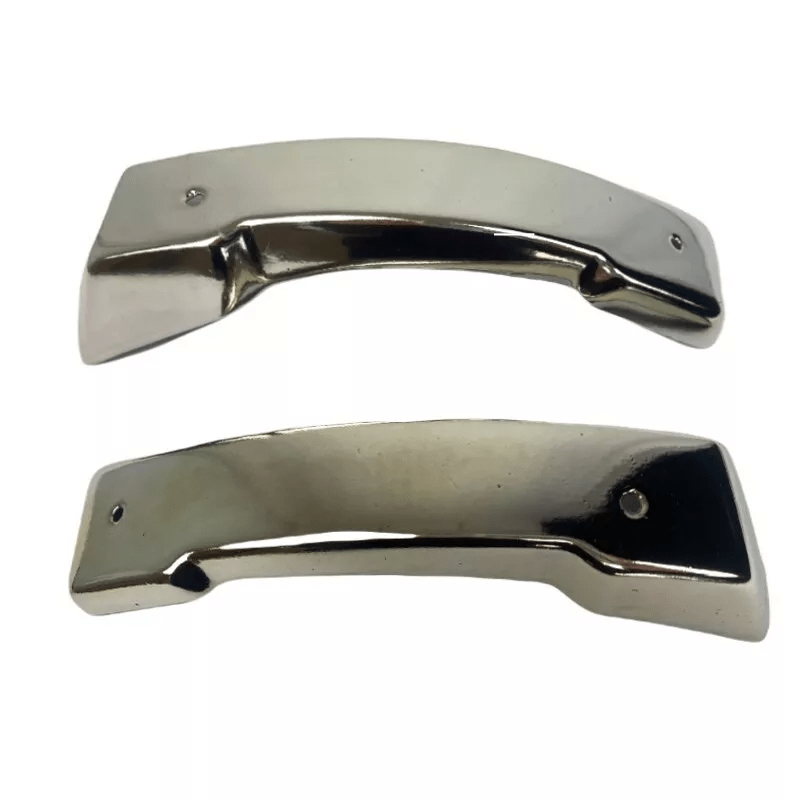
This is a grab handle that is truly unique to the KZ1300B touring model in 1980! Nice catch, Tamiya!
This kit provides real springs for the two rear suspension springs. But not for the spring-equipped travel trunk. The mould quality is really good, though.
(Photo Credit: 絶品輪業)
I assume the reason was the entire frame here can be just painted in black.

(Photo Credit: Cycles R Us)
Here’s another very rusty reference.

Sprue T. The last chrome-plated sprue. The finish on this one is good.
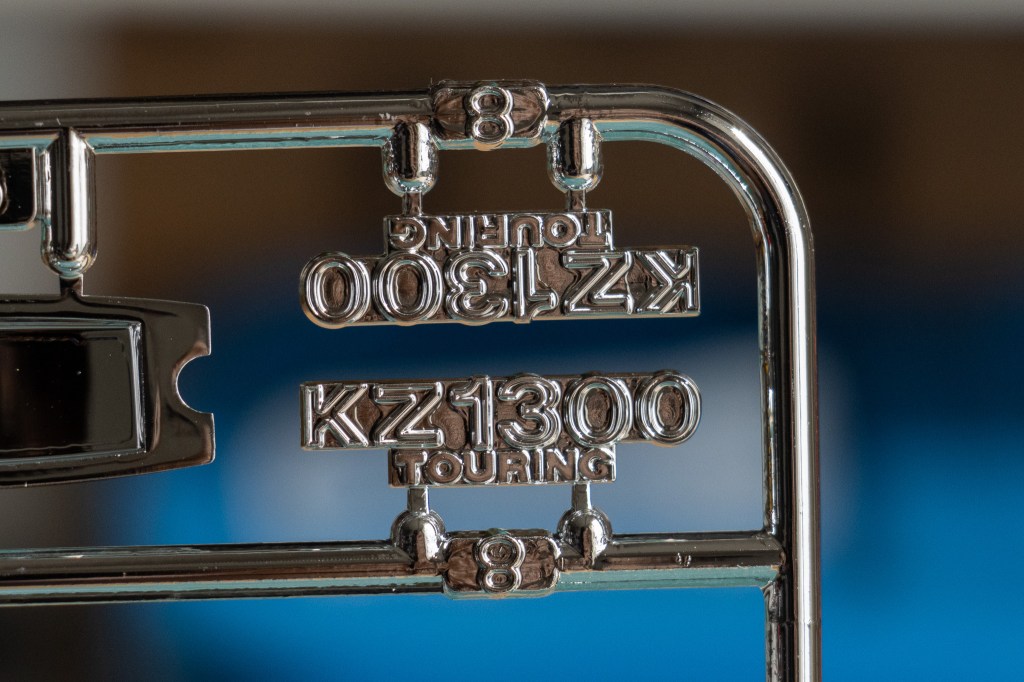
Attention, this is not your regular 1300, this is a big bad ass touring one!
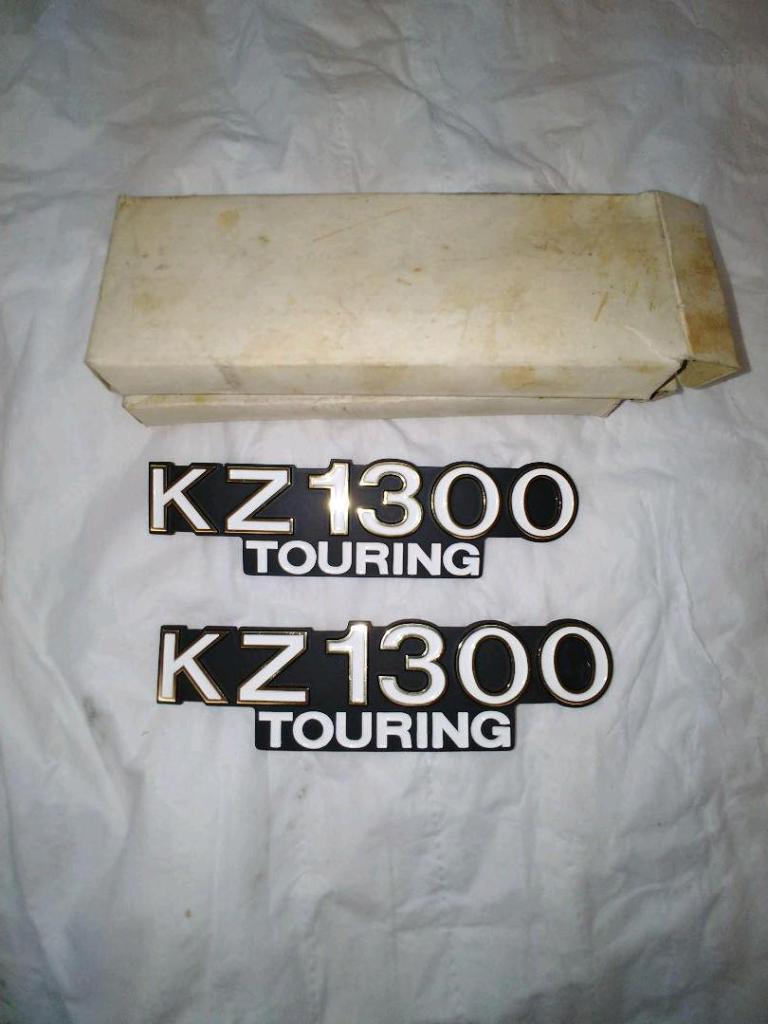
(Photo Credit: ZZ, Mercari)
The colour theme on these nameplates are pretty complex. The plate is black, the letters are white with chrome outline. Fancy!

Sprue U, the orange clear sprue.
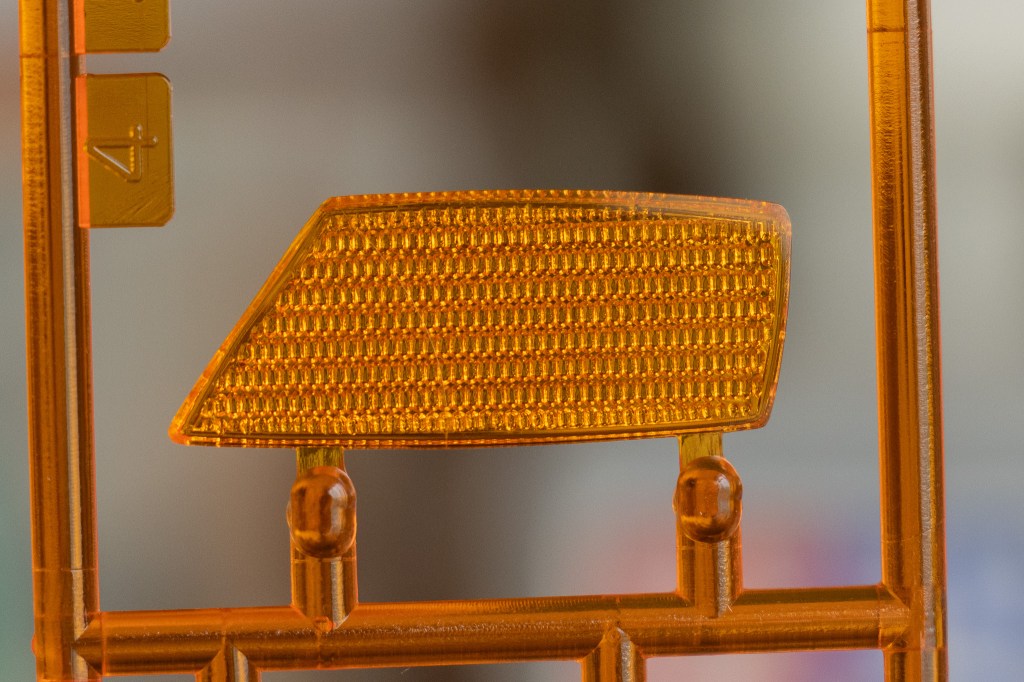
Fairing blinker.
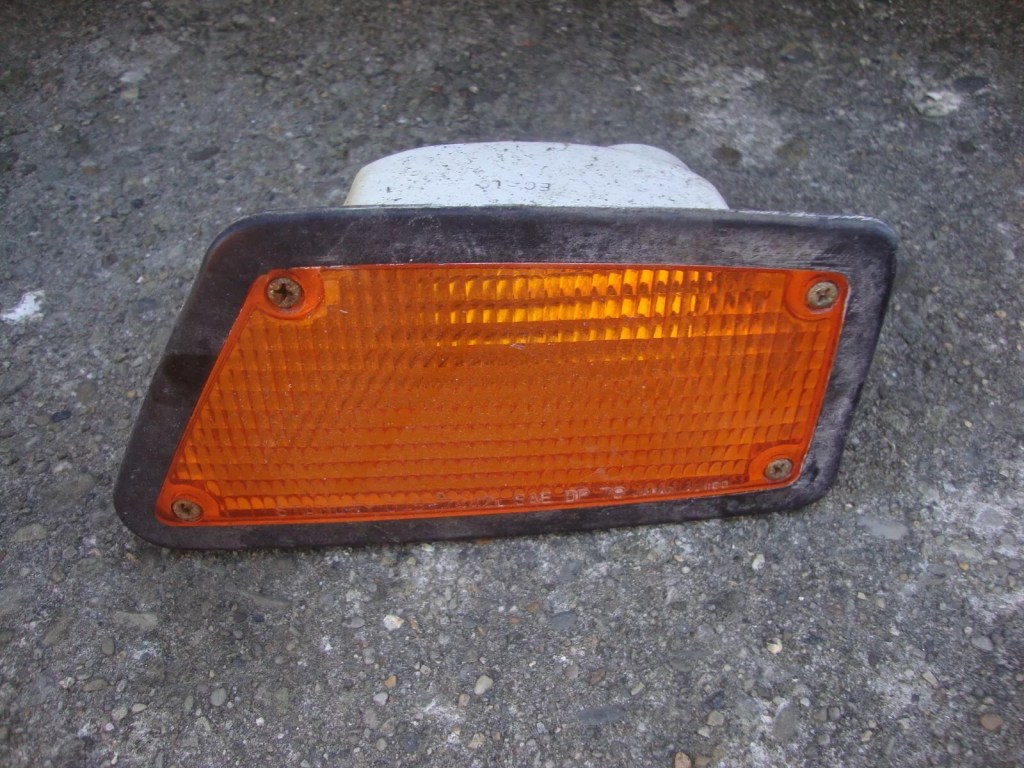
(Photo Credit: Reidhab, eBay)
The screws must be added. Instead of drilling the clear parts, maybe just glue screw heads on top of the blinker. I wanna experiment that.
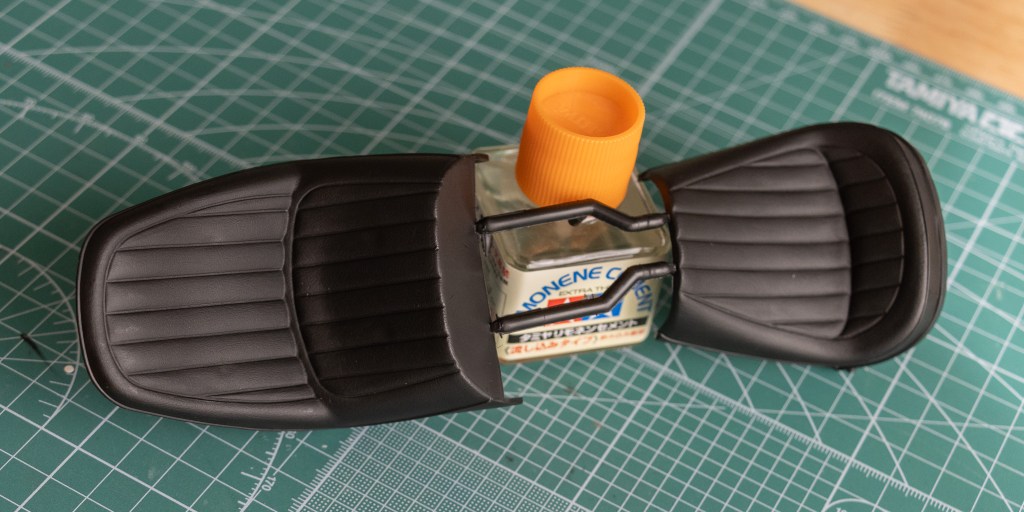
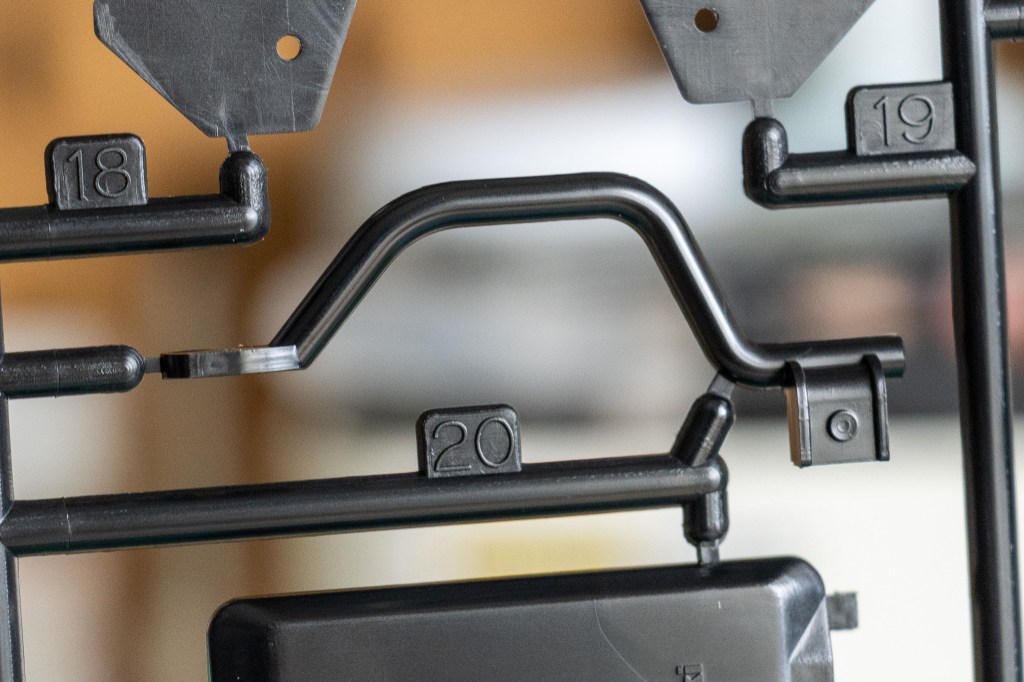
Here comes the last thing in this kit! The rubber seats…
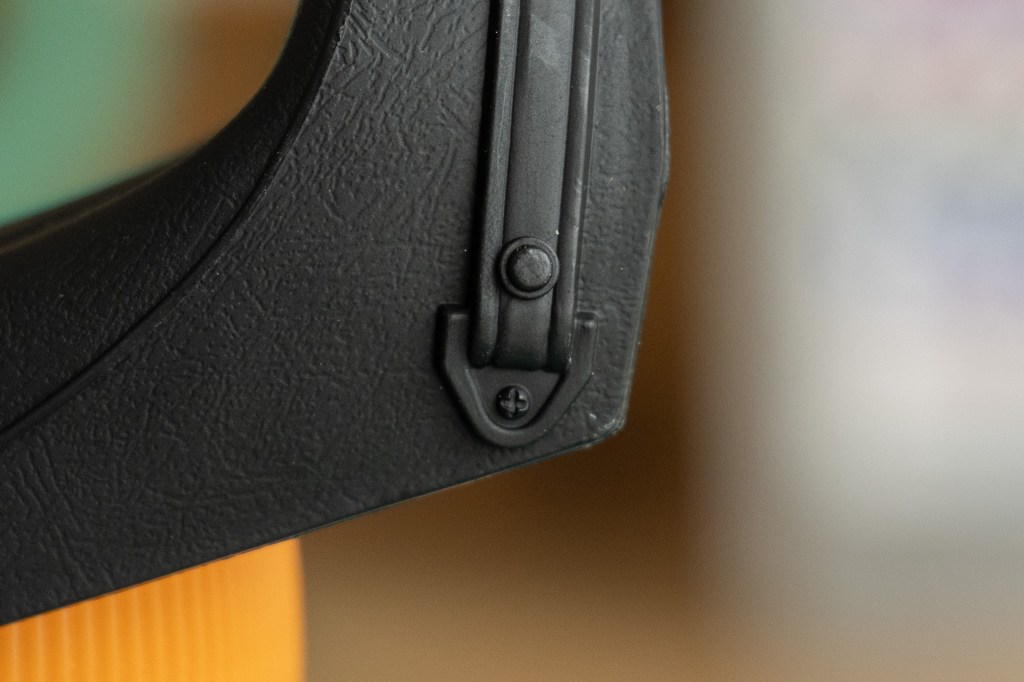
Fantastic attention to details. The bracket and screws here need to be painted in silver.
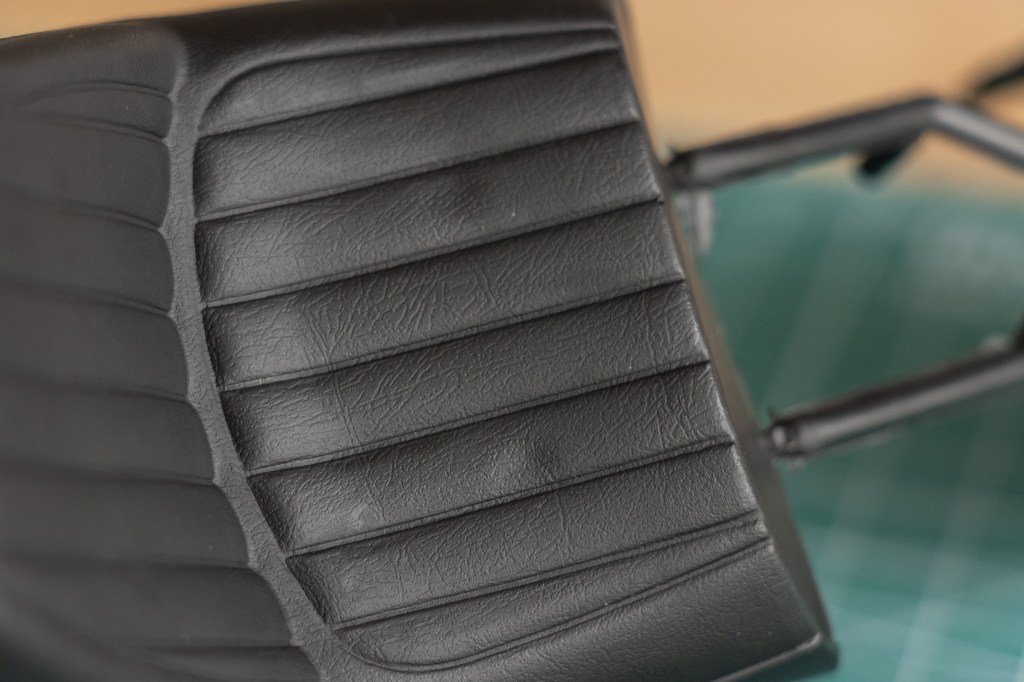
These two parts have fine textures… Though, I think they must be airbrushed with a layer of clear coat.
(Photo Credit: dkmotorcyclespares, eBay)
Simply because the kit rubber seats are not classy at all. I want leather seats! Déclassé! I have never tried to clear-coating rubber parts, so this will be experimental to me. Hope it turns out as expected! What about the stitching….hmmm….
Alright! Whoa!!! It took so much time just to write this review! I tried to be as detailed as possible, and I hope I’ve done a decent job. Despite the fact that this kit has some minor issues, such as the catastrophic chrome-plating on some sprues, the supreme accuracy and quality definitely make this kit, hey, just like BBK wrote on their website:
(Photo Credit: bestbalsakits.com)
One of the finest models ever manufactured by Tamiya: the Kawasaki Z1300B Touring kit! When introduced in 1984 (I think this should be 1982), this kit was honoroud as ‘best money could buy’.

Leave a reply to Rafael Hernandez Cancel reply