
It seems that Nissan hasn’t had much luck at Le Mans over the years. The best result they achieved yet was in 1998 when their 14th fastest qualified long-tail R390 GT1 made the team finally have a seat on the podium, after two Porsches. However, their efforts in pursuing the title never fade; and through the years they have showcased some of the most impressive/beautiful machines/liveries to be found on the circuit. The R89C and the powerful R90CK, for example, are among my many favourite Group C cars. The 2015 GT-R LM Nismo, although considered a big failure by many, tackled the field with their bravery and creativity.
On my workbench: a Hasegawa 1/24 R92CP
Let’s turn back the clock. In the North American arena, however, Nissan was dominant. Here’s a kinda cocky (but they deserved it) TV commercial they did in 1992 after their victory at the 1992 Daytona 24:
“They not only won but we’re so far ahead, they had time to pull over. We washed the car just so it would look good at the finish line.”
(Photo Credit: Speedhunters, this is a good read of the car’s racing history)
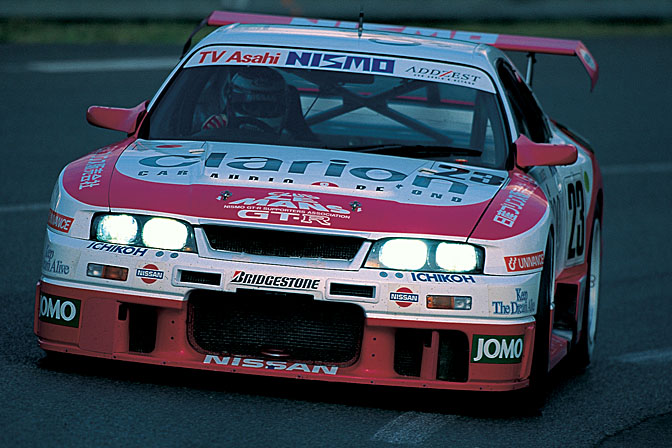
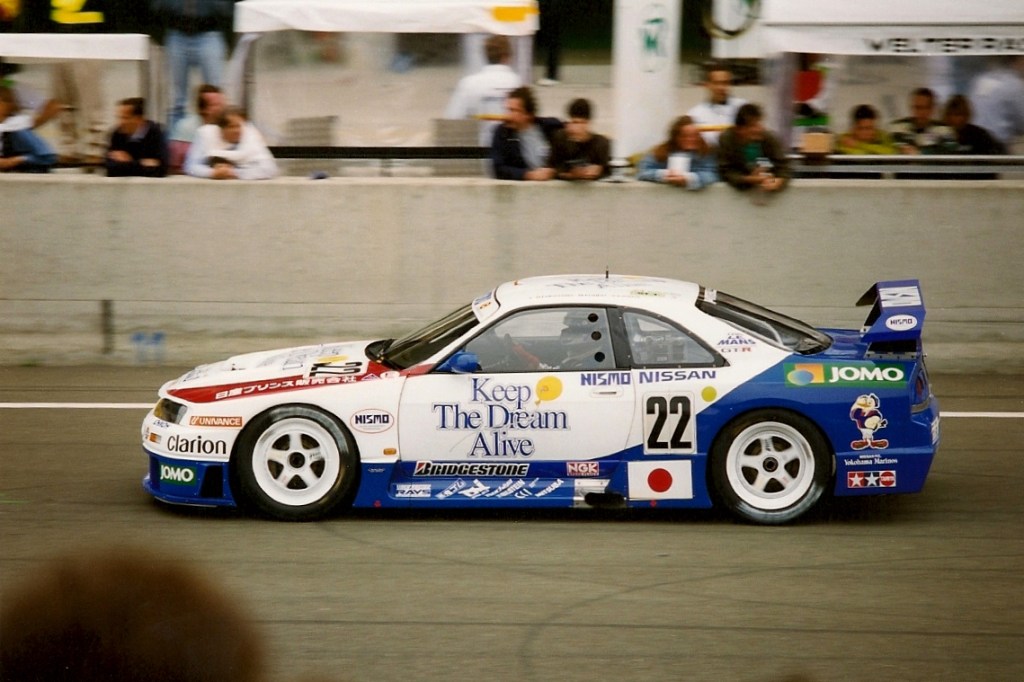
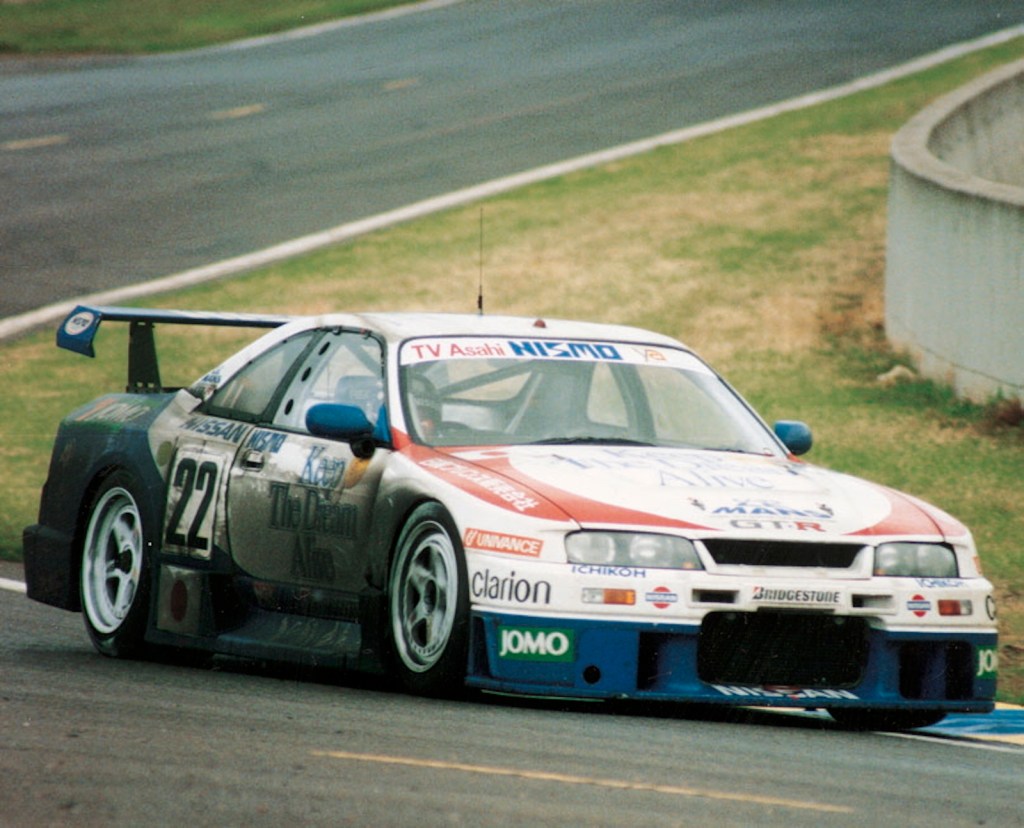
But if we fast-forward to the year 1995 – three years before their podium finish – things looked a bit different. In that golden age of racing, Nissan decided to enter two GT-Rs to see if they could compete in the LM GT1 group. Their “3-year Nissan Le Mans plan” followed the remarkable victory brought by Mazda’s high-pitch screaming 787B four years earlier, aiming at making another miracle at Le Mans. They were very explicit in that ambition; particularly the No. 22 car, which wore spiritual callings all over its body. The story behind “Keep the Dream Alive” was basically the Nismo fan supporting system that allowed Nissan die-hards in Japan to become part of the “Conquering Le Mans” plan. Here’s something rare I found about this “Club Le Mans,” written by Aki Itoh on his blog:
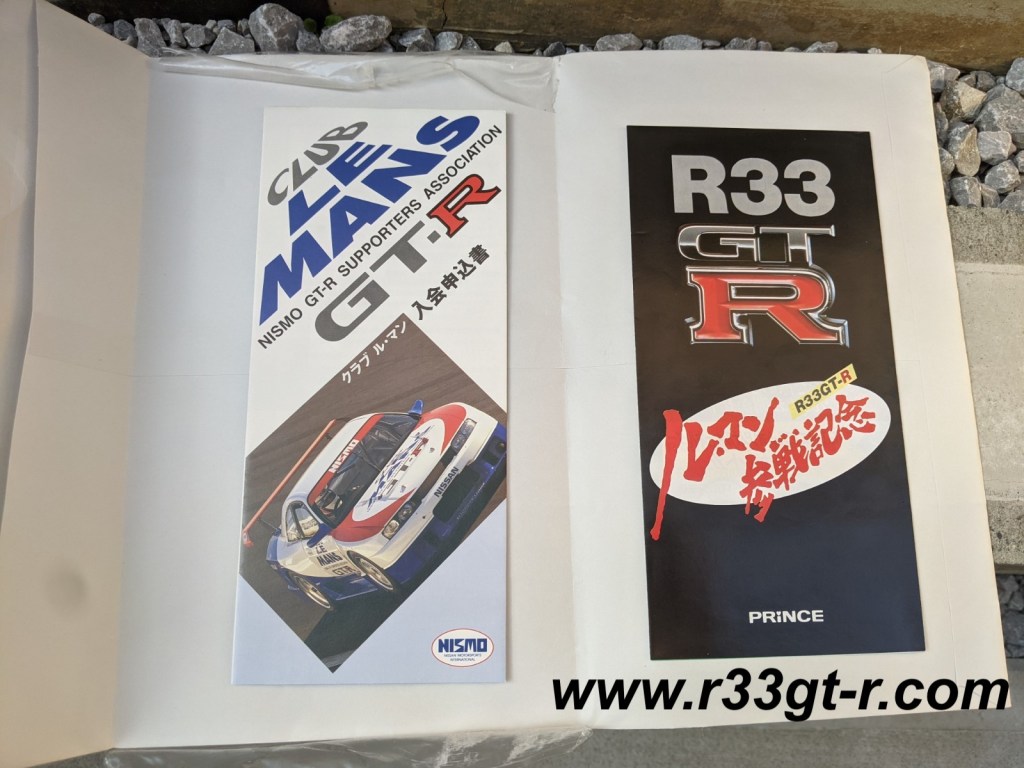
(Photo Credit: http://www.r33gt-r.com/2021/05/super-rare-find-2.html)
According to Aki, the entry fee for joining the Club of Le Mans was 1000 Japanese Yen, 3000 Yen for the annual due. Qualified members also got opportunities to go to Le Mans that year with the team, some as mechanics, while some as catering staff, translators, and event reporters. How cool was that! That’s how you cultivate the racing culture in people. You might want to read Aki’s post to learn the entire story.
So, how well did the pair do during the 1995 Le Mans 24 hours?
This is another interesting and authentic piece to read.
In short, the ace car, No. 23, retired from transmission problems; the more casually prepared No. 22 car brought back home a respectable 10th overall, 5th in class result. The pair appeared in the same race again in 1996, but received worse results, with No. 22 retired and No. 23 achieving 15th overall, 10th in class. Alas…winning Le Mans is HARD!
A video of the car in the race 😀
The spirit never dies. Keep the dream alive.
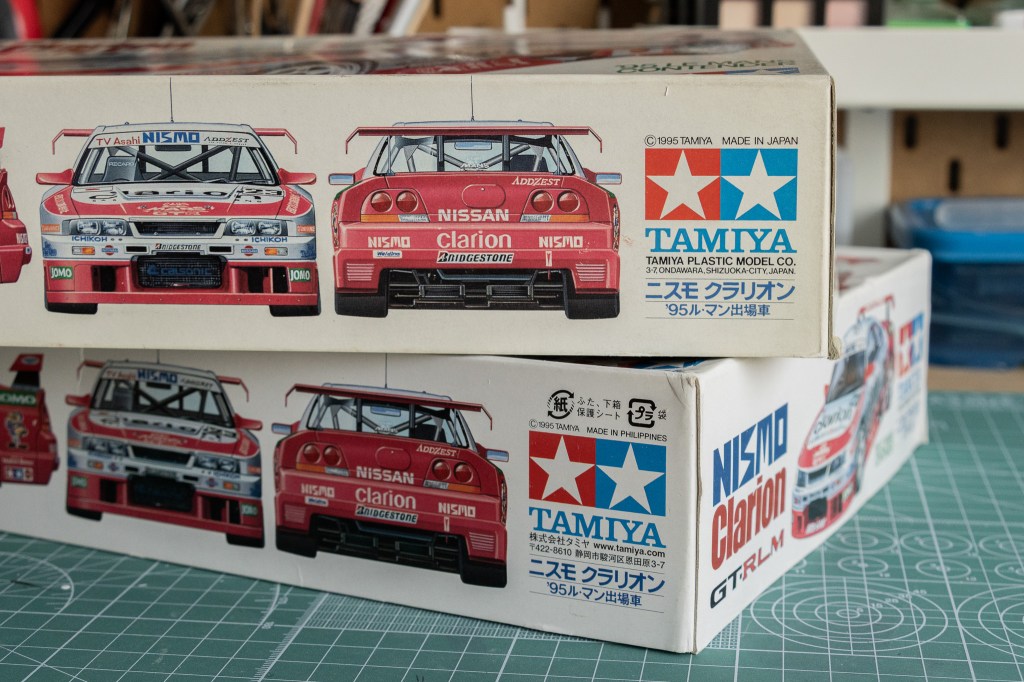
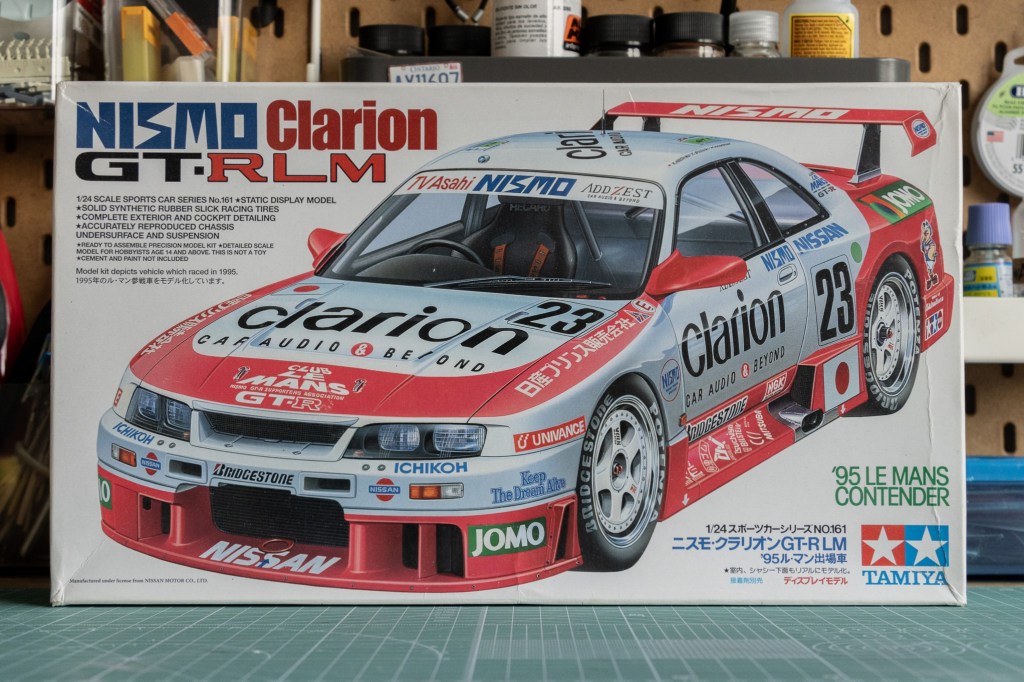
Building the pair is a must. The newer re-release was produced in the Philippines. See the often-discussed “mould quality change”? NO. Uh-uh.
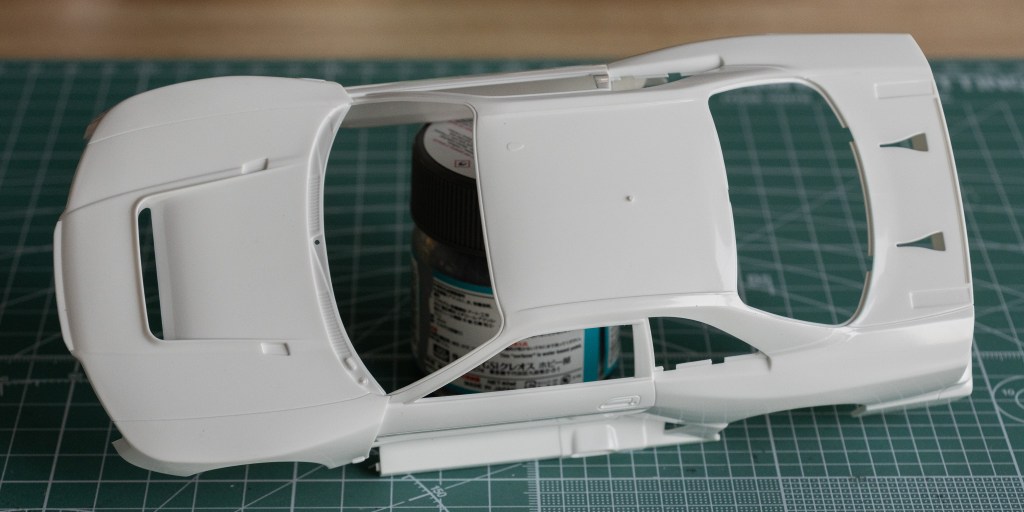
The front bumper is detached from the rest of the body.
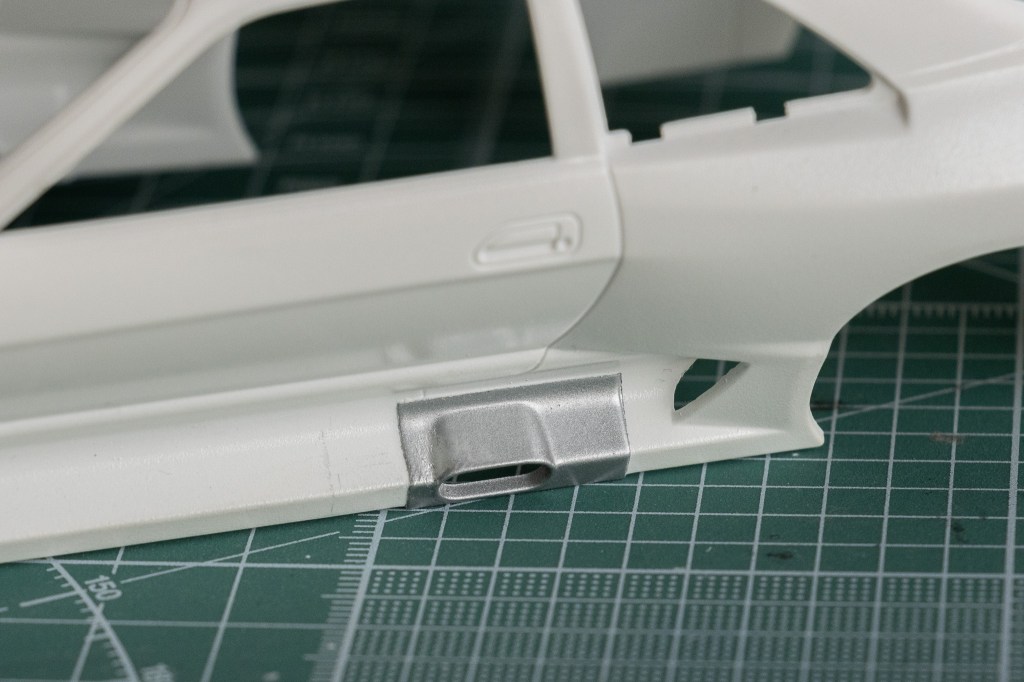
Some of the details must be masked and painted on the body, like the exhaust opening found on the passenger’s side. Here’s an example I did some years ago, using Tamiya’s TS-17 Gloss Aluminum paint. Overall, not a particularly challenging step (of course, you can paint it after polishing; otherwise, it must be masked again during clear-coating).

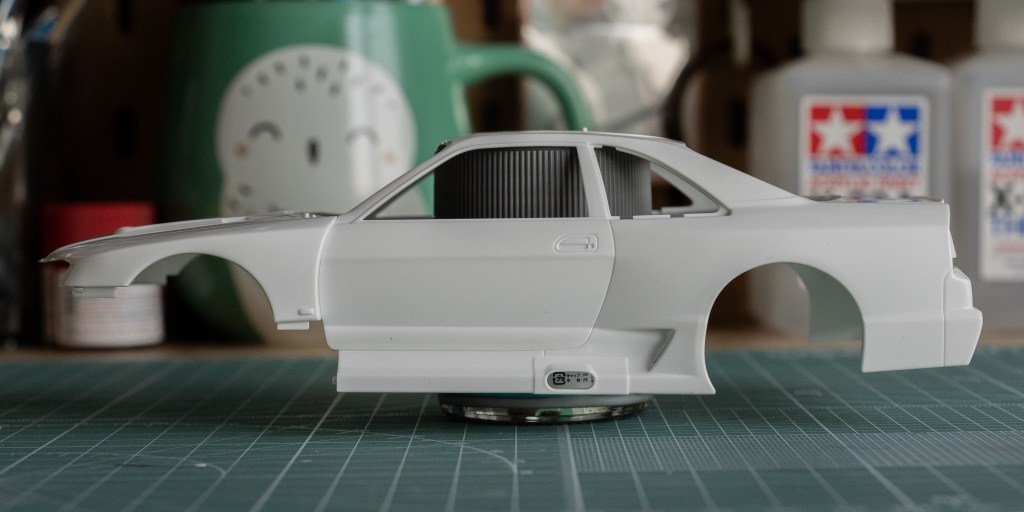
A bunch of parting lines must be carefully sanded off before prime.
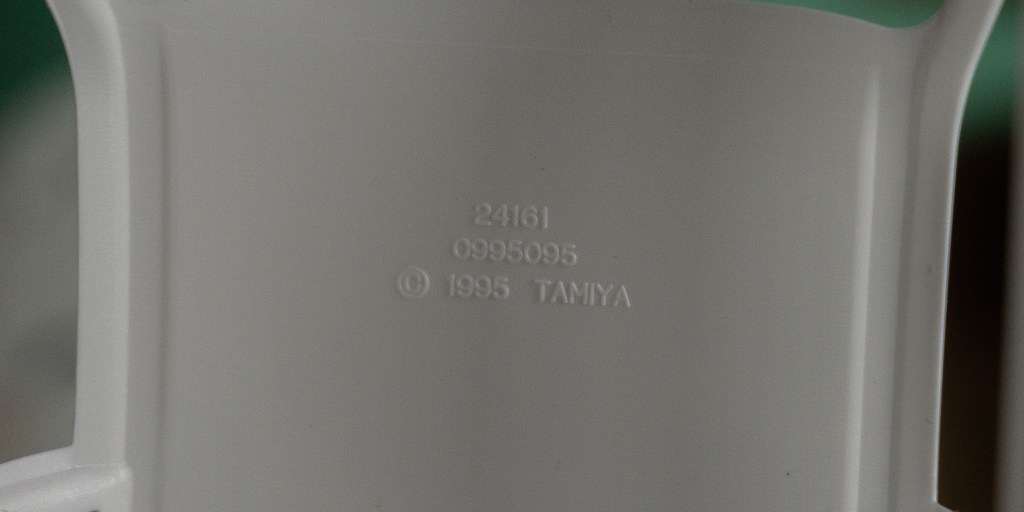
This timestamp will take you all the way back to 1995!
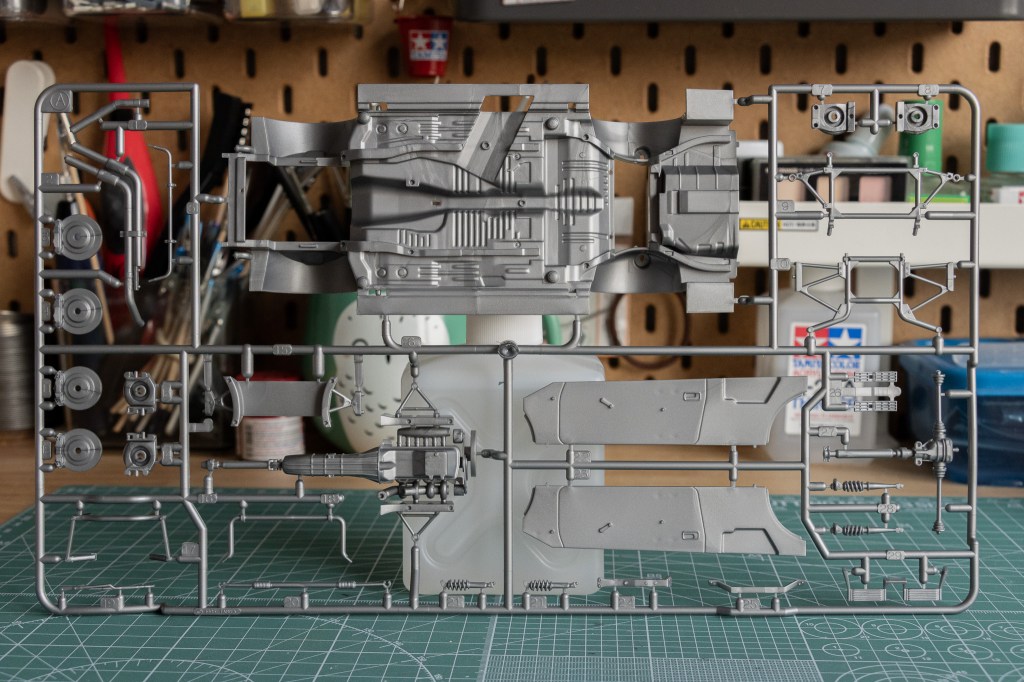
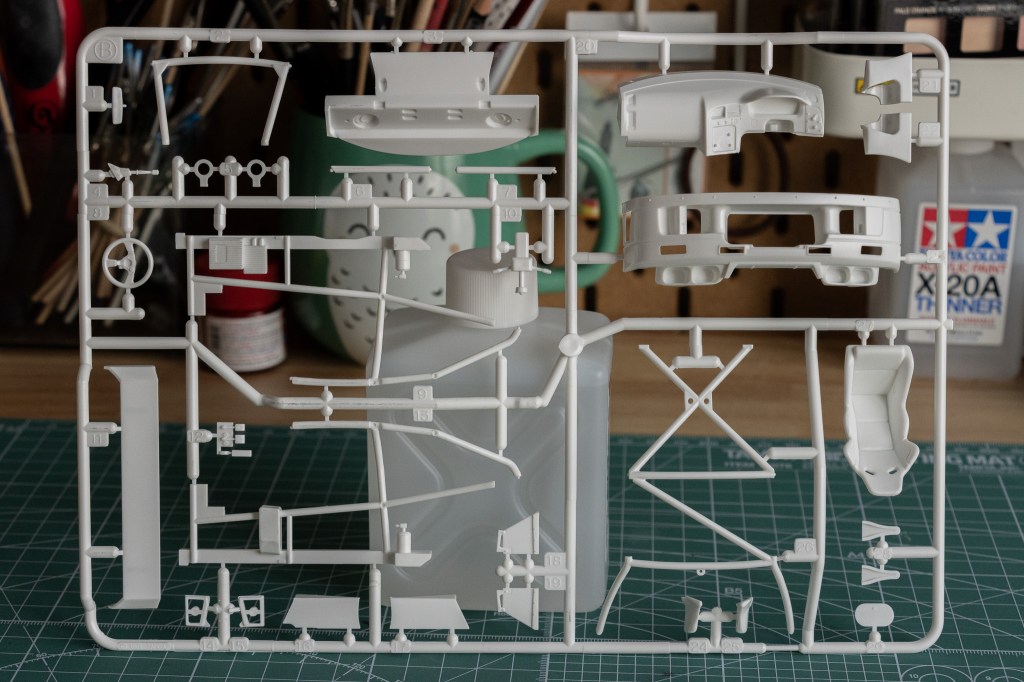
Sprue A.

By now, you must have noticed that the bonnet is not movable. However, the chassis provided is fairly detailed, especially from the bottom-up view. Here, you can find half of the powertrain on sprue A.

The chassis requires very little masking job. The exhaust pipes are separated from the chassis, making the painting a lot easier.
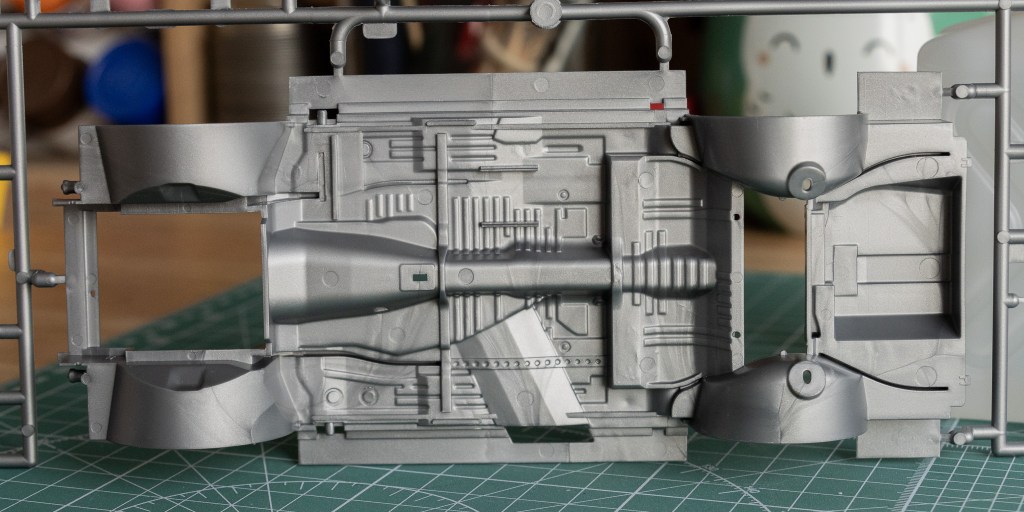
It is not surprising that the inner side of the chassis has so many ejection pin marks. And it is usually not a big deal, as most of them should be covered after the interior parts are installed. This car is a bit different because the passenger seat is omitted.
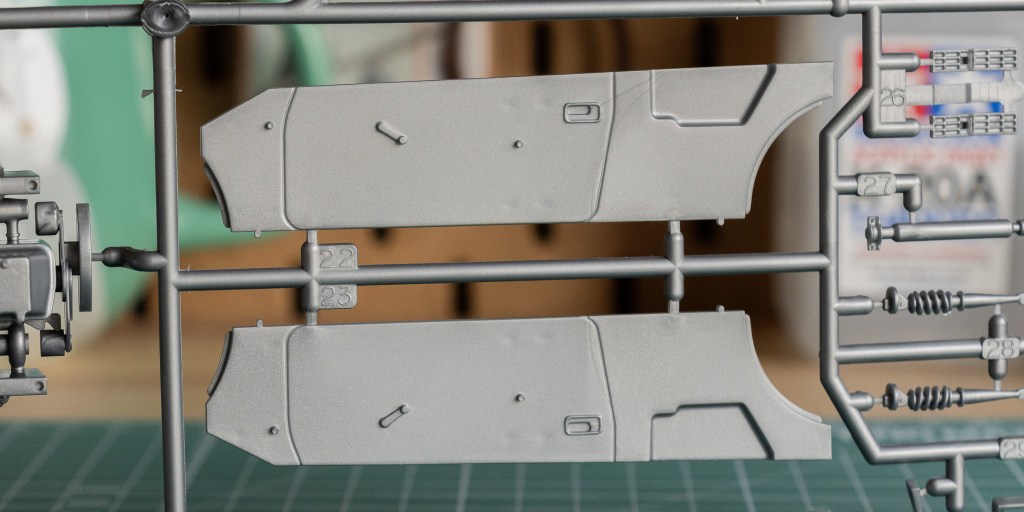
Door panels seem slightly inaccurate, if you compared with what’s in this video posted by Car and Moto in Japan.
There is something interesting about this door panel – a map of Le Mans, the circuit, is attached on the passenger’s side.
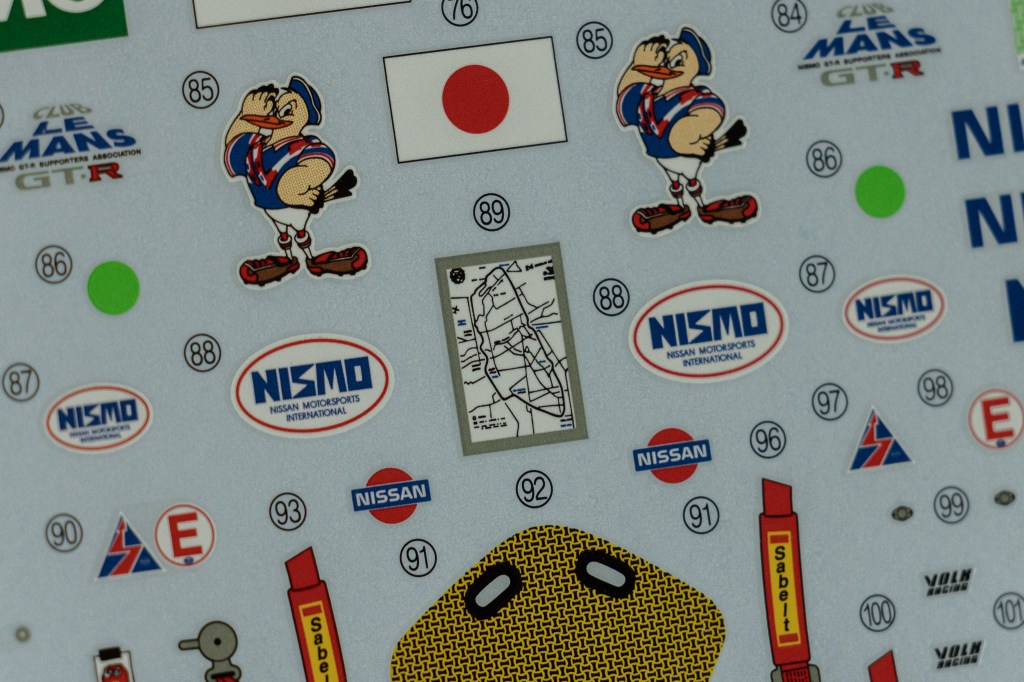
I wasn’t able to find much information about it, but very naturally I think you see the spirit behind it. Yeah, keep the dream alive!
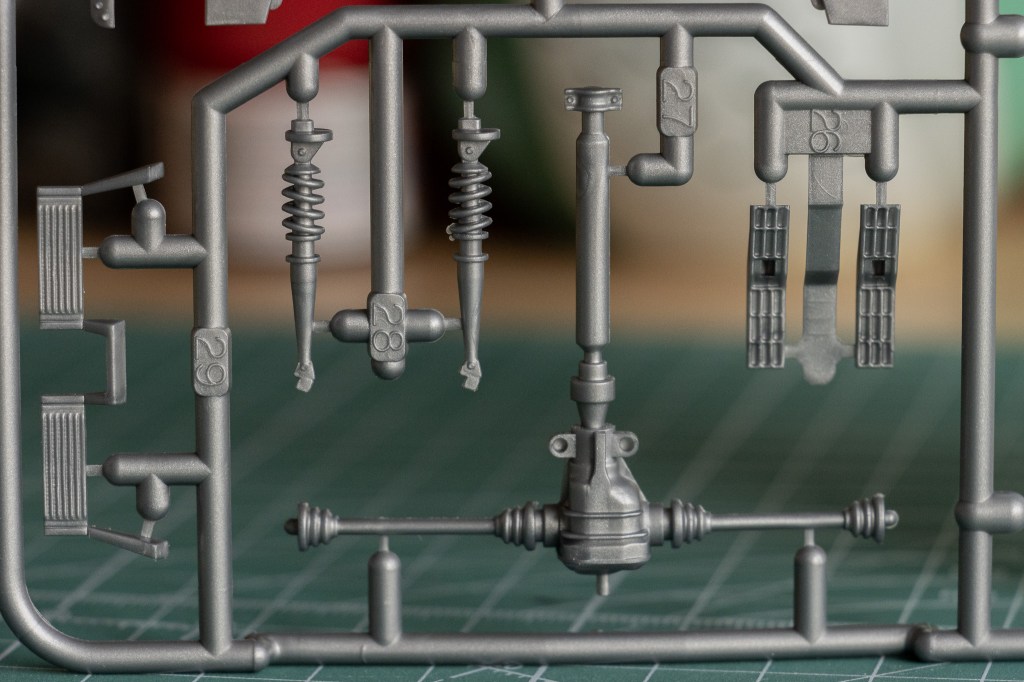
Please get your brushes ready to paint all the suspension springs.
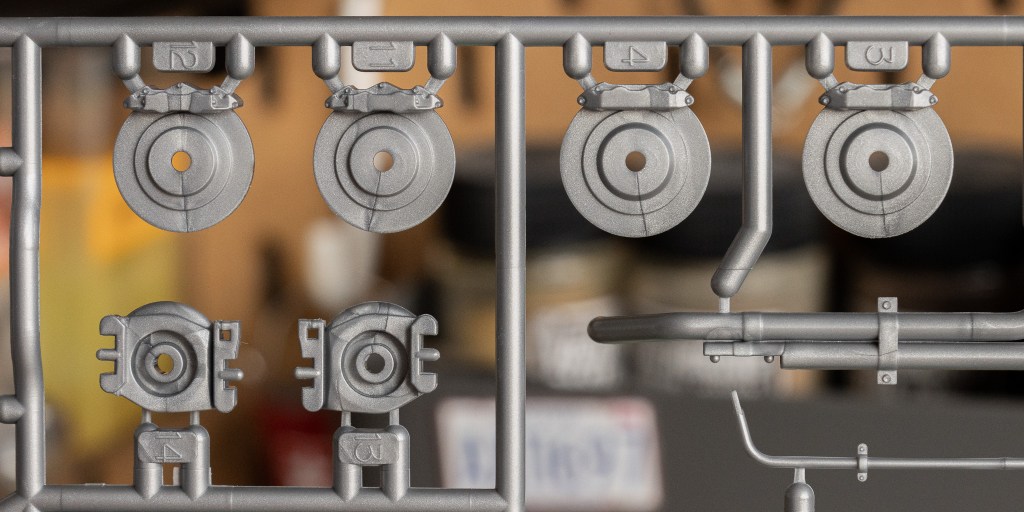
Typical Tamiya moulding style of the brakes.
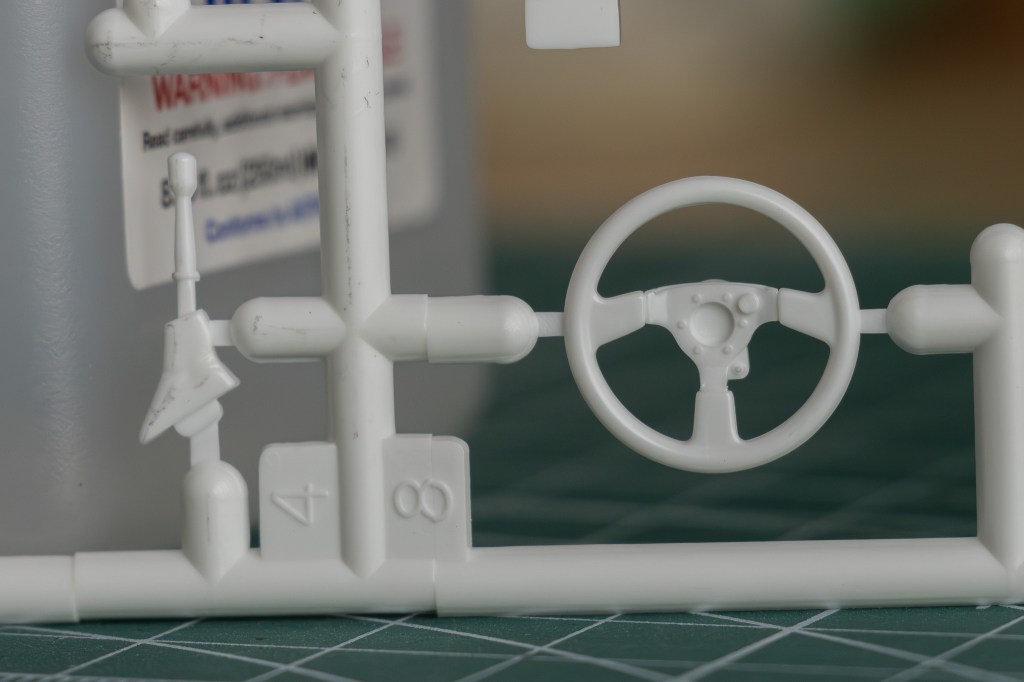
Sprue B is moulded in white colour.
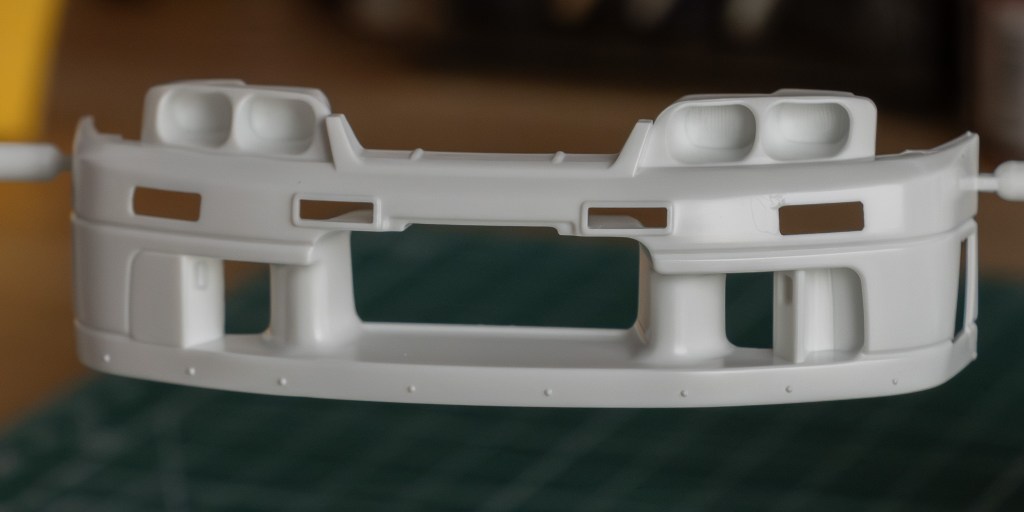
Let’s talk about the bumper first. The part itself is very detailed.
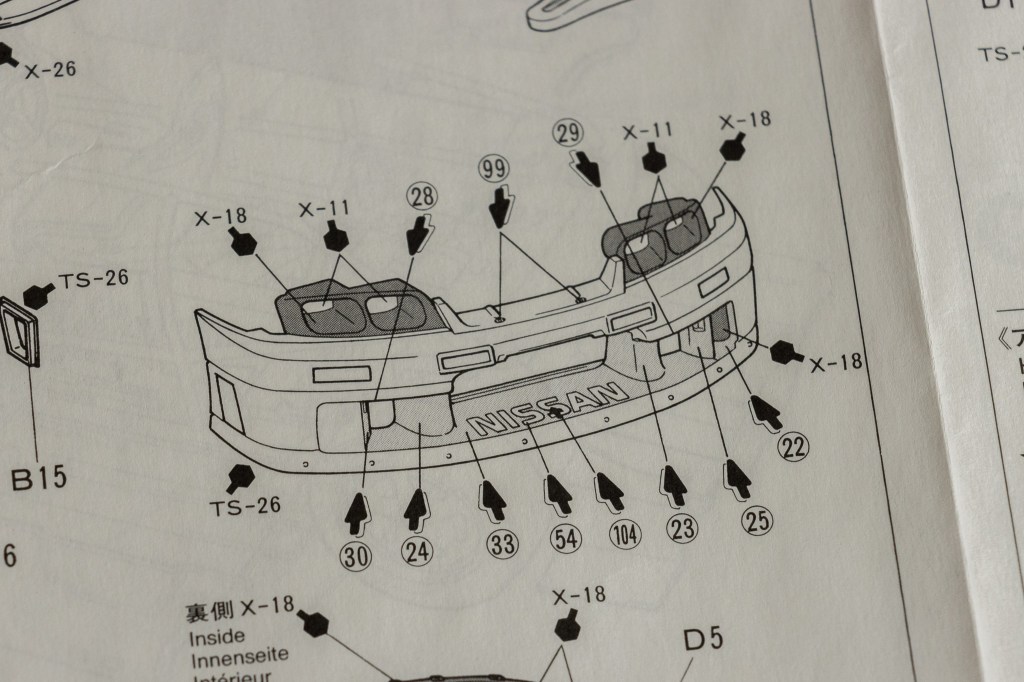
The problem is that the headlight units are integrated into the front bumper – read the colour instructions above and feel the pain!!! A shortcut would be using Bare-Metal foil instead of painting the “light” X-11.
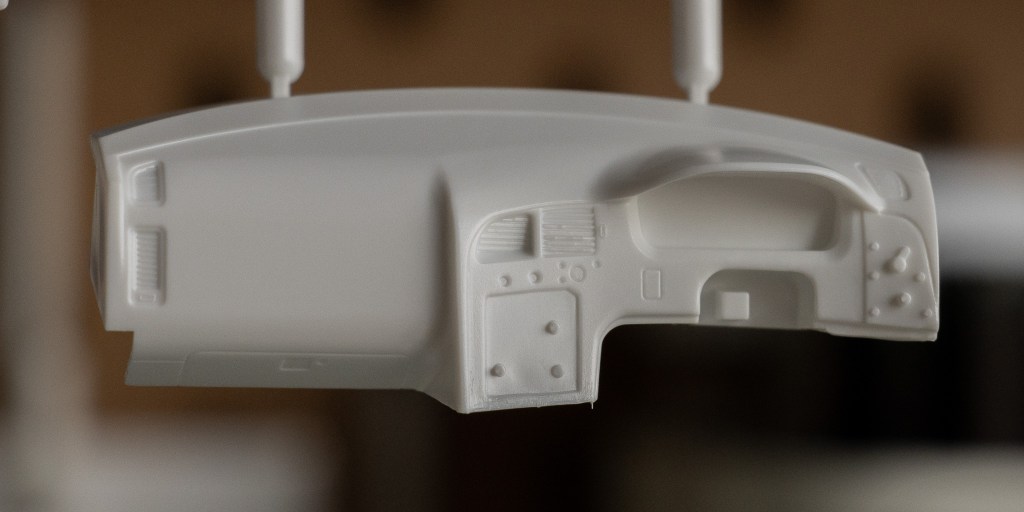
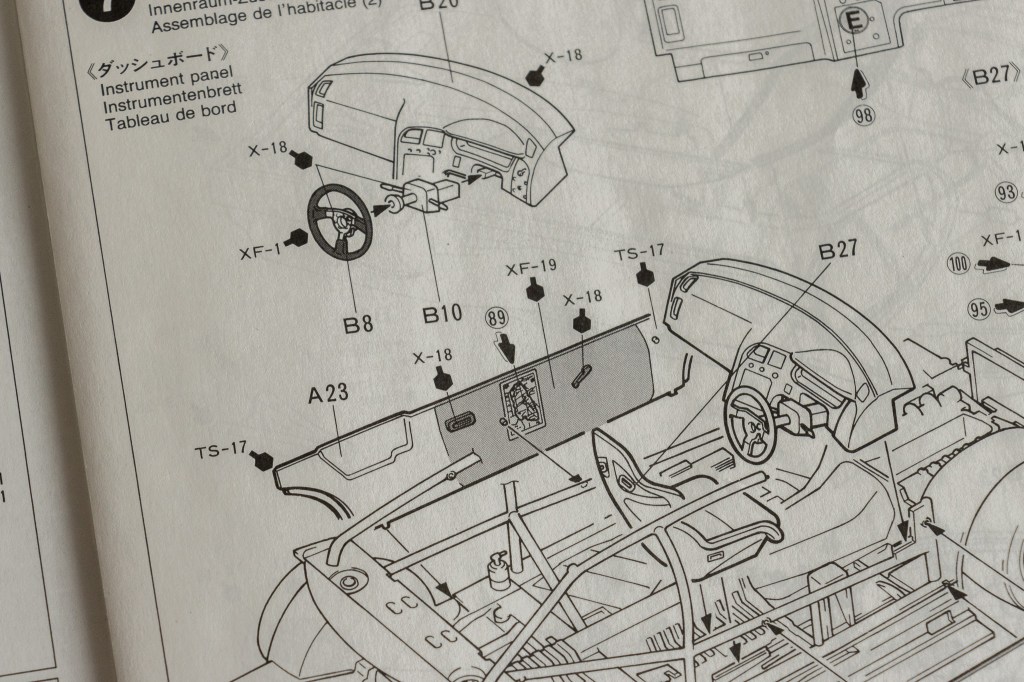
Dashboard looks more like a street car rather than a race car.
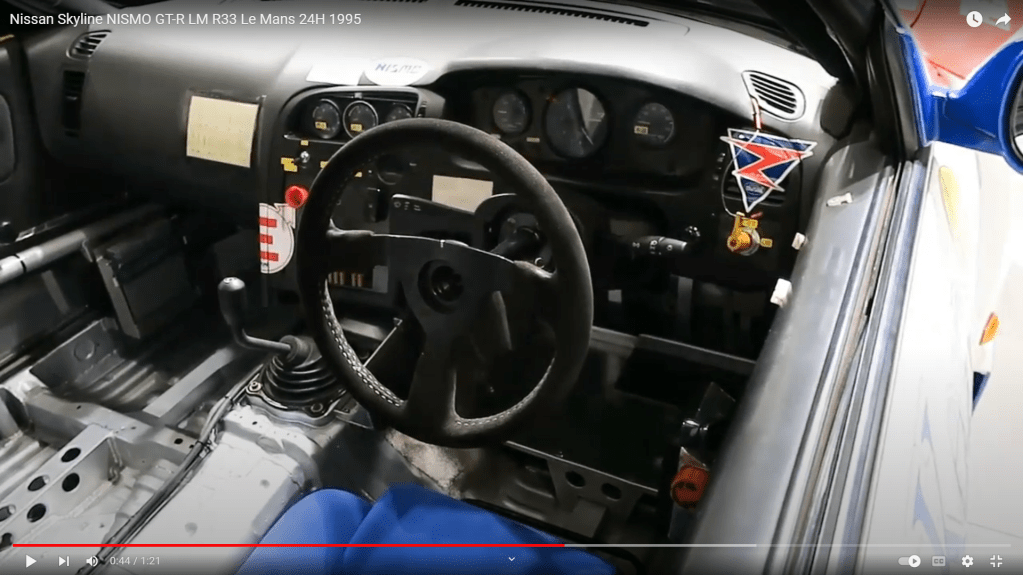
Here’s a reference from that Car and Moto in Japan video. You can tell in the actual race car, the a/c vent covers are replaced by different gauges. The shifting knob looks a bit different, too.
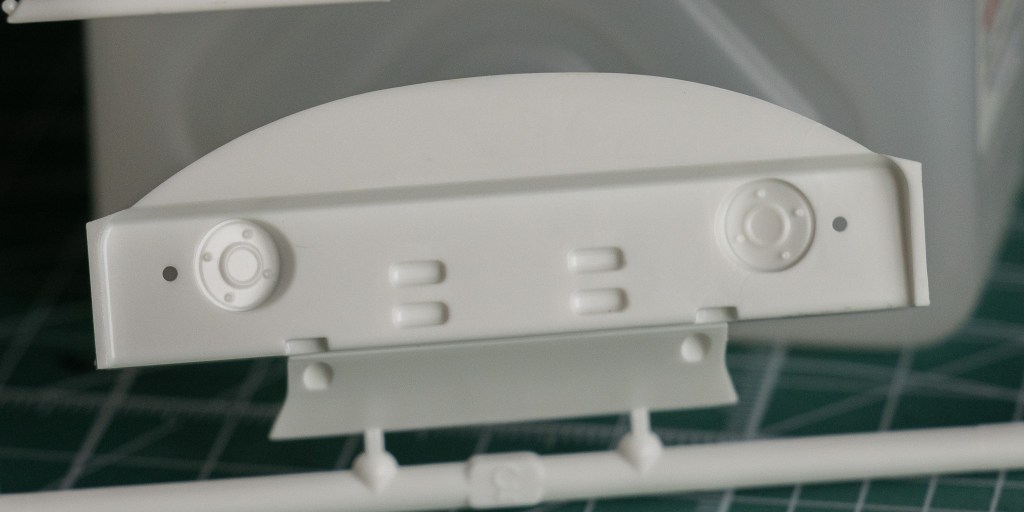
Details can be found everywhere. I believe this is the fuel tank?
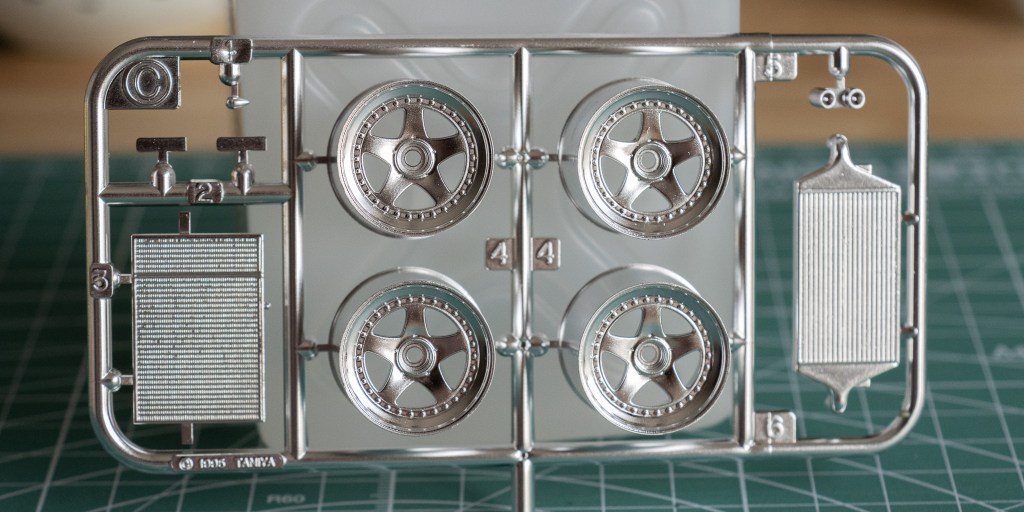
Sprue C is chrome-plated. Note the tiny roof light is also included.
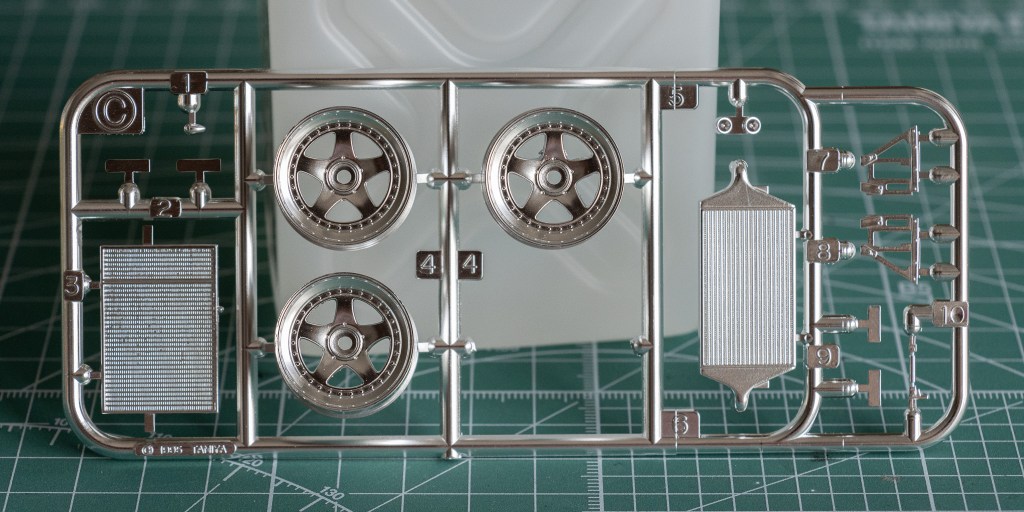
In the re-release I bought years ago, this sprue has some parts that are used in the other GT-R R33 models (no. 7-10).
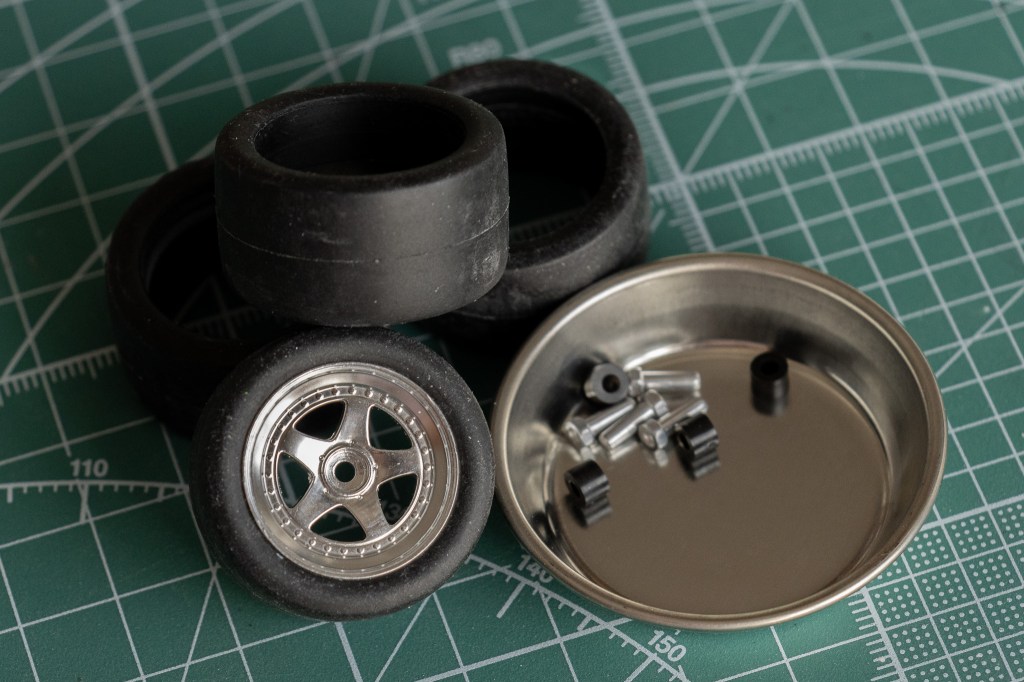
Nothing much to say about the tires. Tamiya provided 4 rivets to secure the wheels on the car, which I would call, uncommon.

Here I also managed to get a set of Nismo LMGT2 wheel set from Hobby Design. Let’s take a look at what’s inside this little box.
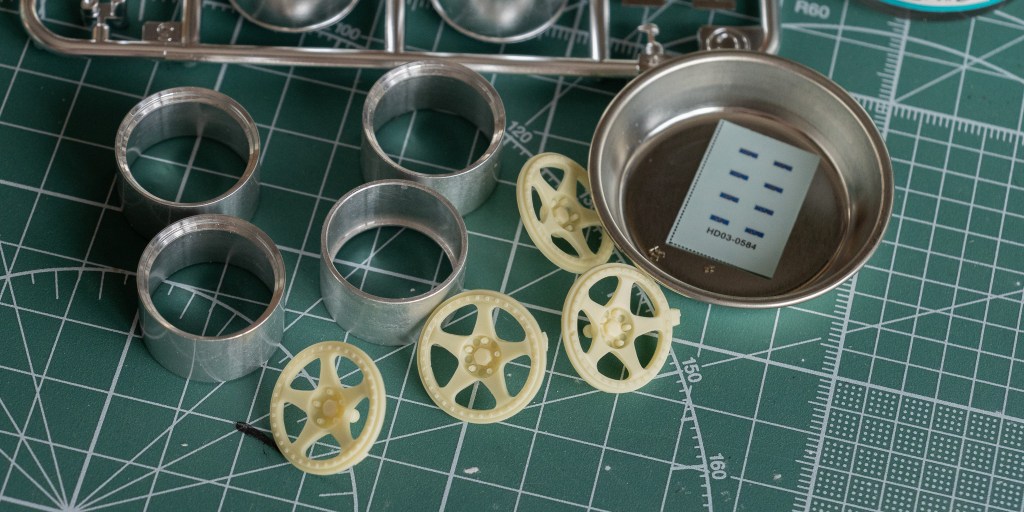
Metal and resin combination. This design greatly helps with the painting job later. The Nismo decal and air valves are also included.

Yes, you can easily airbrush the resin part with whatever colour you like.

Compared with the kit wheel, the centre hub of the wheel differs.

(Photo Credit: Nissan Heritage Collection)
The kit wheels, however, are more historical accurate (least in this case, they are better). The hobby design one seems more like a street version. Hmm…but it is so much easier to airbrush the Hobby Design one white in this case…So here is my plan: a modeling saw and a sanding block (hey, it’s cool if it doesn’t work – you see I have in total 12 wheels…)

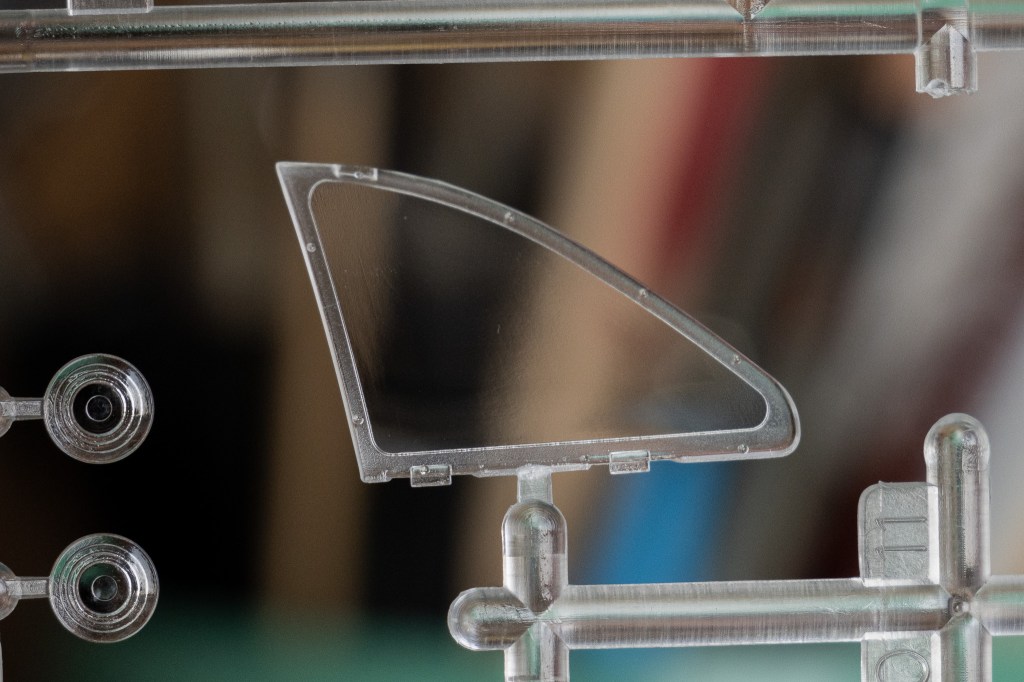
Sprue D is for all the transparent parts.
(Photo Credit: Jerry Lewis-Evans, Flickr)
If you intend to build the No. 22 car, the kit side windows miss the three holes. Drilling the clear parts are never easy – it requires lots of patience.

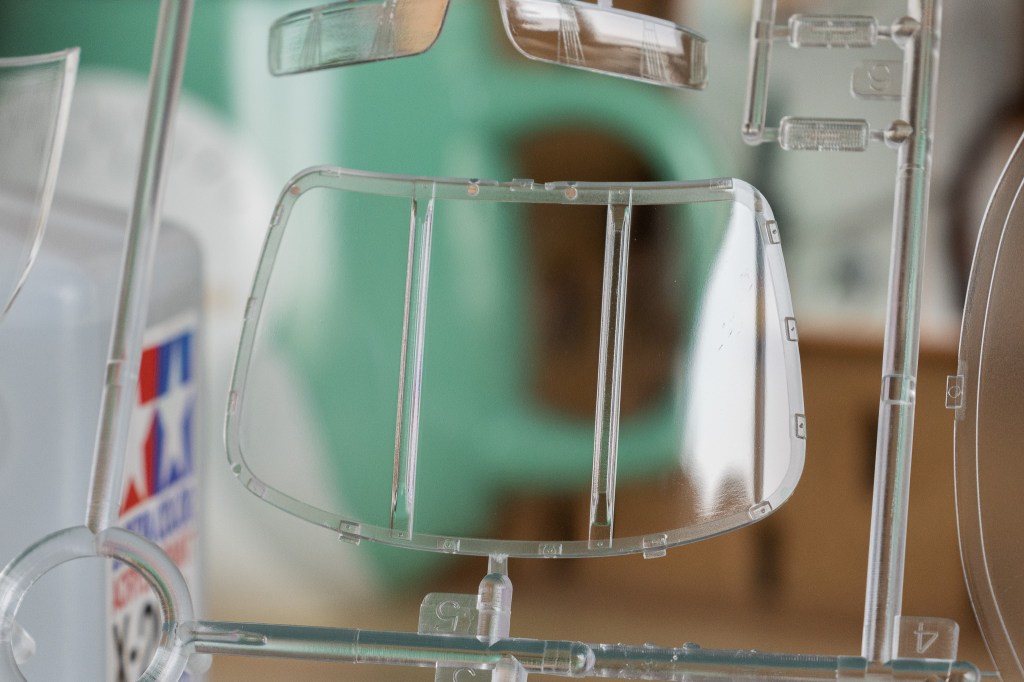
We do get two undertrays (D4 & D14) on this sprue. The undertrays themselves are not transparent, though. if you choose to not paint them…guess what will you get? You will get to see all the spectacular details on the chassis!
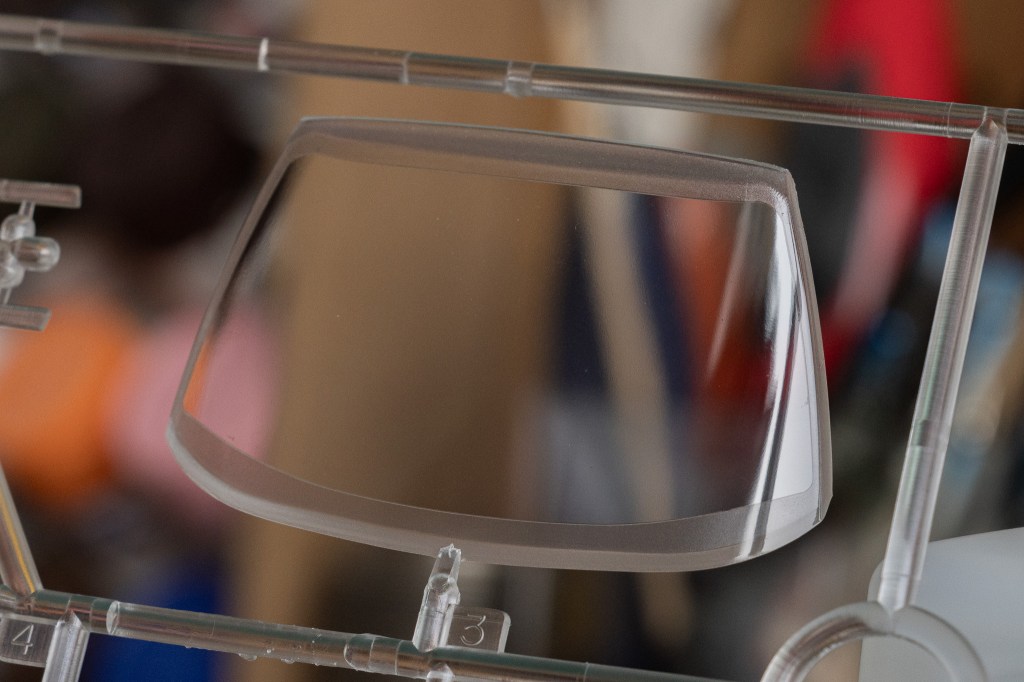
Beautifully moulded clear parts.
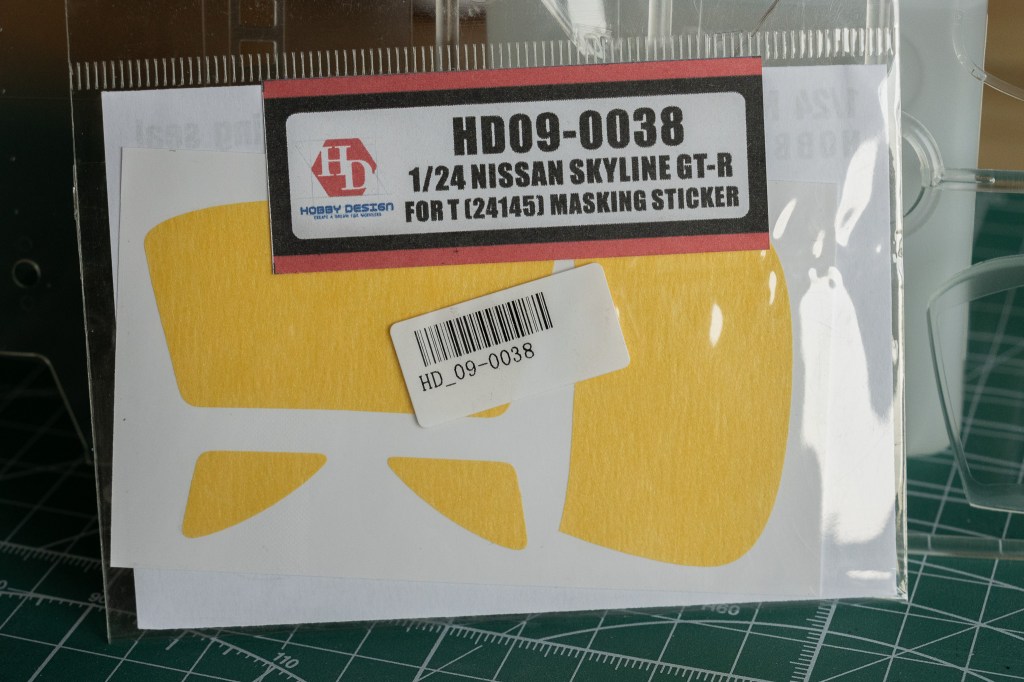

I also purchased this masking sticker set for these clear parts. These stickers are designed for Tamiya 24145 Nissan Skyline GT-R V Spec R33, but since the LM car is basically a R33 – the windows would remain the same?
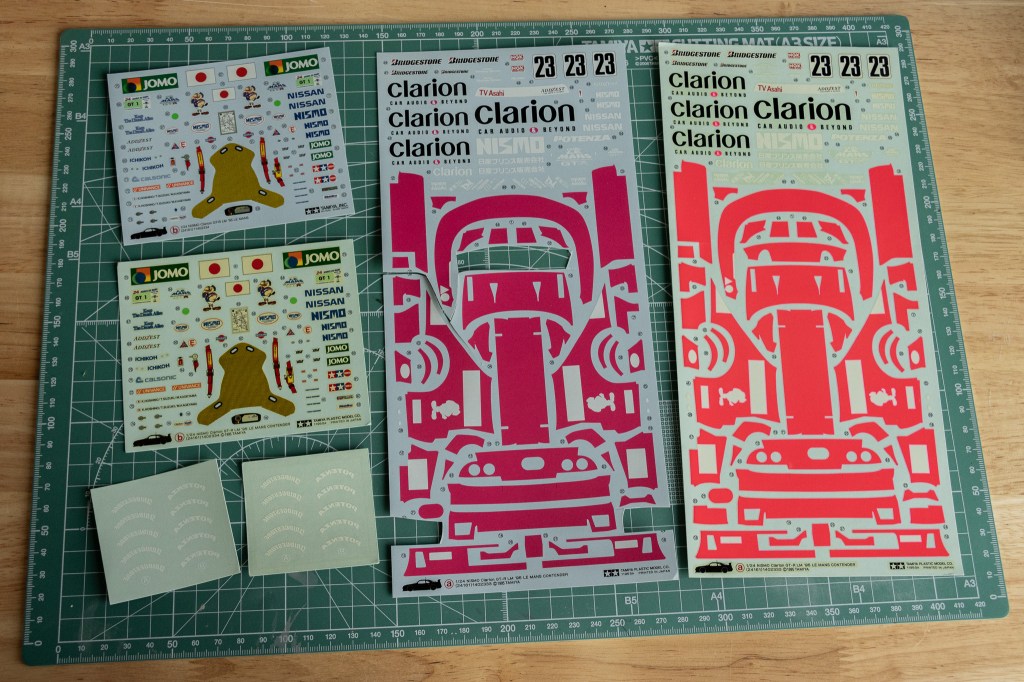
A highlight (????) of this kit is the decal its comes with. Just look at the photo above and you will see. The one comes with the original release is unusable due to yellowing. I think I cut some pieces from the newer re-release I bought in 2015 to give it a try, which is why some pieces are missing in the above photo. And, NO, it did not work.
It is just not worth it to use the kit decals. The masking job for the car’s livery is not even that hard. Do not try the decal 😦
Here’s a testimony I found from Paul McCracken’s review of the same kit:
Decals
- The CLARION “Cherry Red” (Bright pink to you and me) is supplied as a decal, and as I have done much more complicated schemes, like the JACCS Honda Accord I was expecting no problems. How wrong could I be!
- I started with the front of the car, which granted, is the most complicated with lots of curves and angles. I was shocked when the decals began to crack and break up !! But this is a TAMIYA kit, Japanese perfection, AARGH !
- Adding MICRO-SOL only made things worst and I had to abandon the whole area.
- I presumed that I must have a faulty set of decals, so I asked RIKO if they could supply me with a new set. After a week the new set arrived but still with the same problem !
- I was about to commit Hari-Kari when I thought to myself “all is not lost, be positive”.
- I now had to find a matching bright pink to spray the front of the car, after much searching I settled for Halfords “Nitro-Pink” which is a cycle spray paint. Unfortunately it is Matt paint and needs a coating of lacquer when dry. The colour is not perfect but it’s the closest that I could find.
These decals, hmm…they are not worth the time trying.

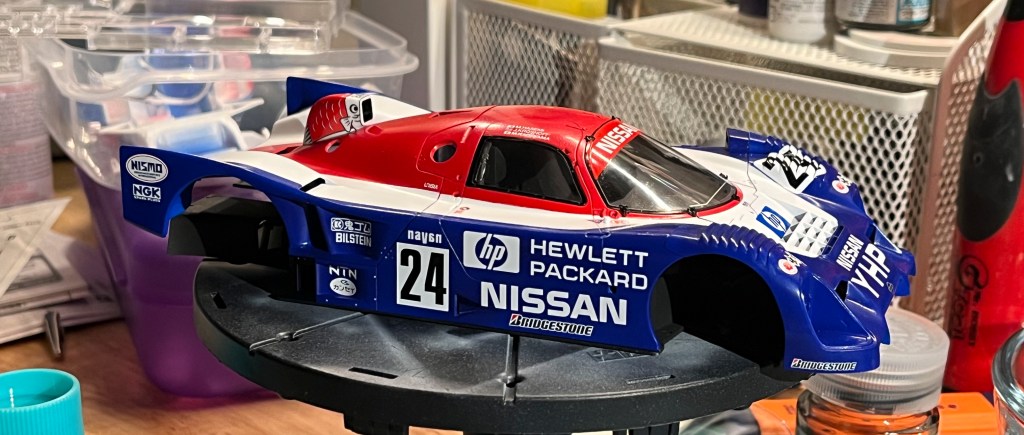
Speaking of decals…Yes, there is an aftermarket decal set for the No. 22 car! I got this set from TABU/Studio 27 years ago. Good news: Shunko has very recently, which I believe it was last month, reproduced the same decals and is probably available everywhere 😀
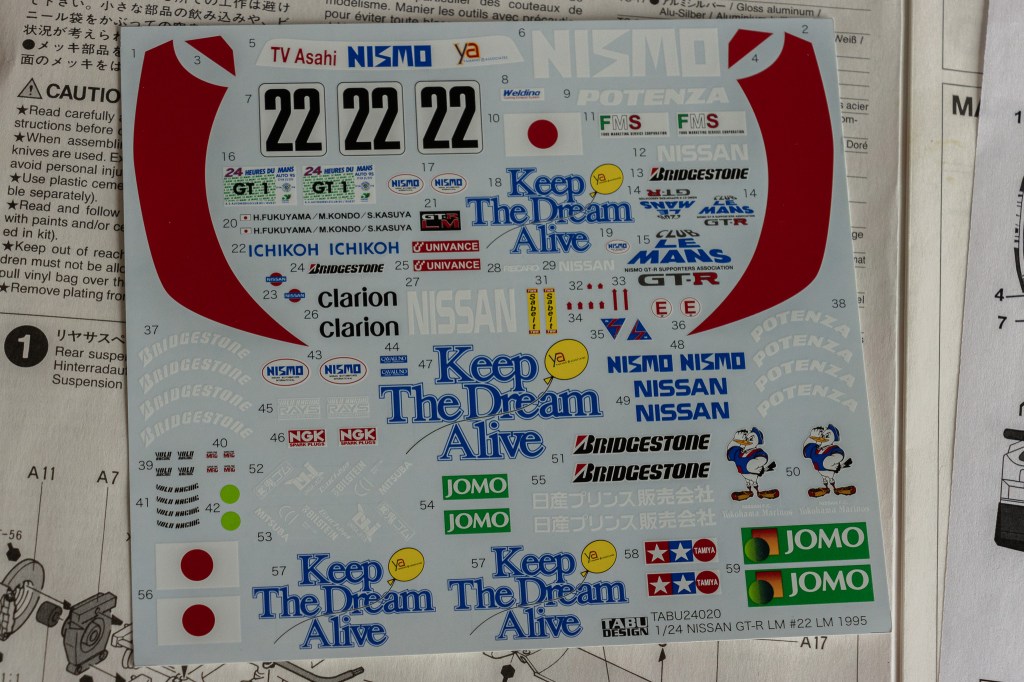
The No. 23 car is the ace car, but I always love the No. 22 livery. You gotta keep the dream alive! Not to mention the Blue-white-red livery, can’t go wrong with that colour combination.
(Photo Credit: Nelson Ireson, Motor Authority)
By the way, to maximize the accuracy, you may want to buy a Tamiya’s regular R33 for its side rear-view mirrors that were used on the No. 22 car. The mirrors that come in this model are specifically for the No. 23 car.
May the spirit of Le Mans live forever…

Leave a comment