
This one…
has only two wheels!
Thank you so much, Sue Mowadeng, for answering this question for me: “I don’t see no shovel…”
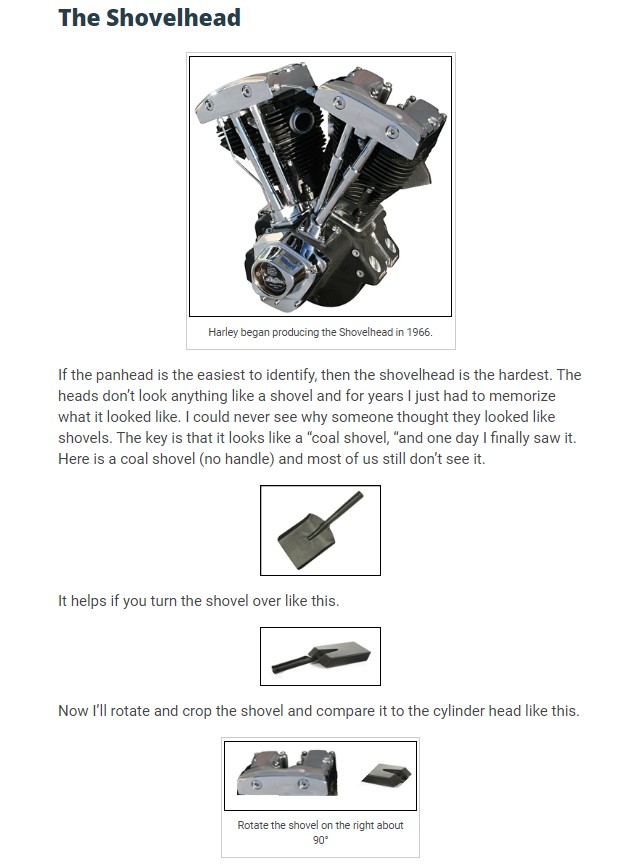
(Source: Sue Mowadeng, Loud pipes, leather and hardtails)
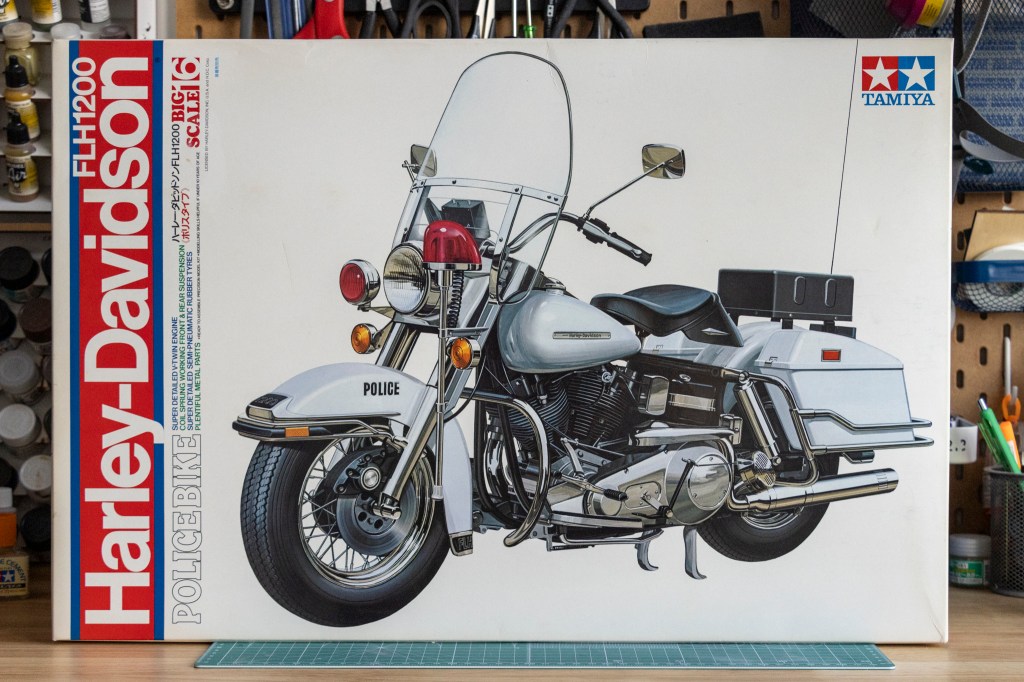
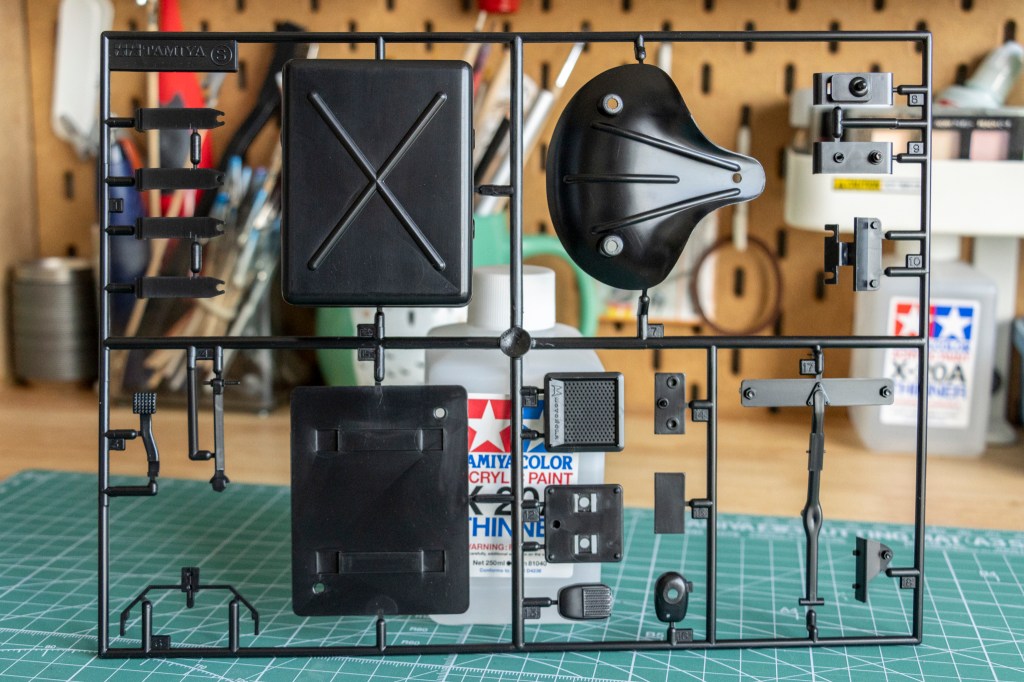
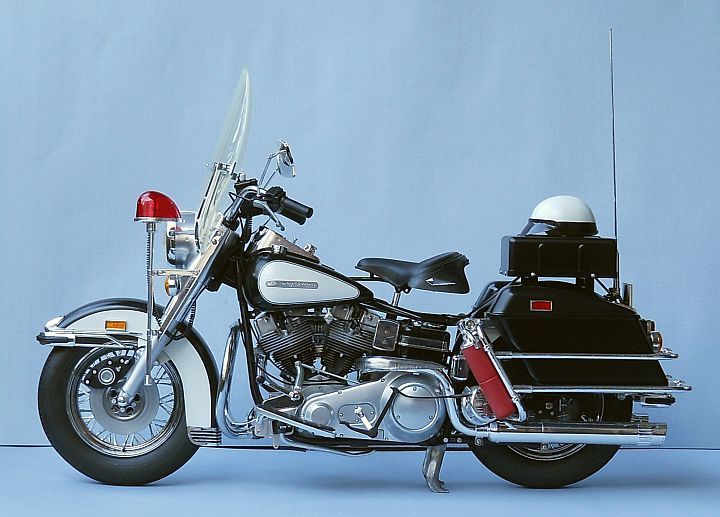
Tamiya’s FLH collection covers 5 different models. Arranged according to the time they were released, first we have the classic FLH1200, still under American Machine and Foundry (AMF), comes with a very classy seat; then comes the Electra Glide in Blue. The bat wing fairing FLH classic follows with a separate version that accompanied by a sidecar, making the already huge 1/6 even bigger (at the moment of writing this post, the sidecar version is on its way to my home, :D). Tamiya then re-released the FLH Classic again but in black (come on, colour difference counts). These box art can all be found on Scalemate. Among them, the original AM F one has become a rare deal since; the other versions can be regular guests at all types of auction sites.
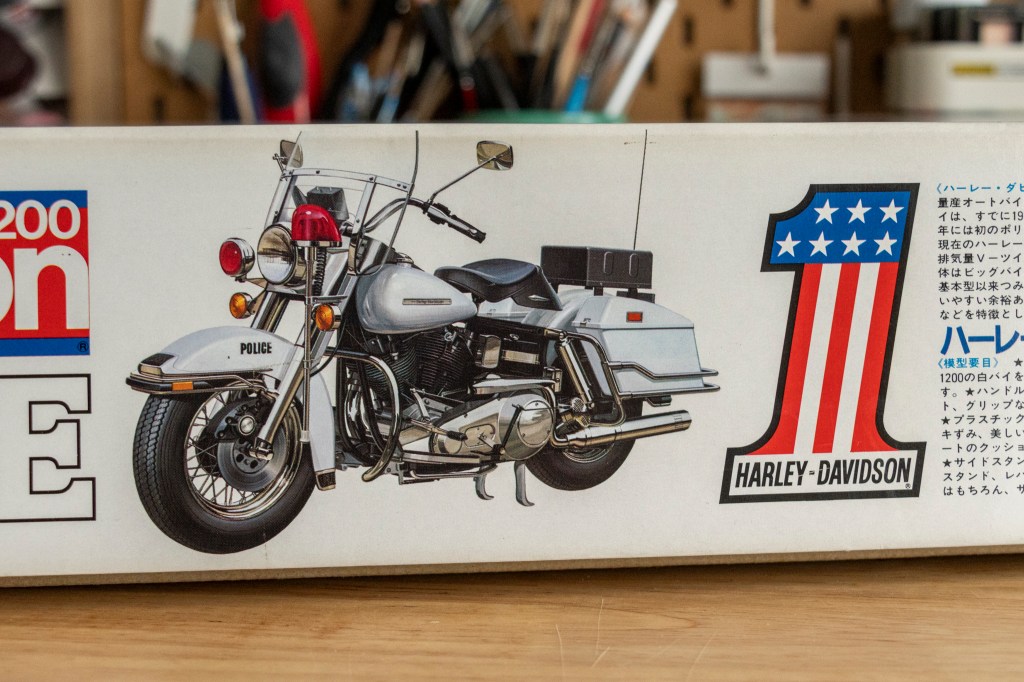
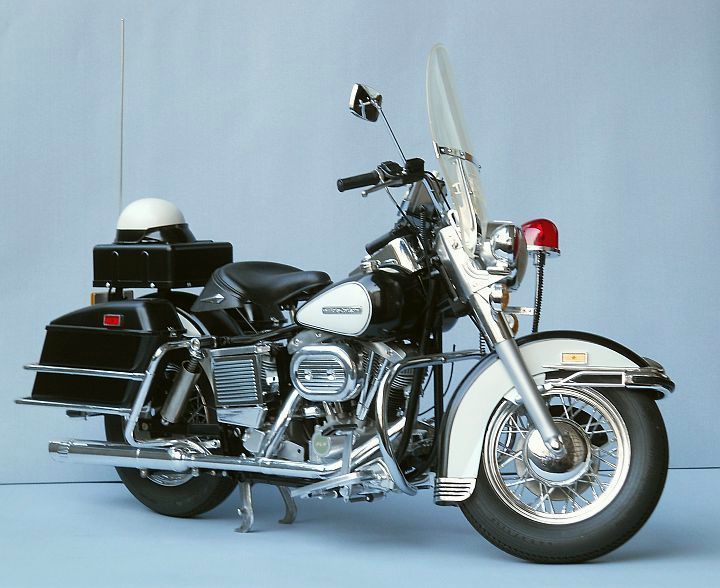
The Electra Glide in Blue, a.k.a. the police bike version, is distinctive in its own way, not only for the very obvious type of the vehicle but also the huge one-piece moulded windshield comes in the box.
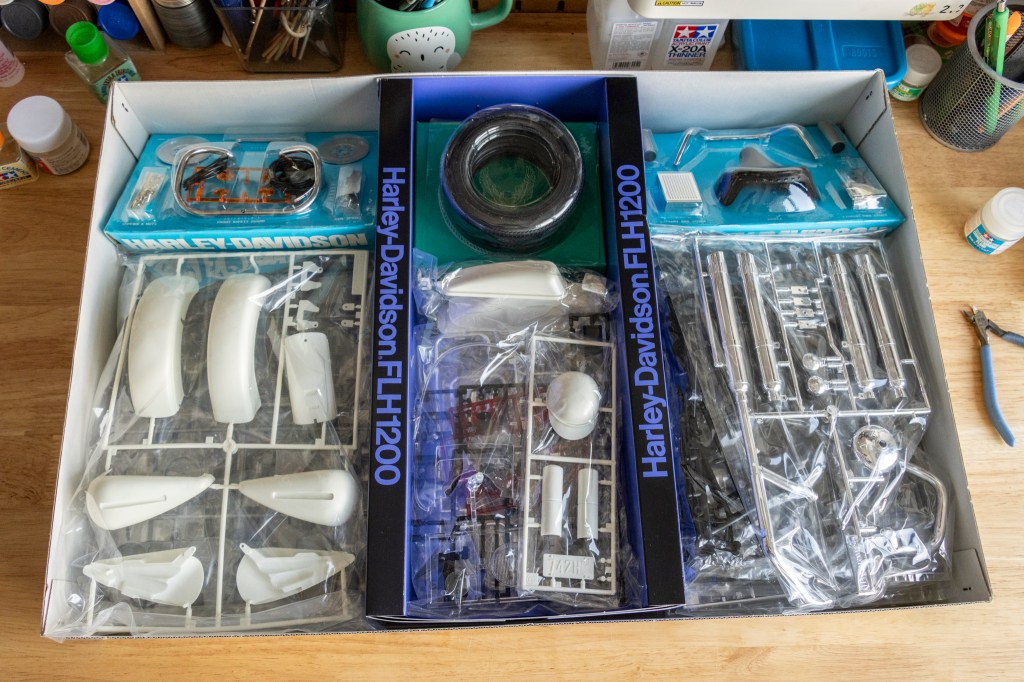
Oh, not to mention that these big-scale Harleys all feature a number of multi-material parts, usually packed in the familiar Tamiya blister packing.

First, the brake discs are all metal. I don’t think they help especially when you want to drill holes on them (unless you have specific tools or are willing to invest), as they aren’t particularly detailed compared to the drilled discs…
No comment on the huge metal safety guard and side stand, just NICE!
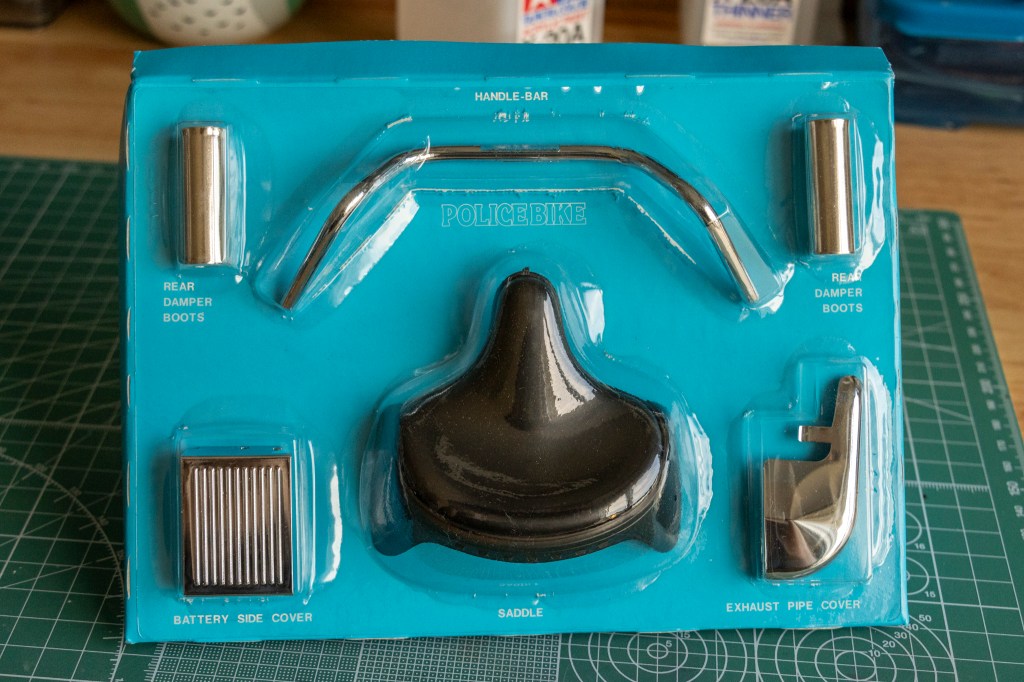
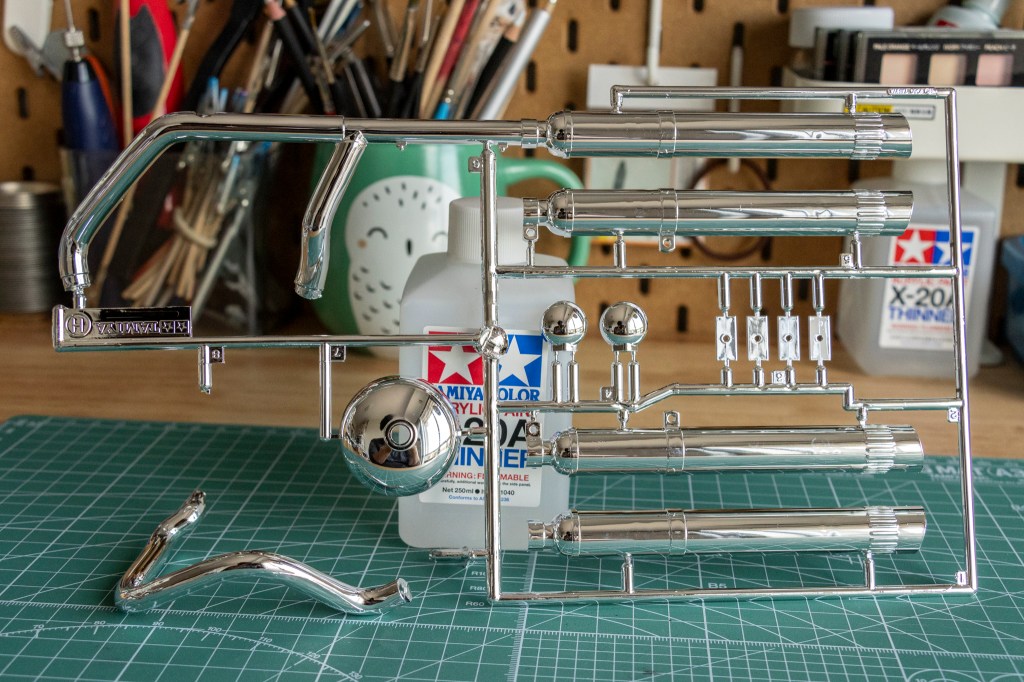
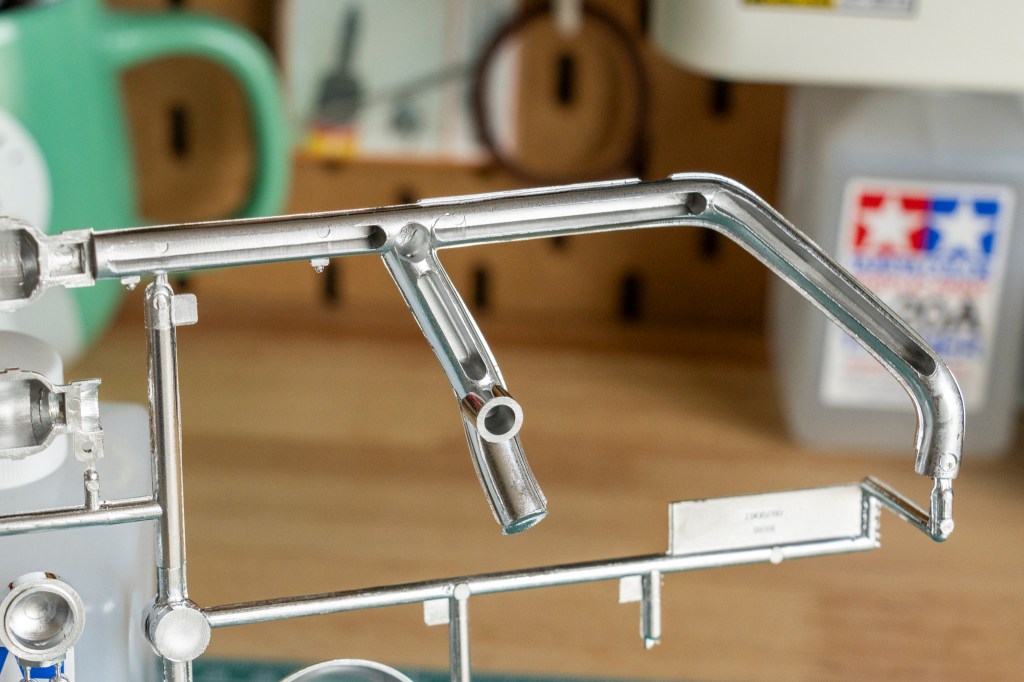
I wish all the exhaust pipes would be metal, too. Guess that’s a bit too much to ask for. Instead, you get the metal battery cover, exhaust pipe cover, beautifully machined handle bar, and two damper boots.
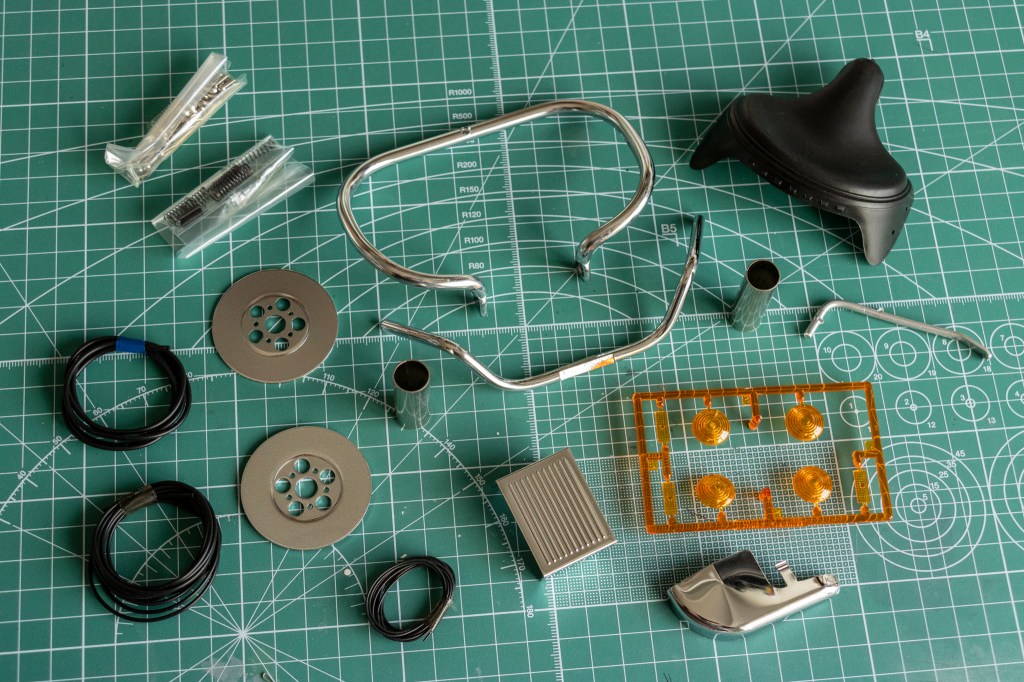
I like this solo saddle a lot. Very wild feel, particularly for the silver spear decorations. Nah, you don’t need a girlfriend to ride with you. 😀

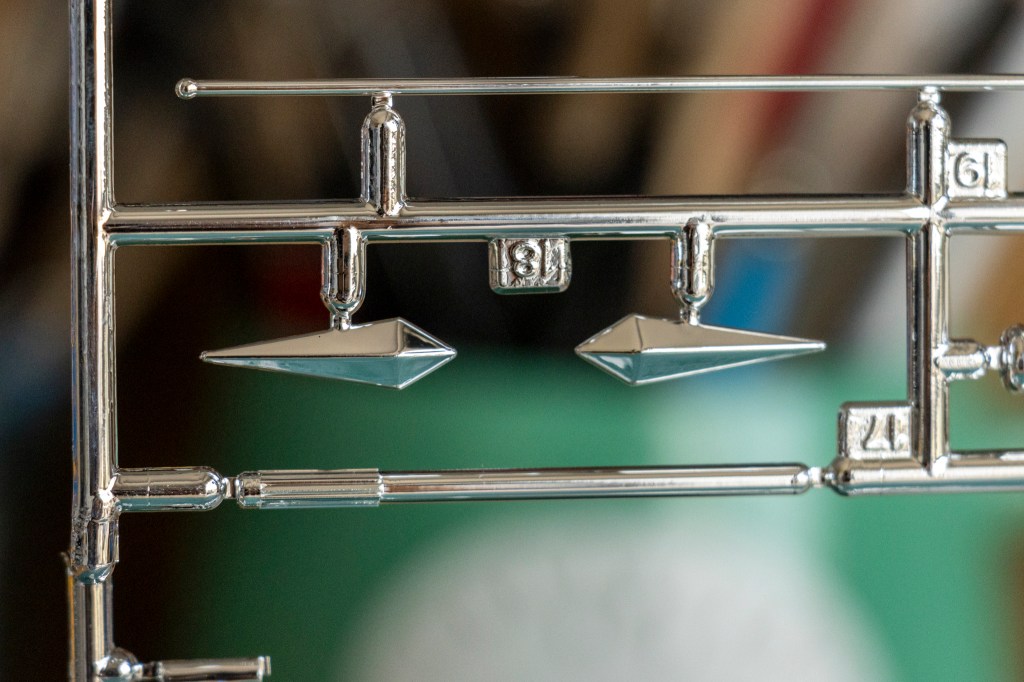
A small piece of yellow (more like orange to me) clear sprue covers the 4 blinker lamps and 3 reflectors.
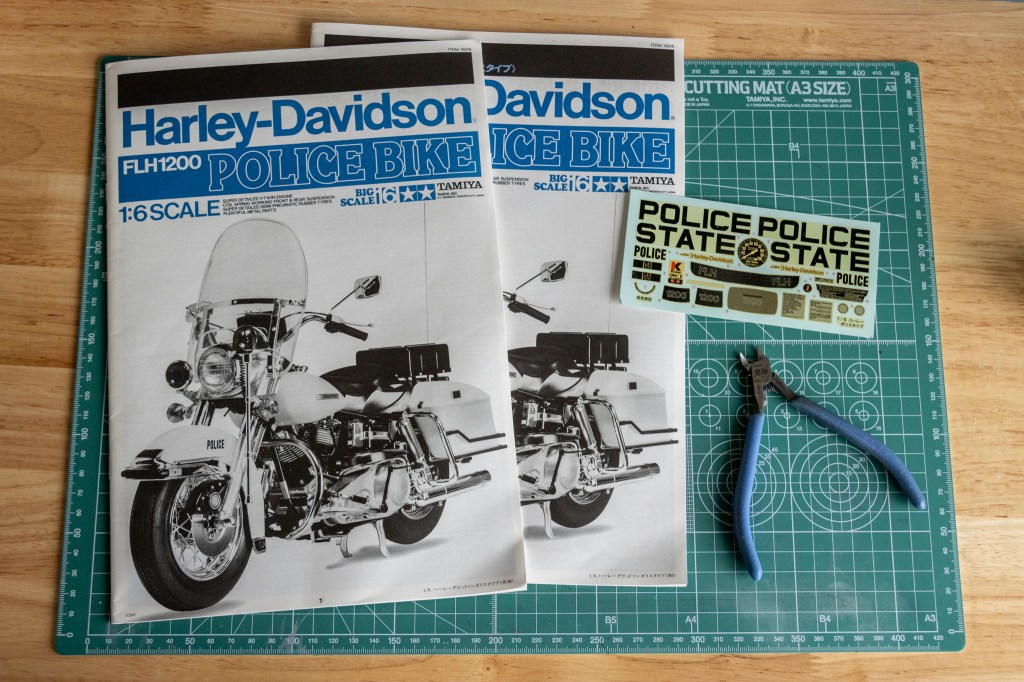
A courtesy of old Tamiya kits—instruction manuals in English and Japanese.
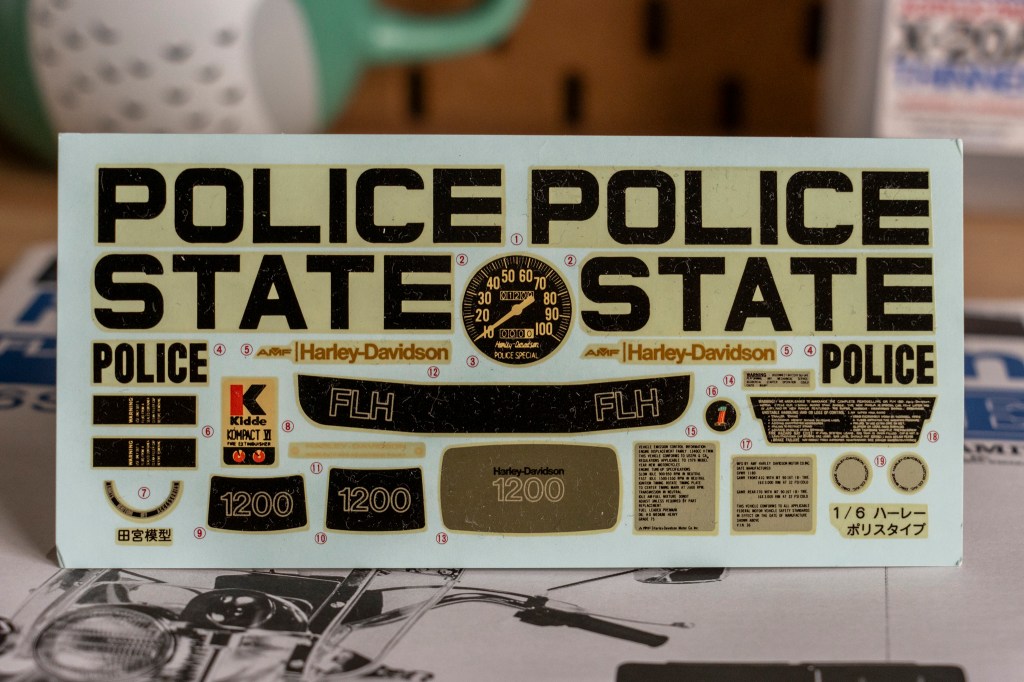
The decal is not surprisingly unusable anymore; replacement can be found at aftermarket vendors, such as BBK from Belgium.

You find the two enormous fenders and fuel tanks on Sprue A.
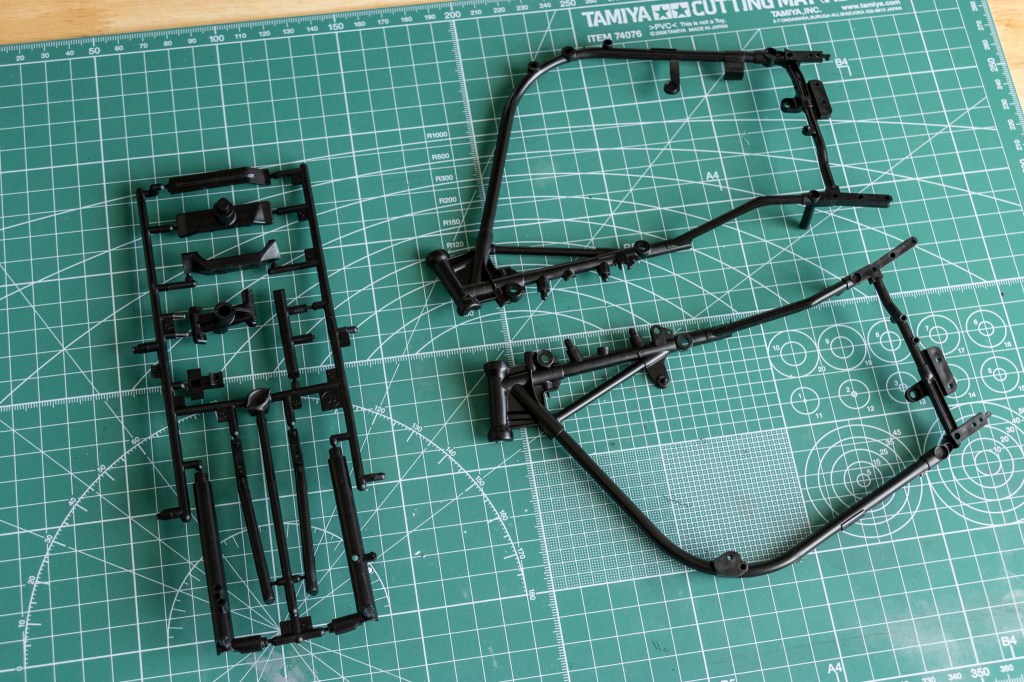
Sprue B includes, again I have to use the word HUGE, frame.
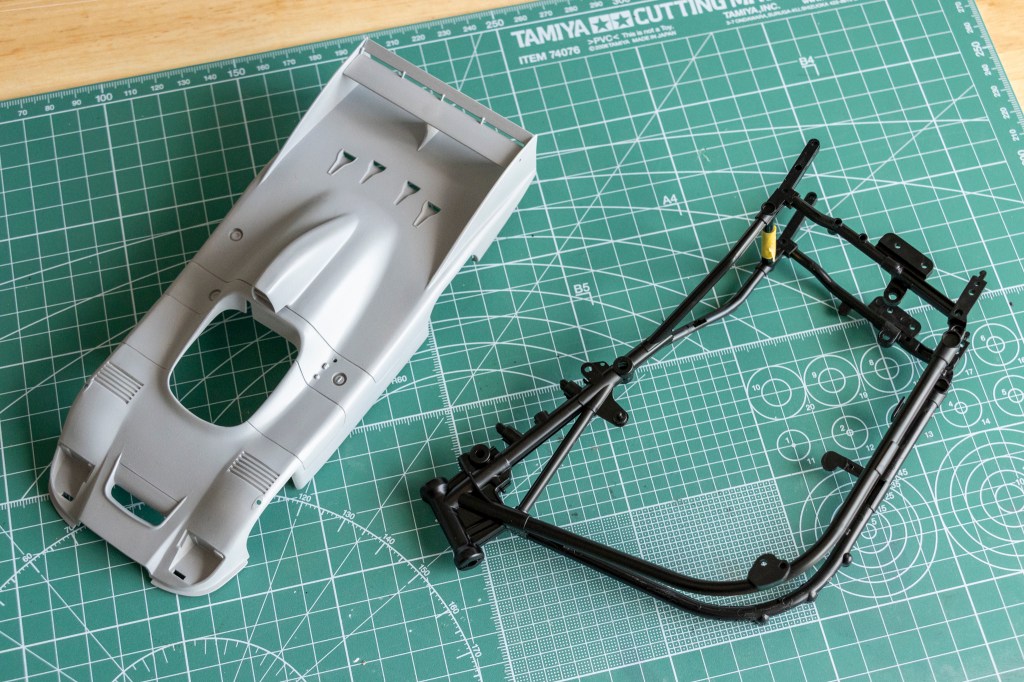
Gigantic! That 1/24 Porsche 936/78 looks like a kids ride.
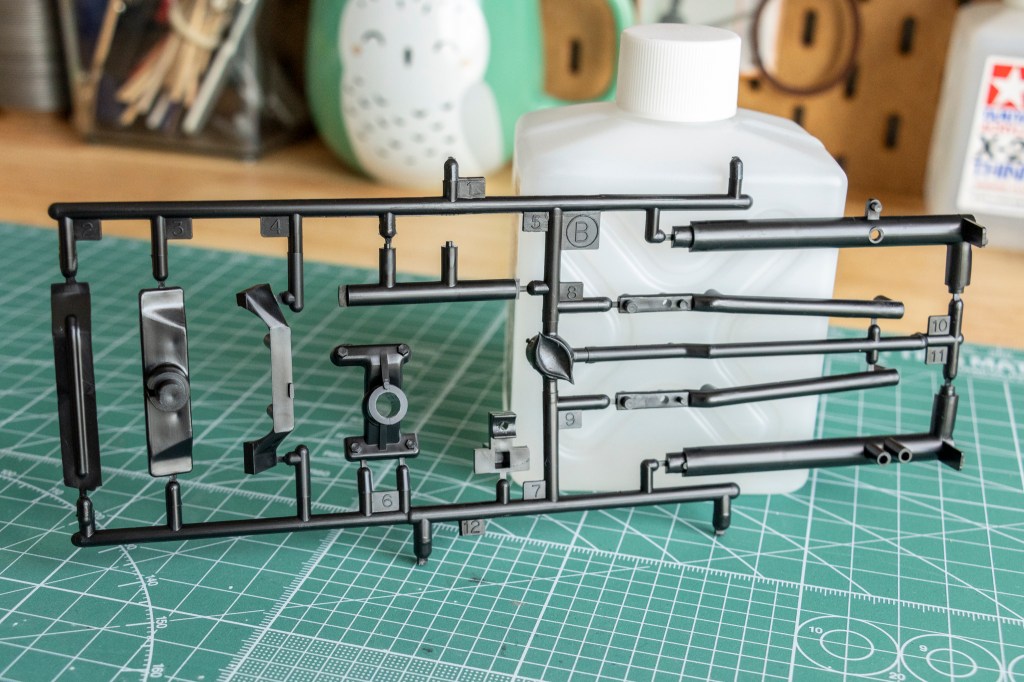
The rest of the B sprue.
Gotta love the bolts. The cut right in the centre of the sprue looks scary…
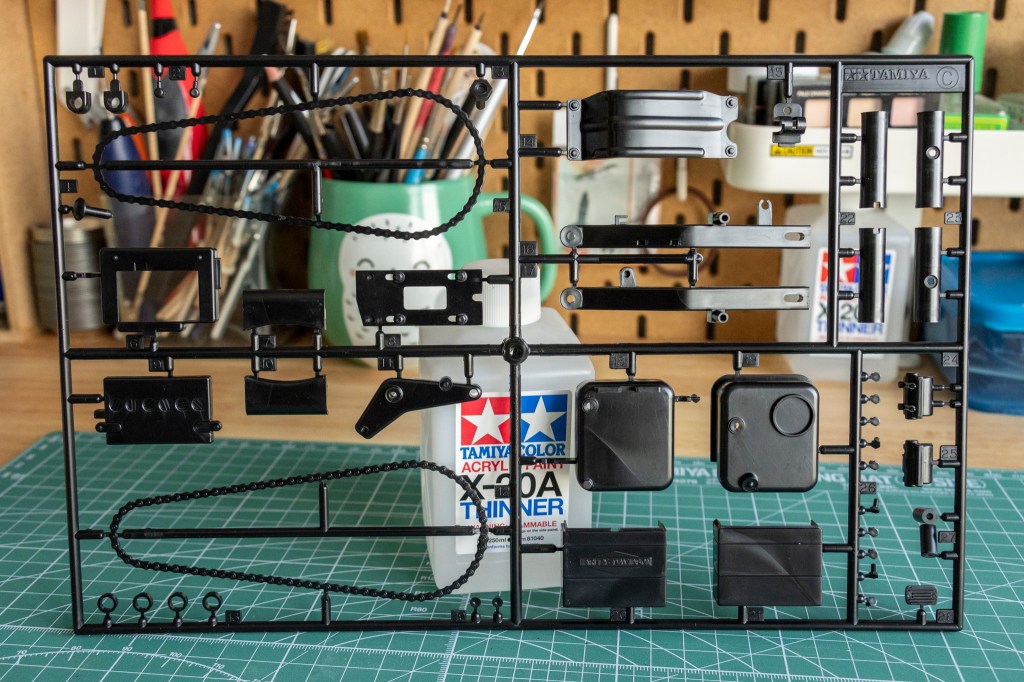
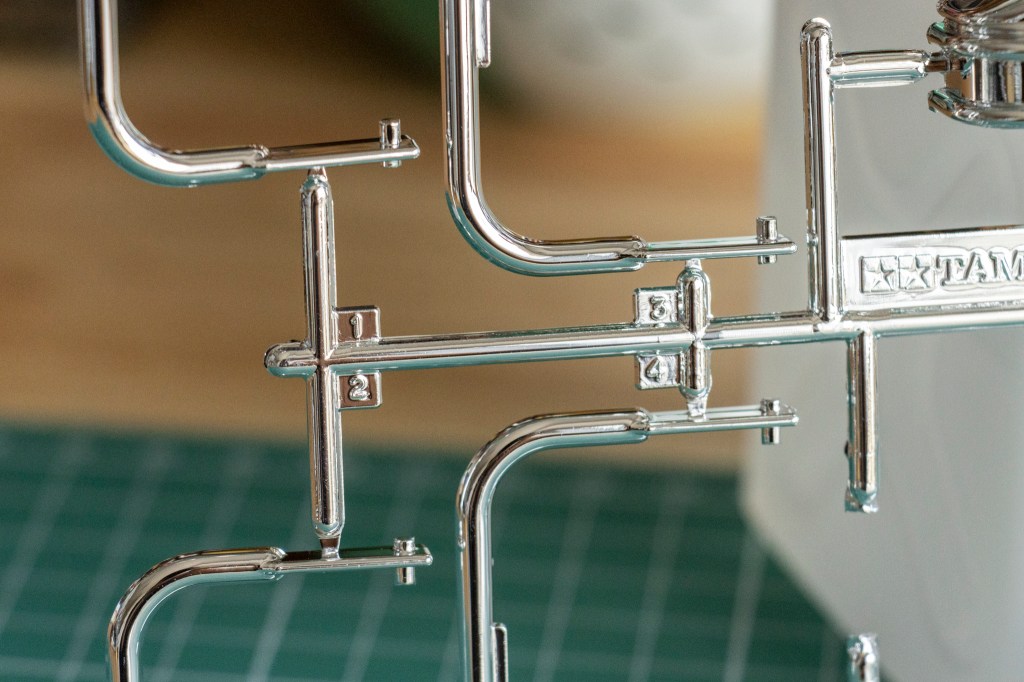
See the size comparison between the chains and the X-20A thinner? Crazy… You will find them on sprue C. Thank god the chain wheels are separated from the chains – quite a few 1/6 motorcycle models from Tamiya are designed the other way. So much easier to paint.
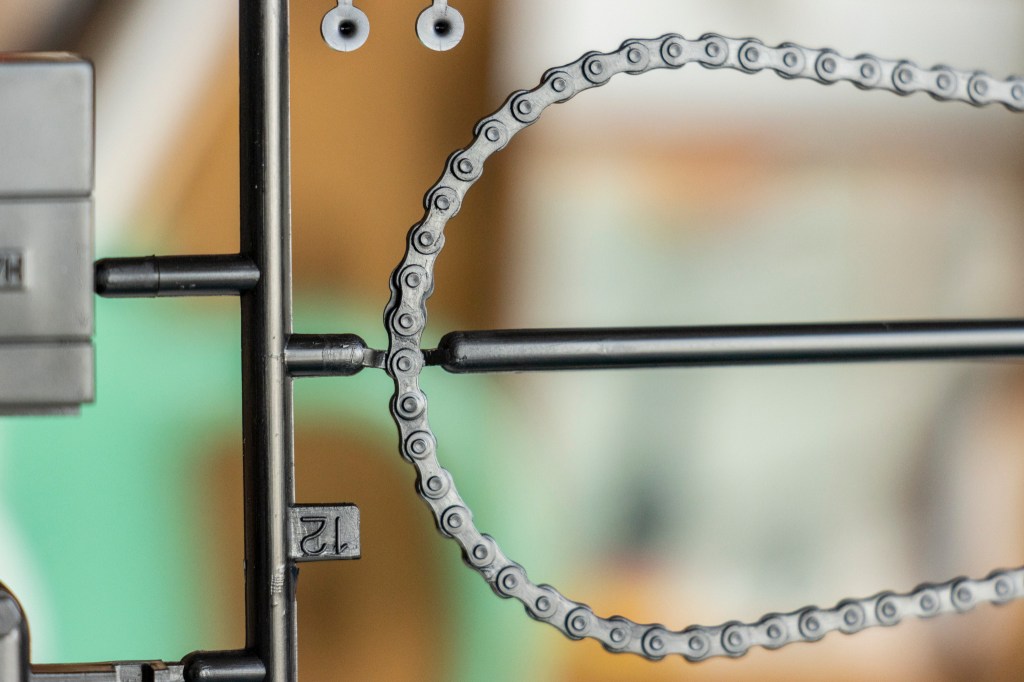
Chain details. Looks okay.

The top cover of the battery misses the positive + and negative – signs.
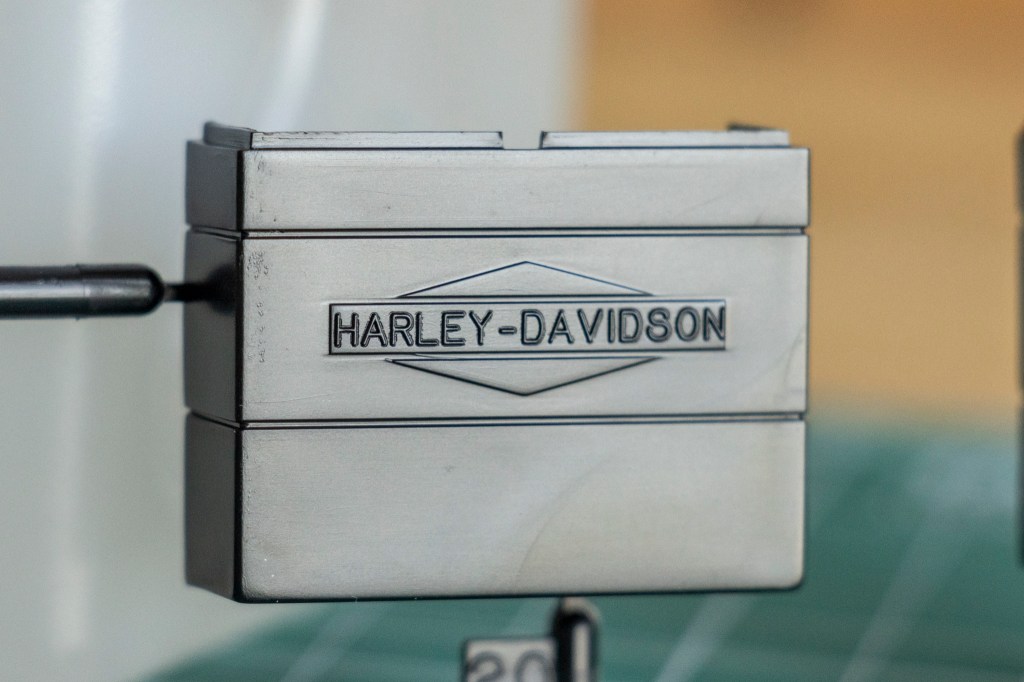
However, the entire battery will be completely hidden in a battery box that is made of plastic and metal parts.
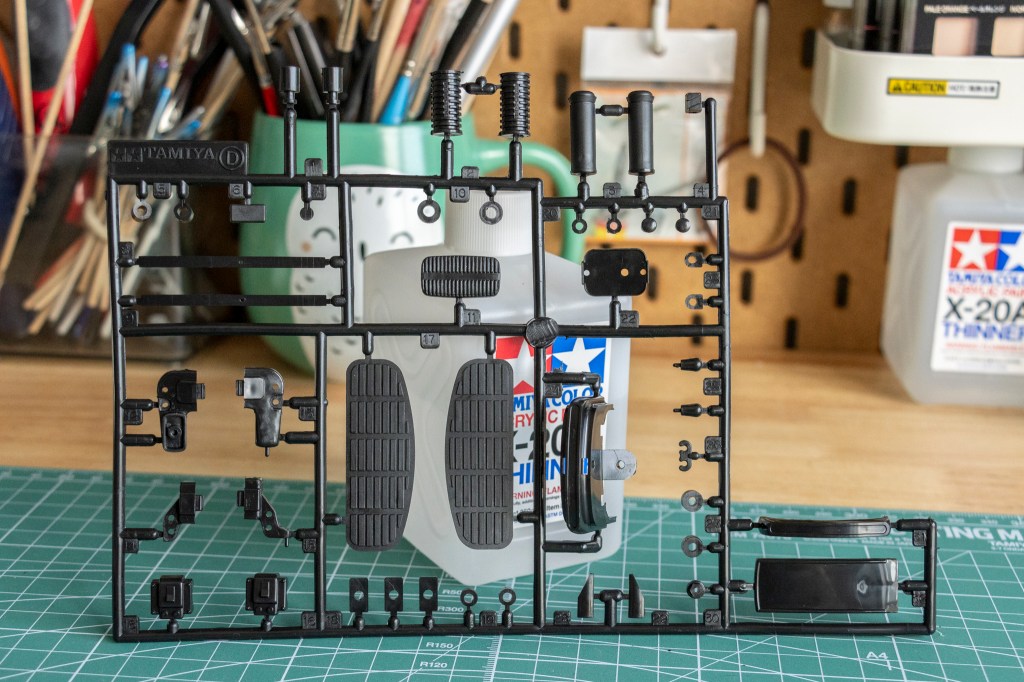
Sprue D includes most of kinda hard rubber parts.
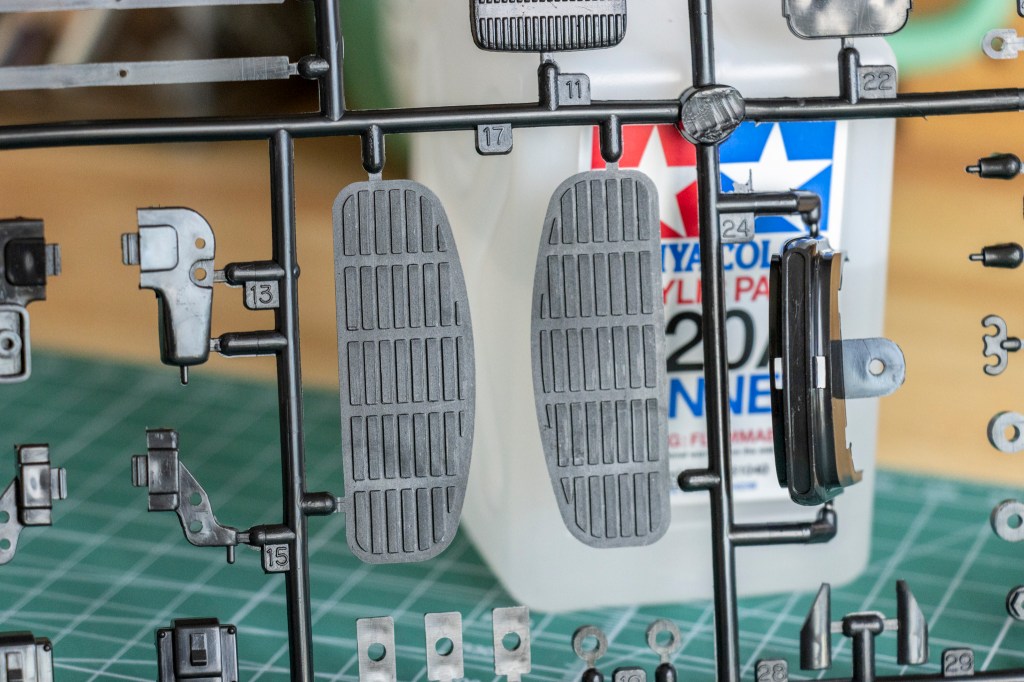
The texture looks superb!
Handle bar parts are also moulded this way… I look forward to the assembly and see how they play out.
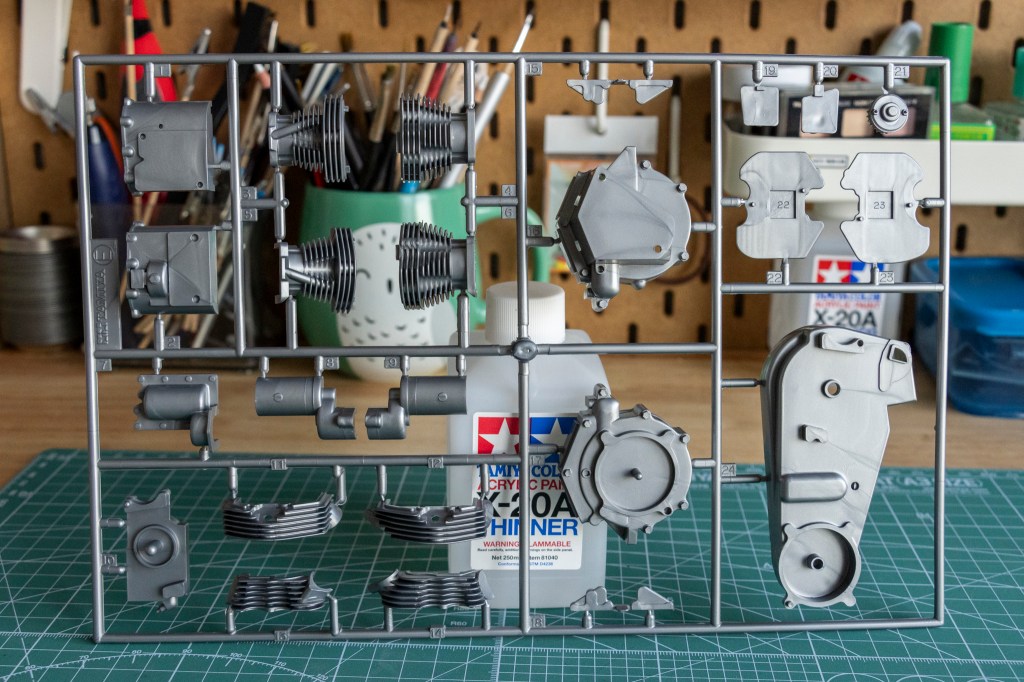
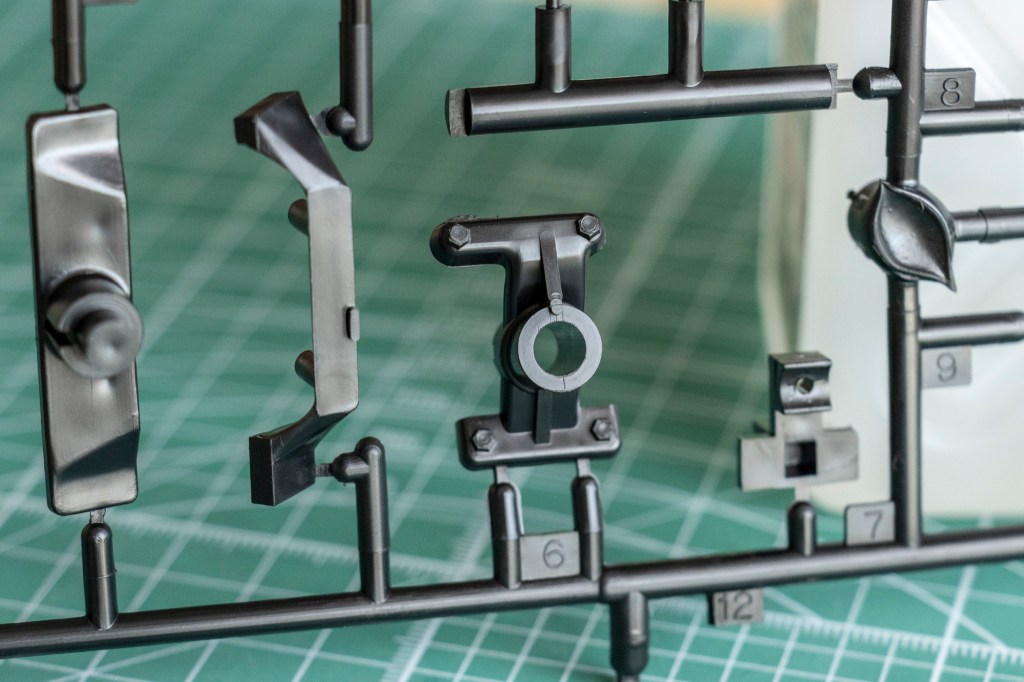
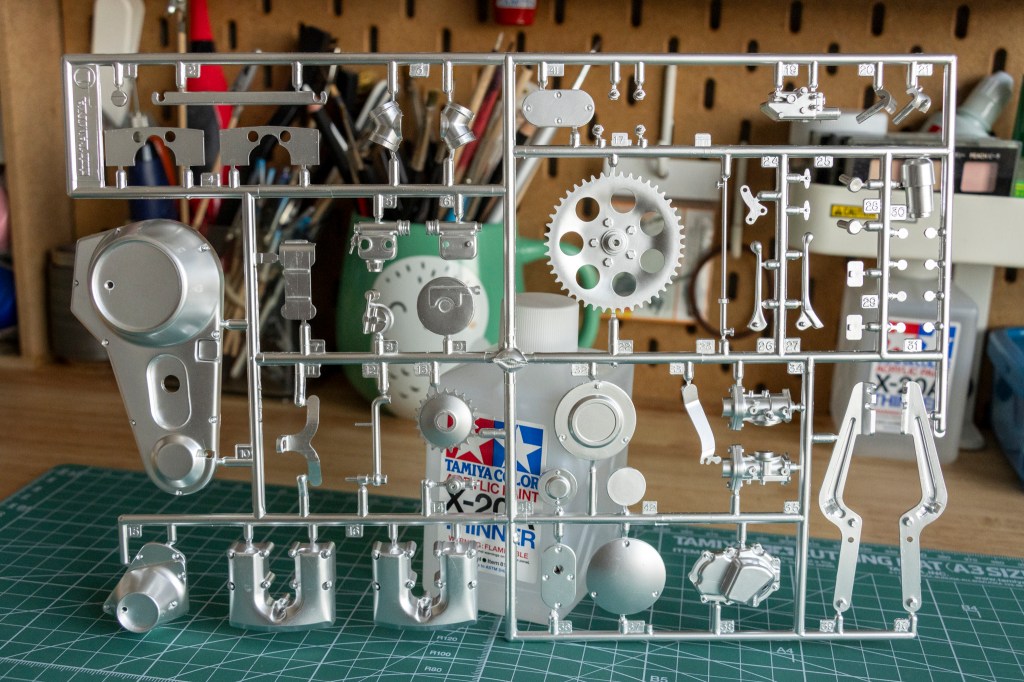
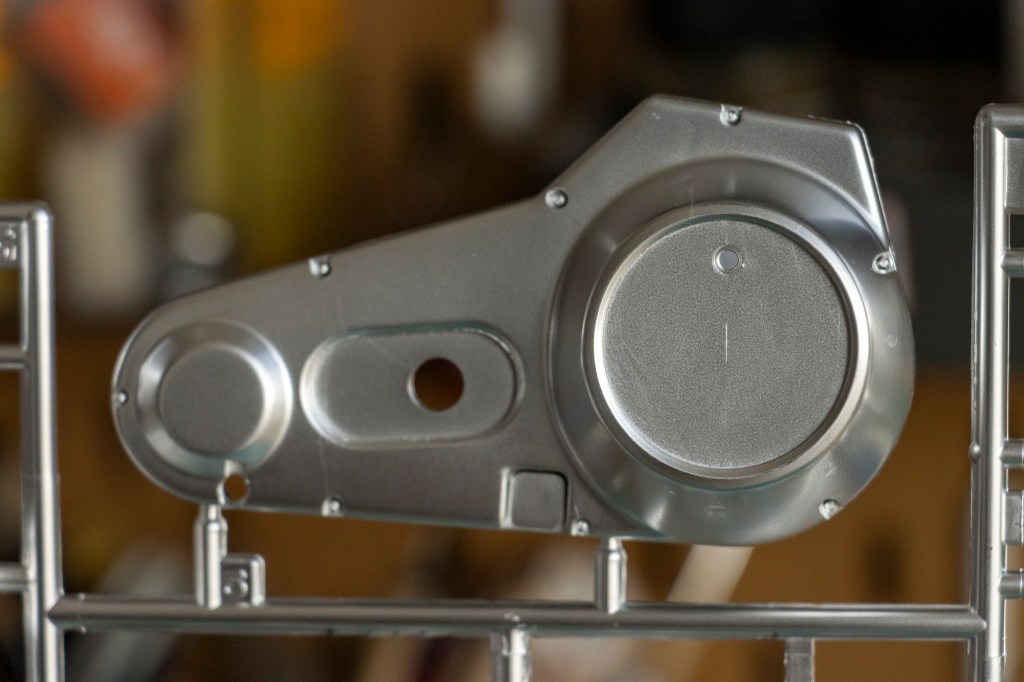
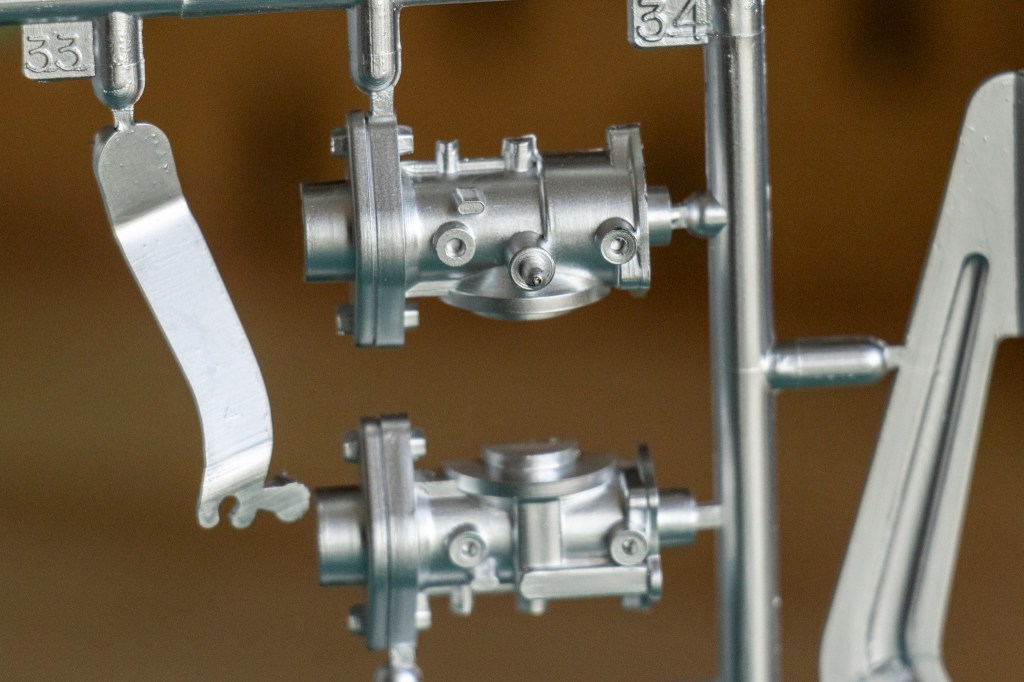
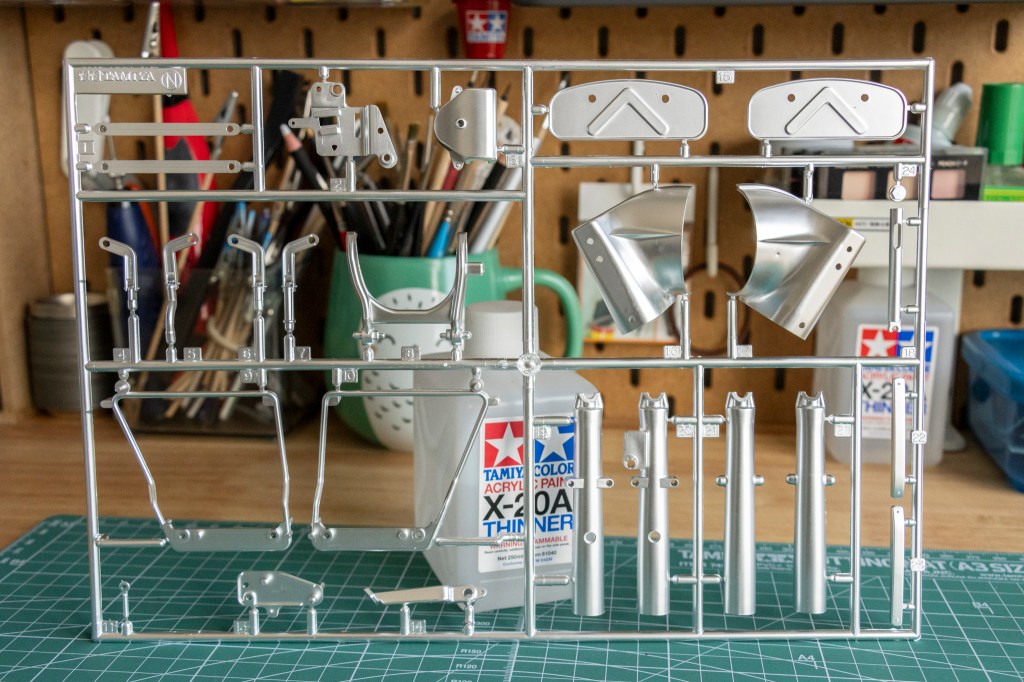
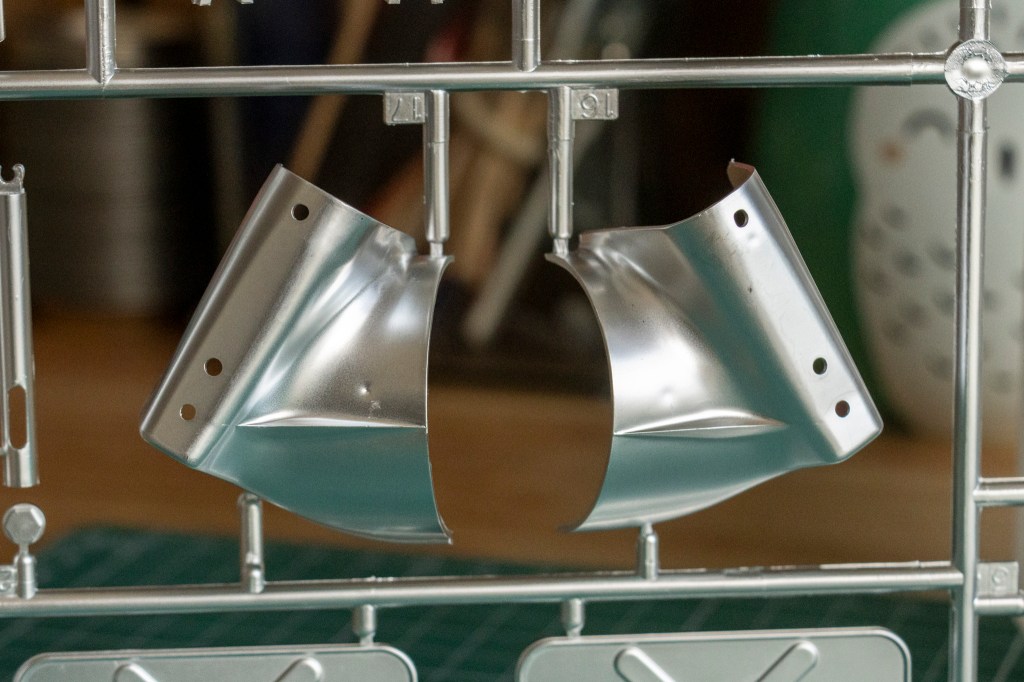
Finally, let’s take a look at those gun metal/silver mechanical parts on sprue E! Again, the size of that primary chain case!
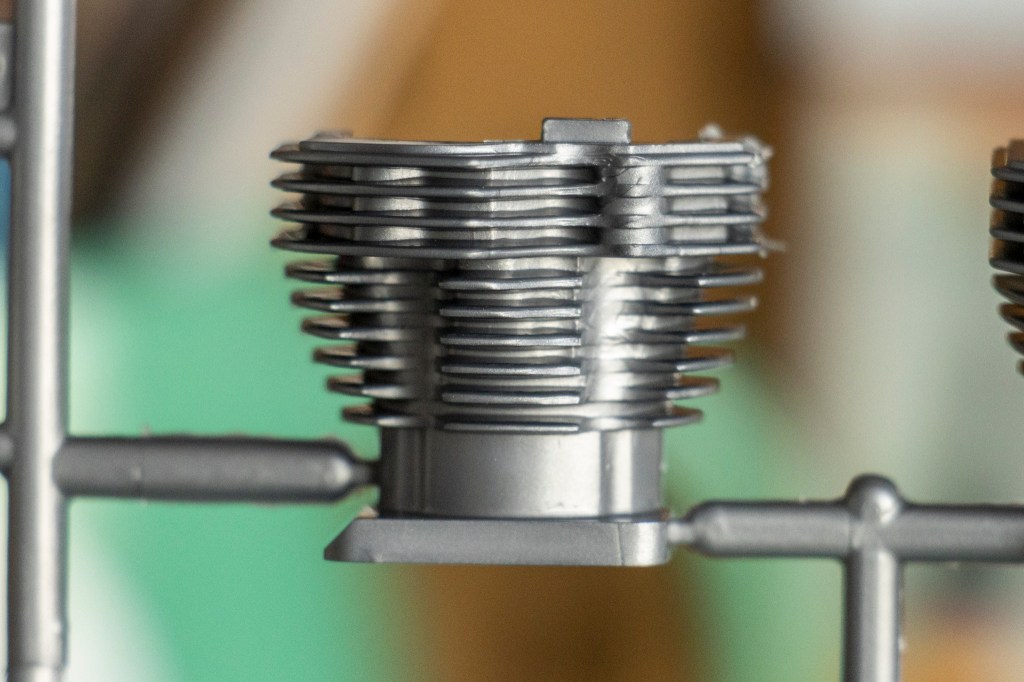
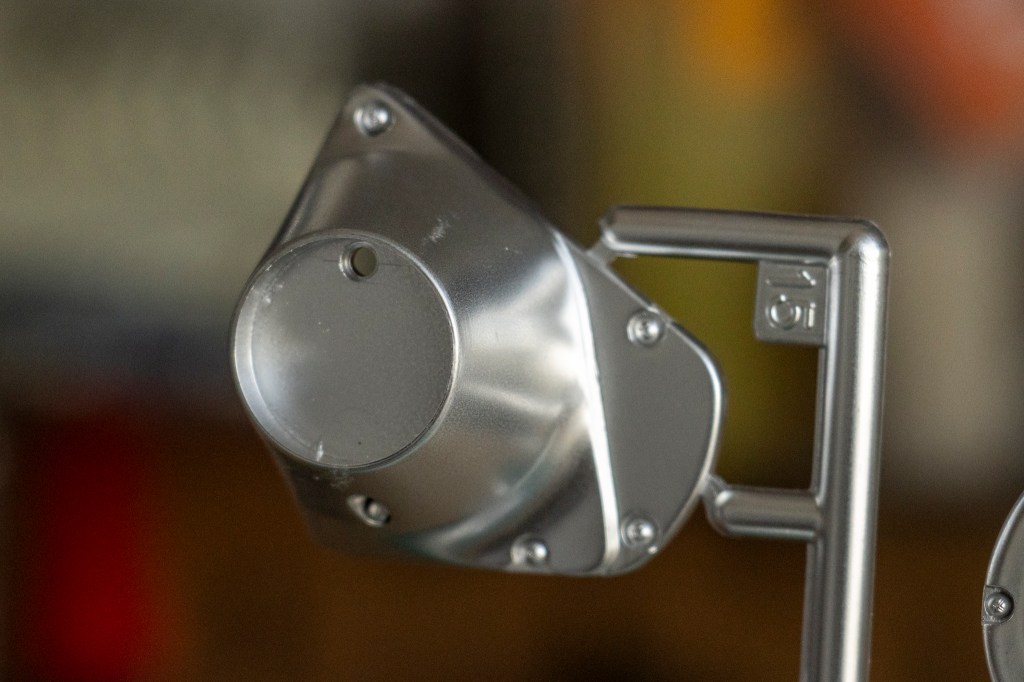
Heat sink details can be found on the cylinder heads. Just a little bit thick.
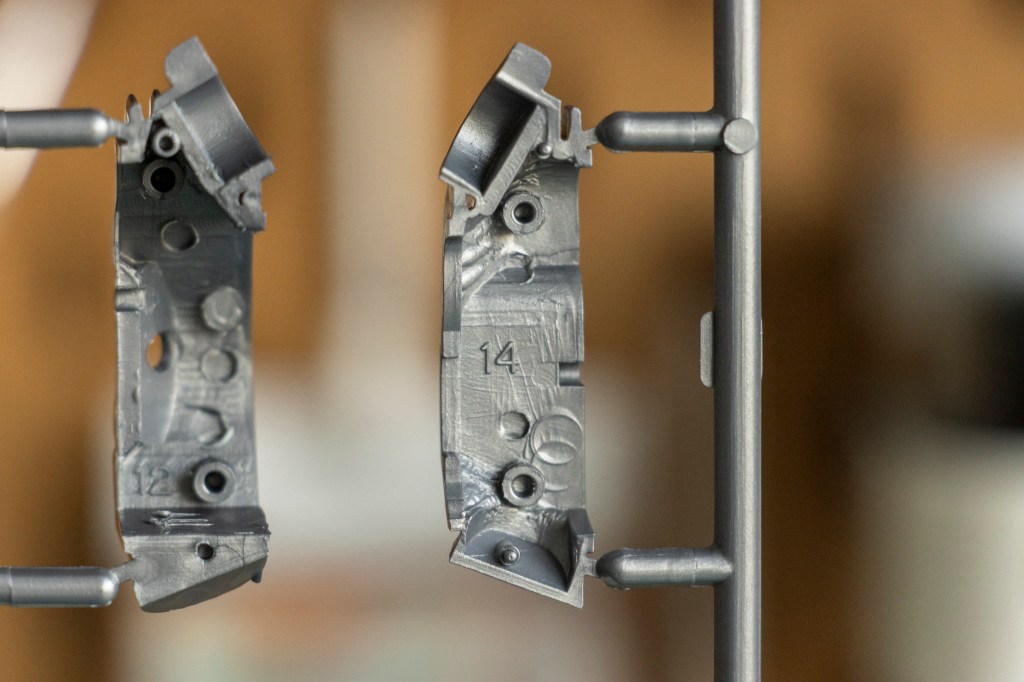
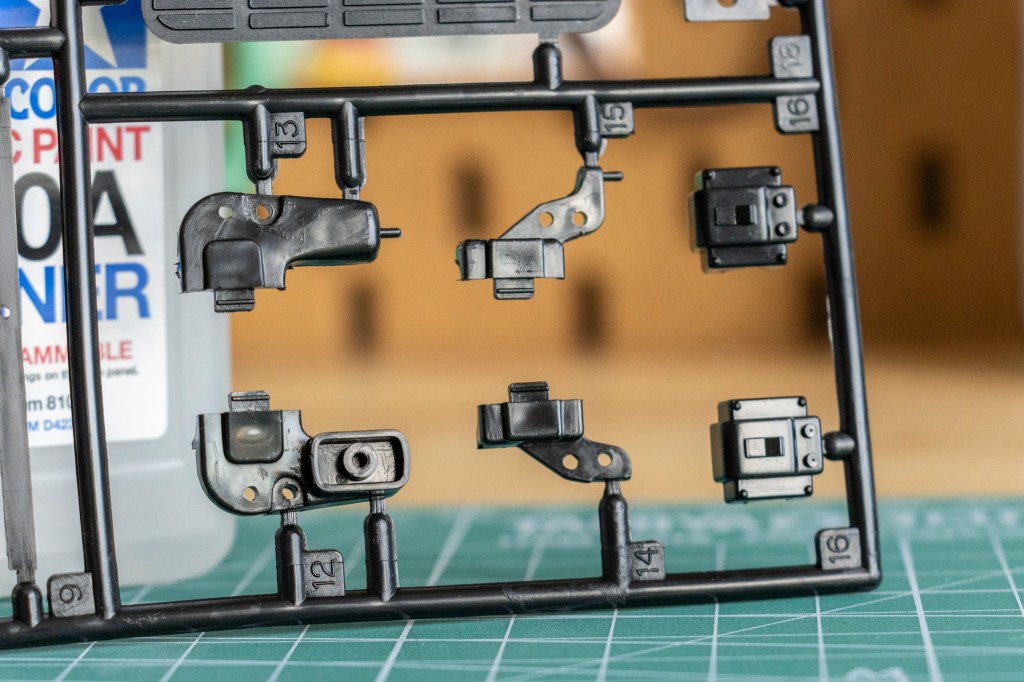
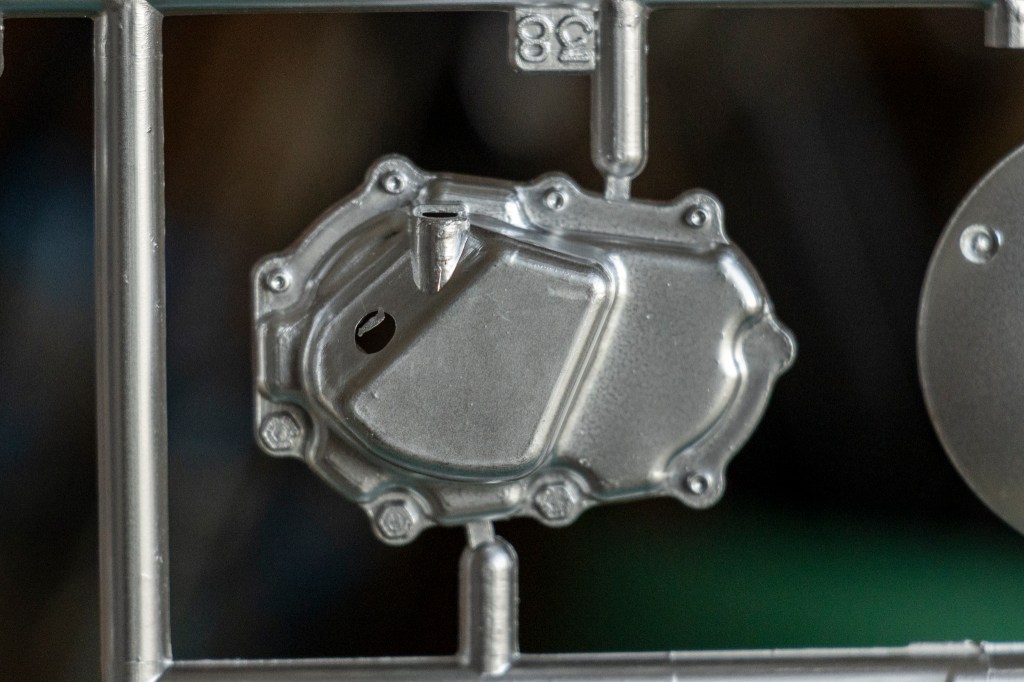
Part numbers are also moulded on the back of some parts to avoid confusion. How considerate!
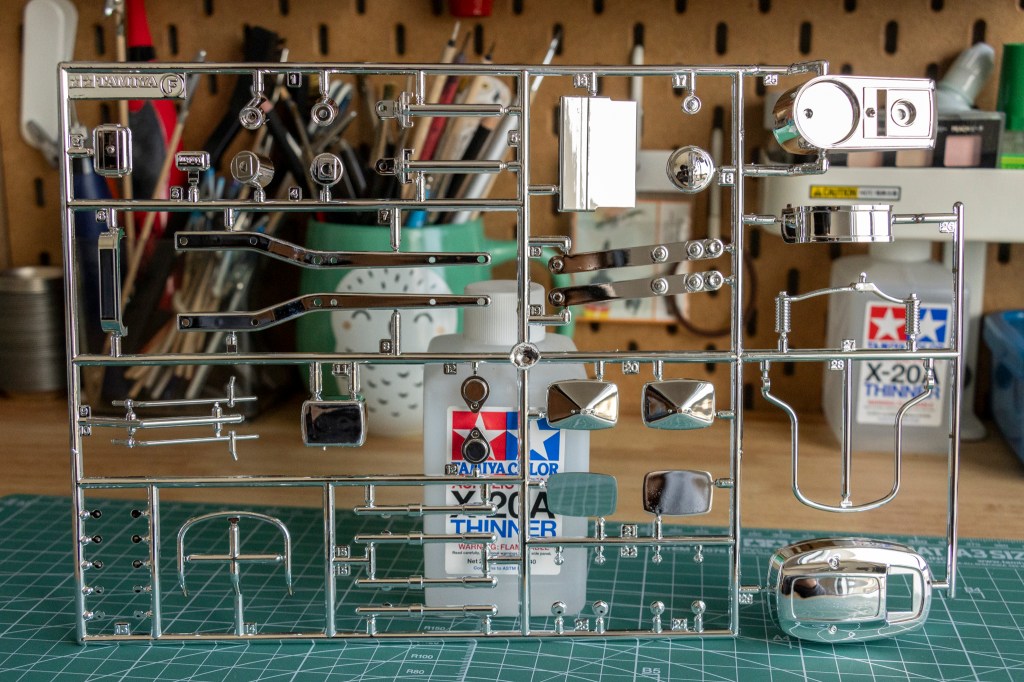
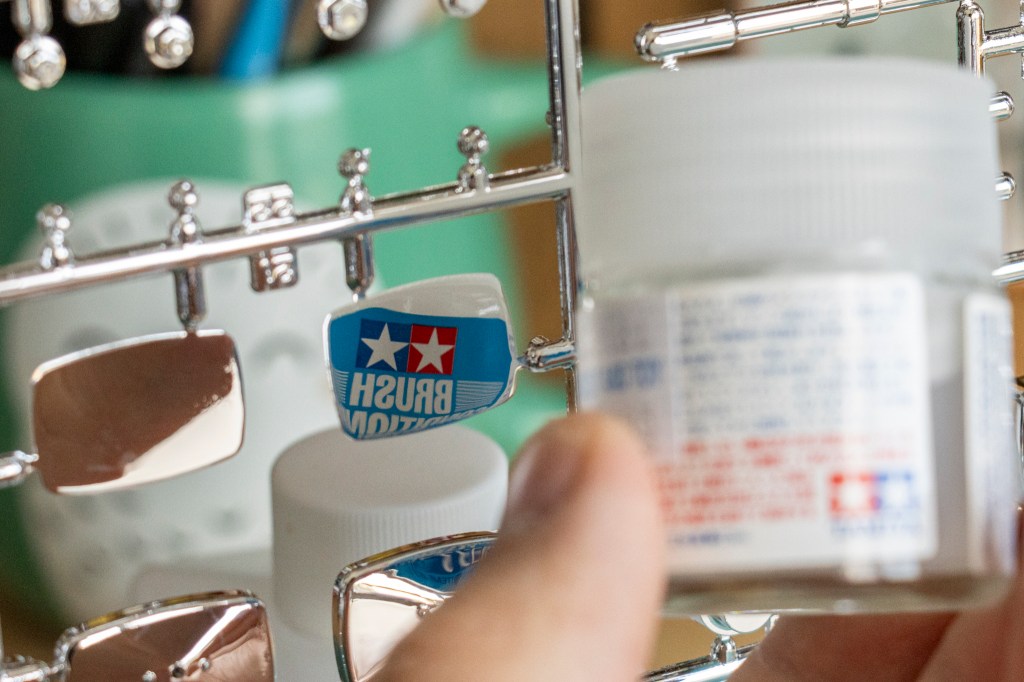
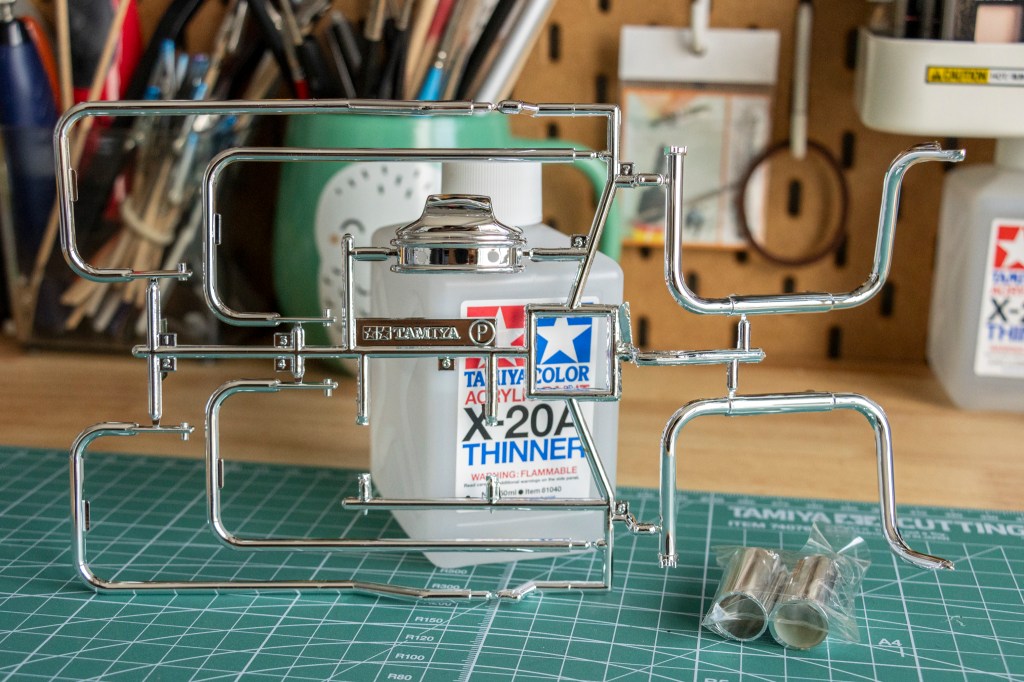
This kit contains a lot of chrome-plated sprues. Here’s the first one, F.
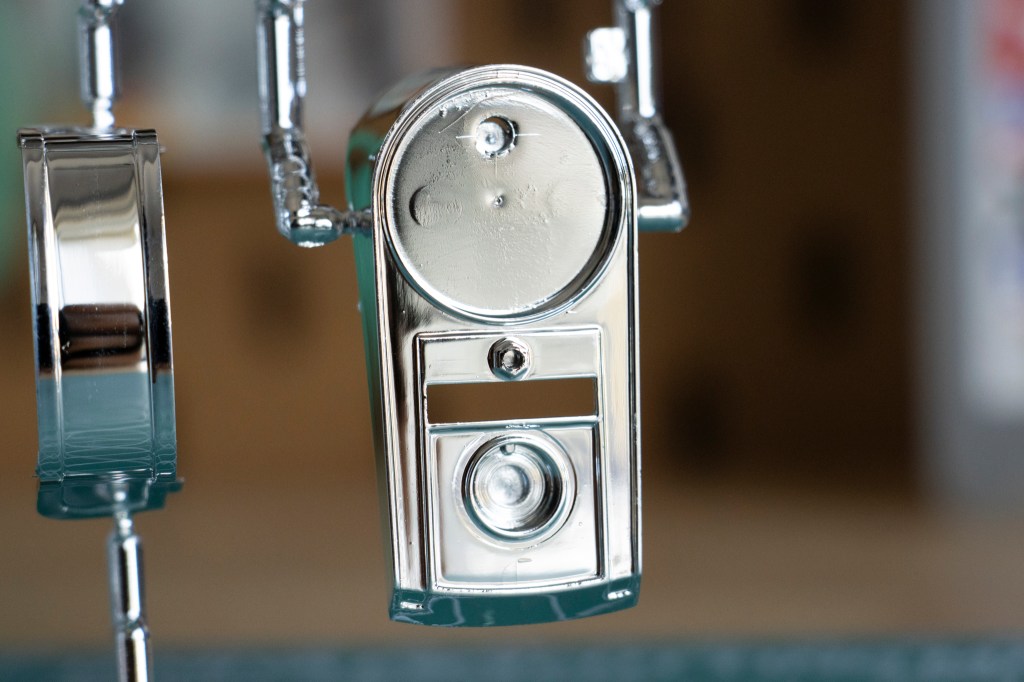
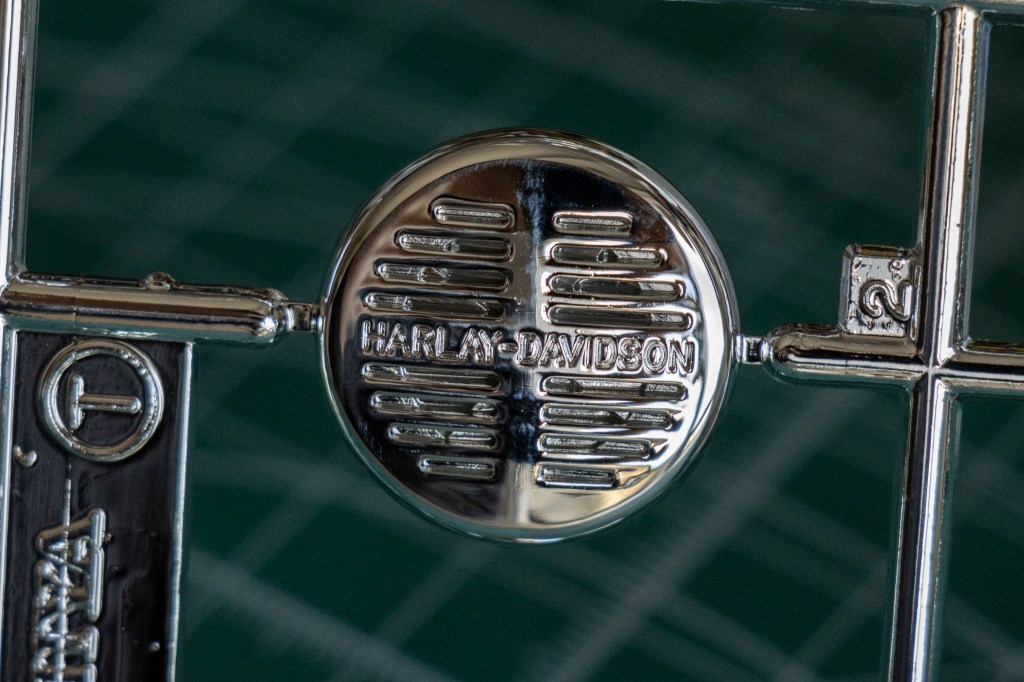
The spots where the gates are placed will be completely covered by other parts, and the imperfection on the central gauge will be covered by decals. My theory is because of the size of the part, the chrome actually looks extremely legit. I won’t strip the factory chrome paint on this one.
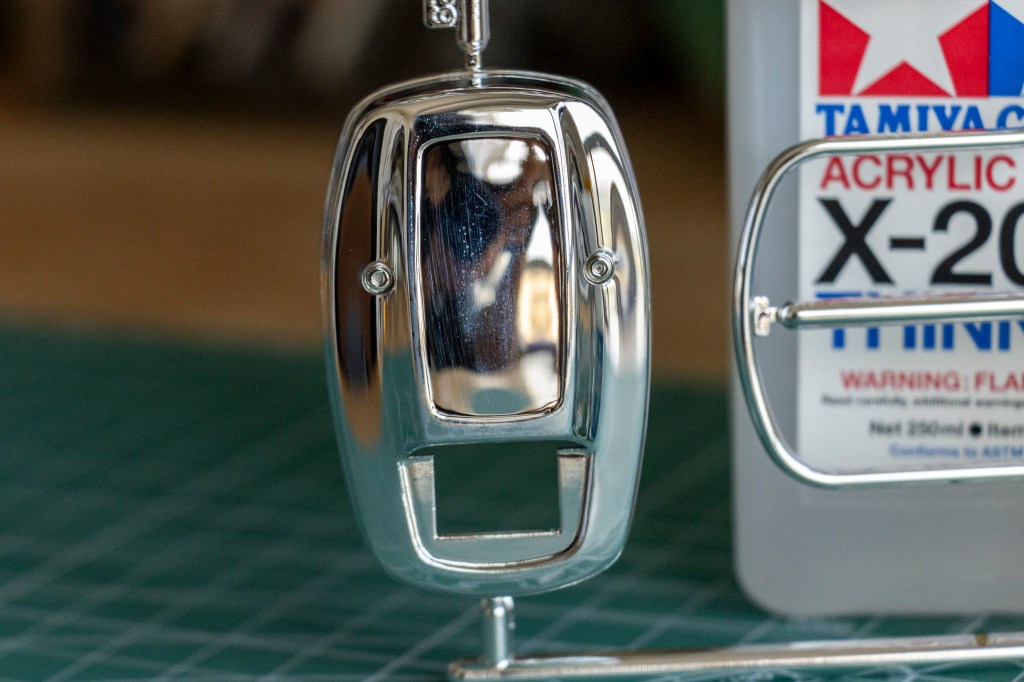
Same for this very realistic-looking air filter cover part. The scratched area will have a piece of decal to be placed on the top. I dare to say that at least for me, it is impossible to replicate this chrome through airbrushing.
Same for the mirrors. They look super!
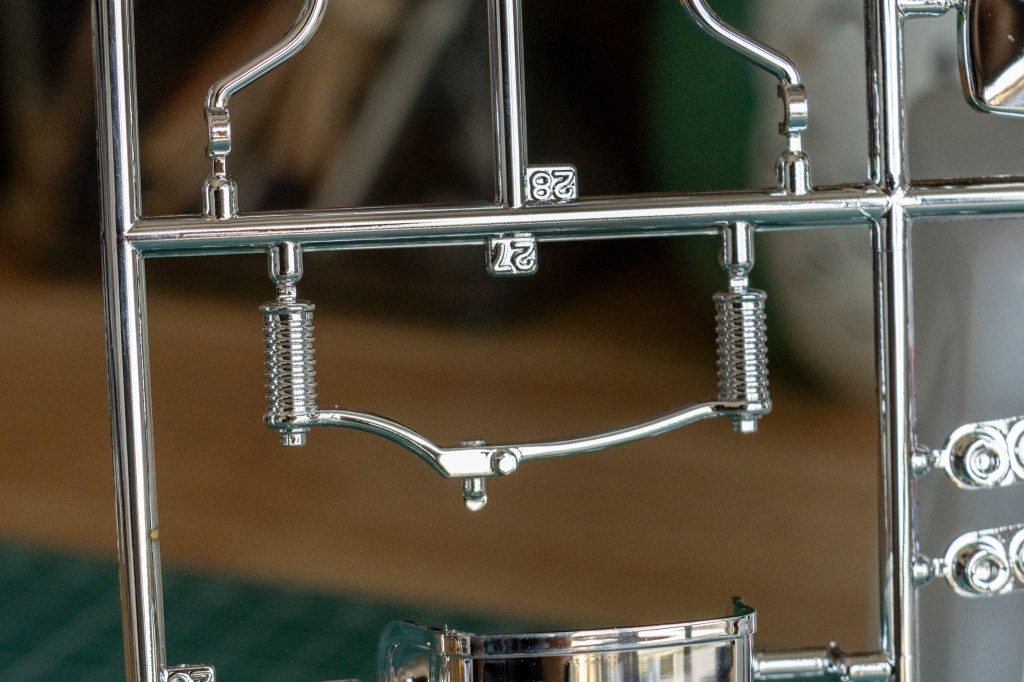
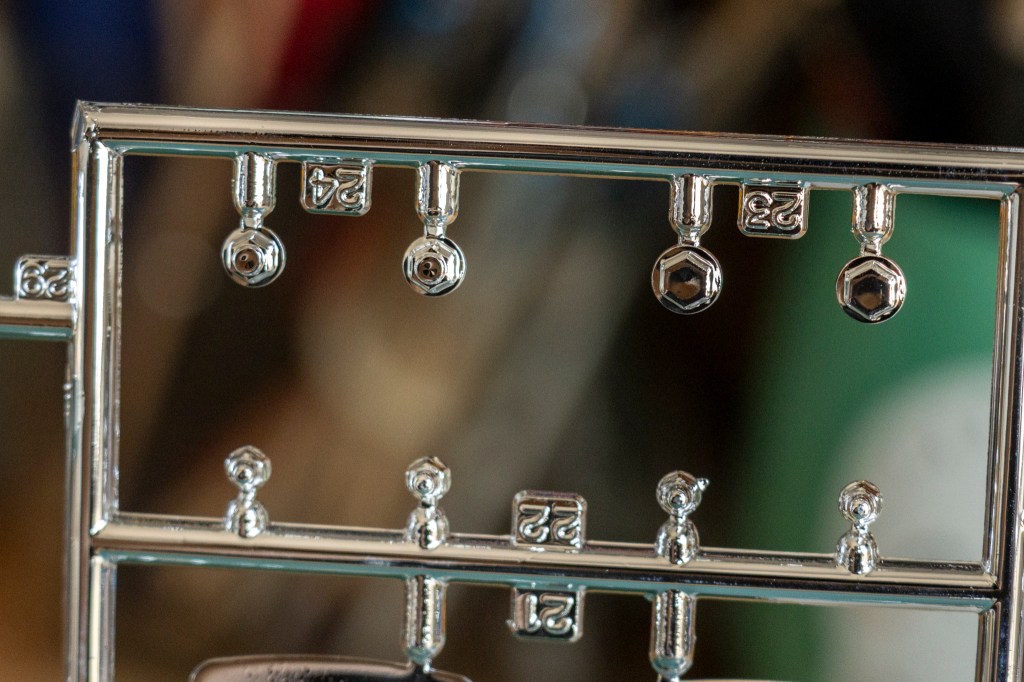
Chrome paint on parts, such as this gear shift level and all these nuts, will be removed and airbrushed with AK extreme metal paints.

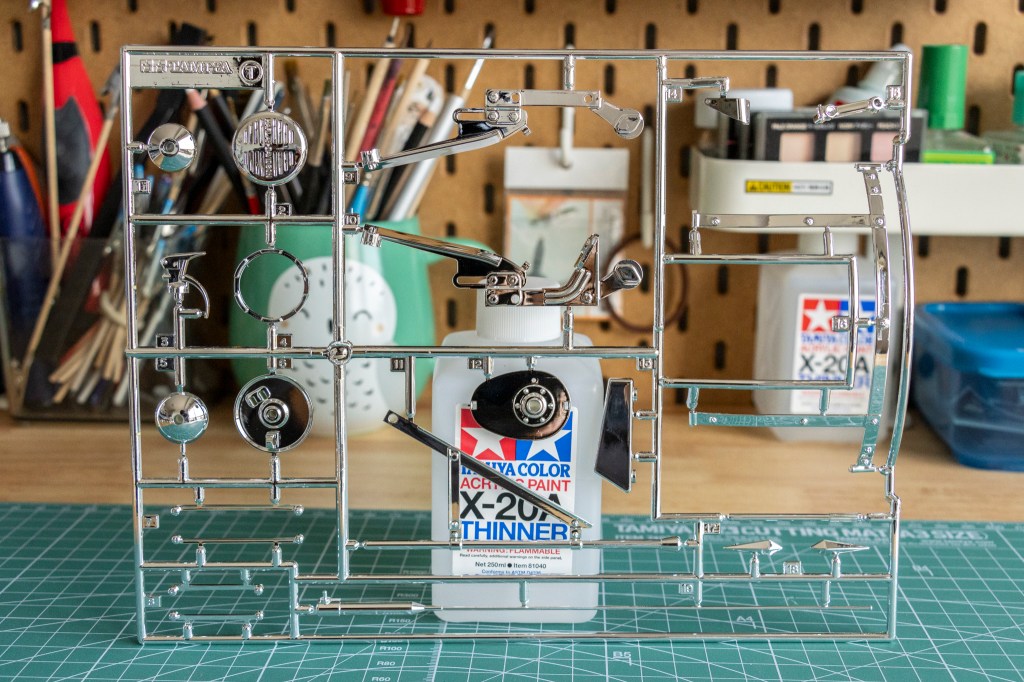
Sprue G is also chrome-plated.

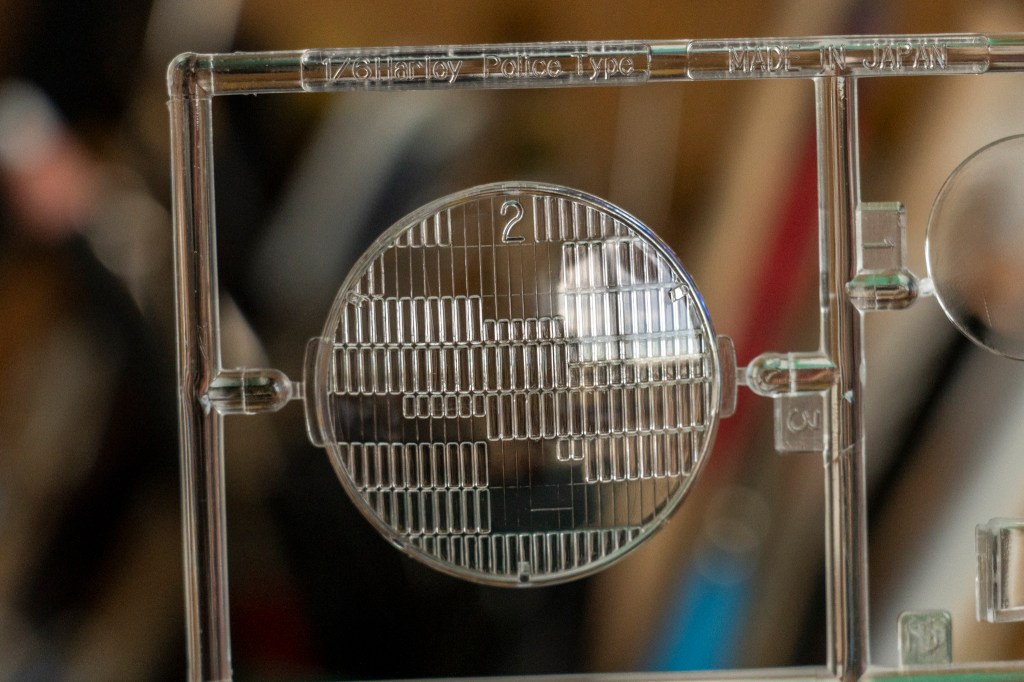
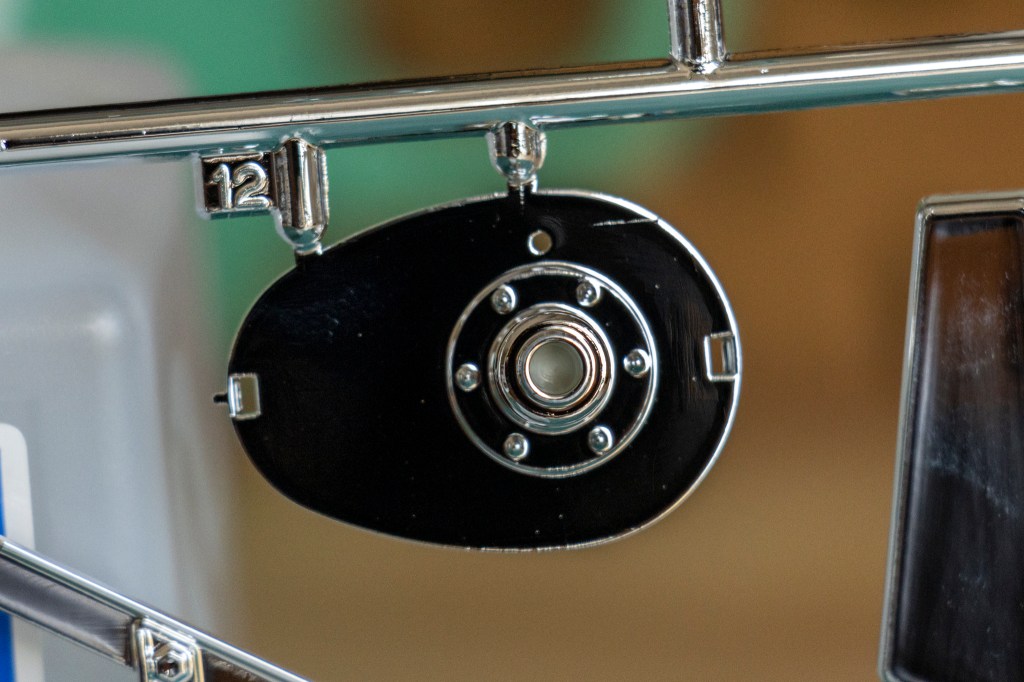
What’s absolutely eye-catching is the mammoth headlight unit.
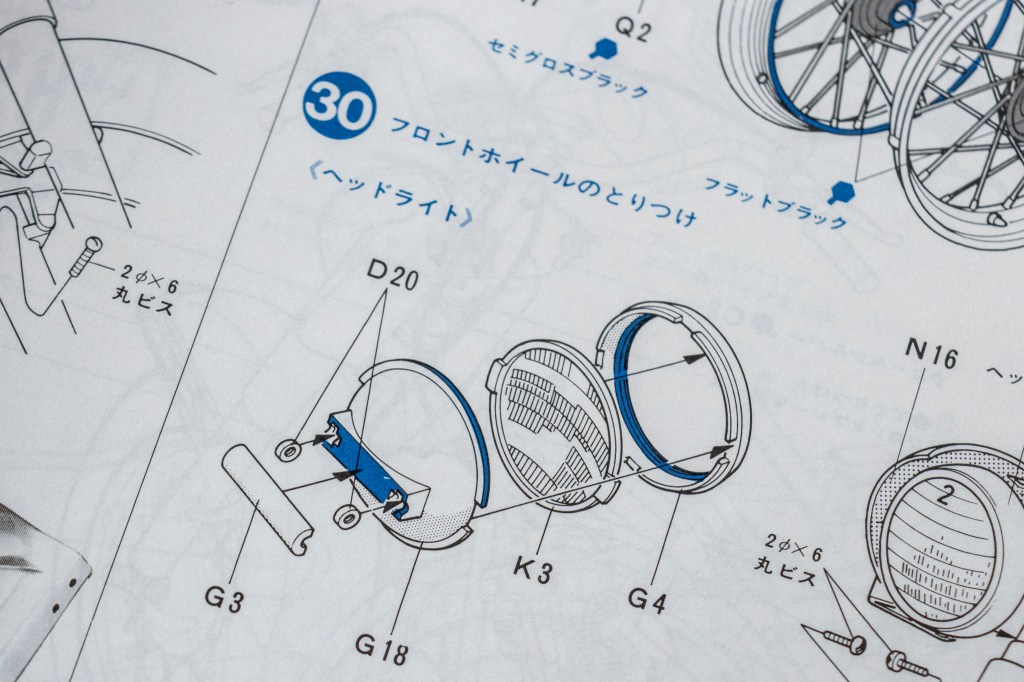
The light bulb is missing. This is a crime, Tamiya! On the other hand, adding lighting is convenient due to the size.
Yet another chrome-plated sprue, sprue H.

The huge, almost one-piece exhaust pipes have accurate detail at the end.

I was debating whether to keep the chrome or strip them away until I turned the sprue over to the other side. Oh NOOO! I suppose the way it was designed this way to make sure the big piece does not wrap or shrink during the moulding process. Oh well, I have putties!
This also means the chrome-plating must be stripped away. Okay, I wanted to weather the exhaust pipes anyway.
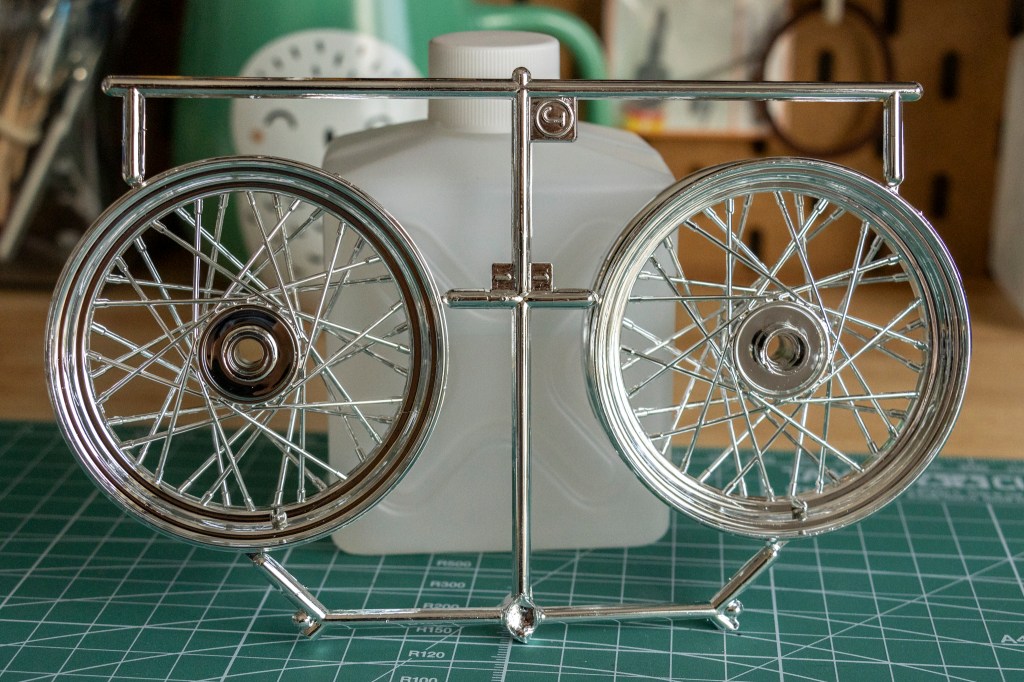
Next, we have the J sprue, which contains four parts that can be made into two wheels.
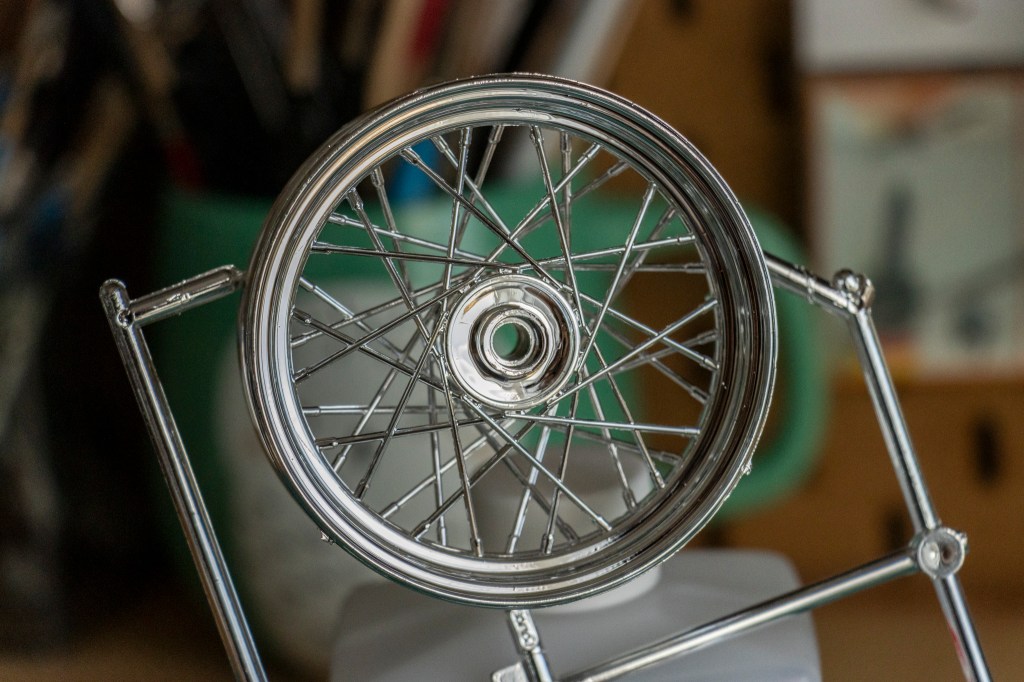
The wheels are a bit disappointing for painting. I’m saying if they were designed in a way that replicates how the real wheels are assembled… particularly the spokes…The kit wheels do look fairly realistic, though. I need time to think about what I want to do with them…
I am also extremely shocked and concerned that there aren’t many (maybe just none?) aftermarket metal wheels for these 1/6 kits…
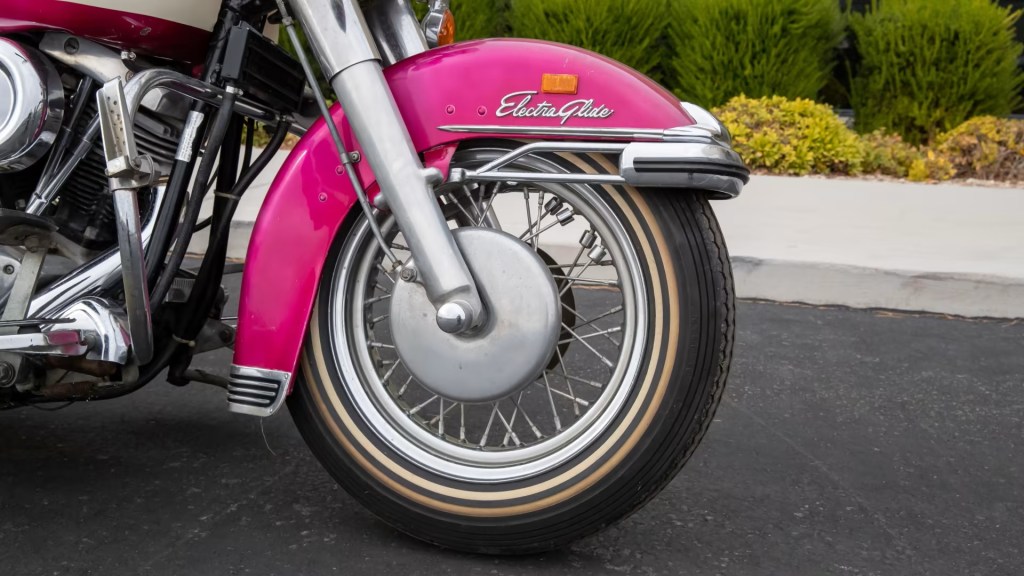
(Photo Credit: Mecum Auctions)
For example, remove the chrome and paint like this. Whoa…

Let’s take a break and take a look at the beautiful transparent sprue K. Holy moly the windshield is HUGE!
While researching the Electra Glide, I found this in an auction:
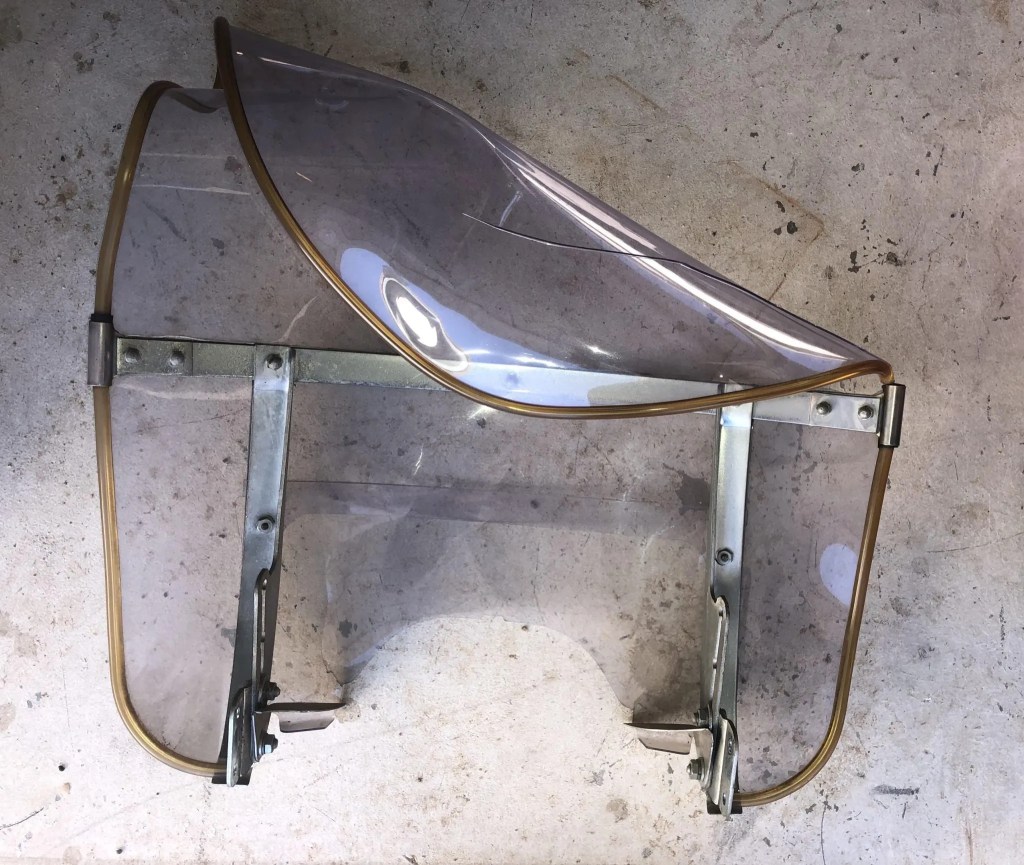
(Photo Credit: Bring A Trailer)
What in the what… But honestly, the windshield looks classy as hell.
Headlight unit cover.
Back on the more chrome-plated sprues. Sprue L is covered by a layer of elegantly dull chrome paints.
I think I will keep the chrome here. Looks FANTASTIC!
Although admittedly there are scratches on some of the parts. Might be very unlikely noticeable when the model is finished, though.
Ain’t nothing’s perfect. The plating on this part, for example, is however too thick for me. I will paint it with AK extreme metal and give it a good weathering wash.
And these as well – despite these two parts will be installed inside the air cleaner; but attention to details always bring your model to a new level!
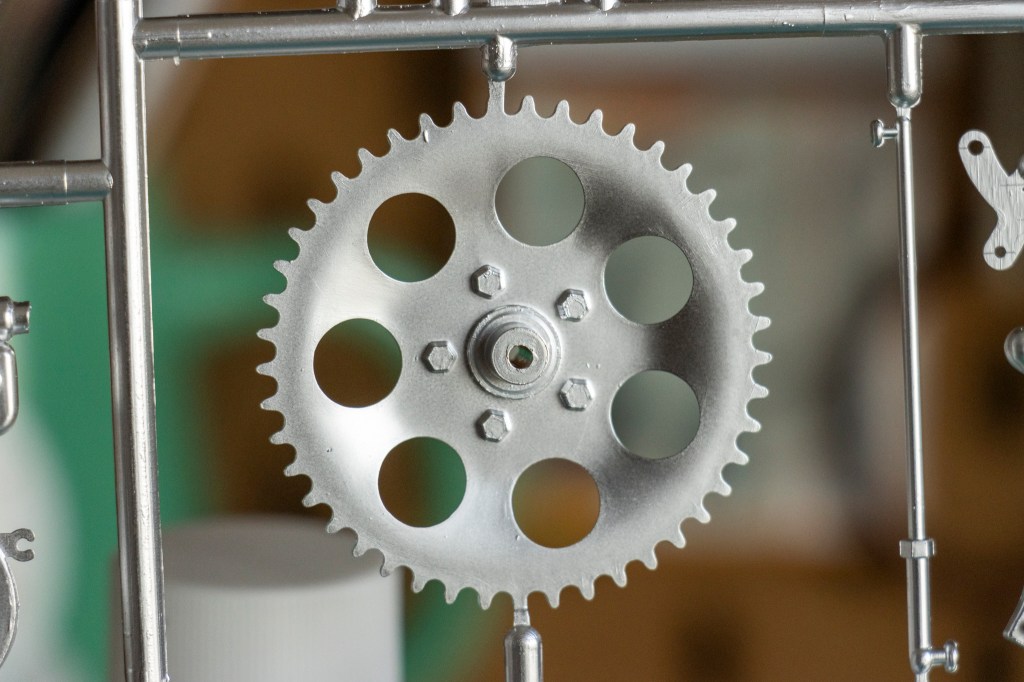
I have to repaint the chain wheel to express my appreciation of the way how it was moulded.
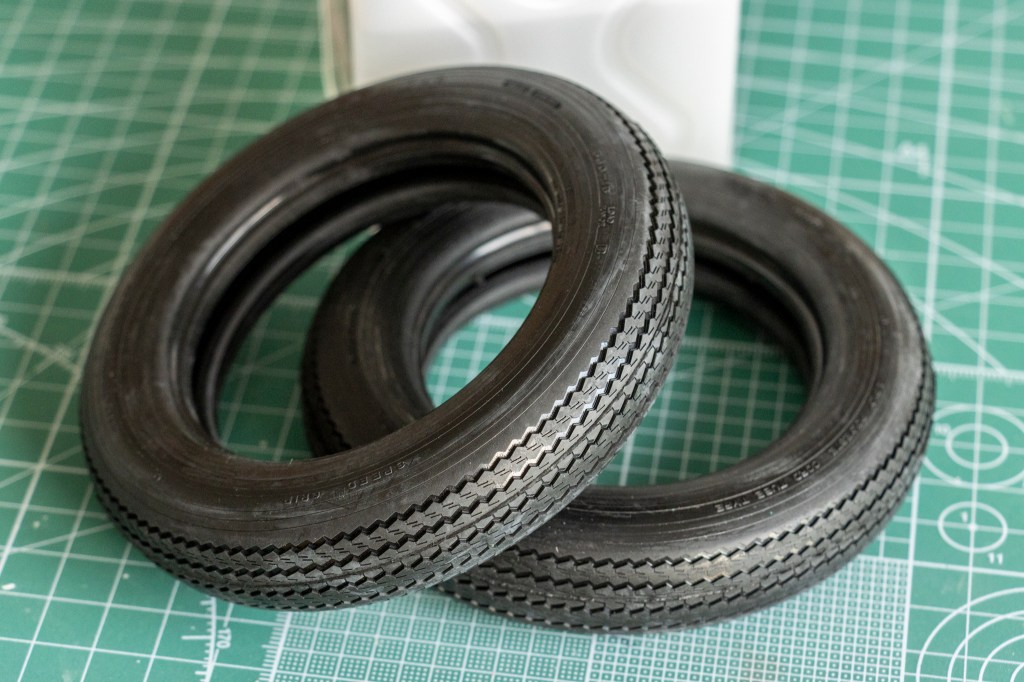
Surprisingly, the instruction marked letter M for tires and all the cables.
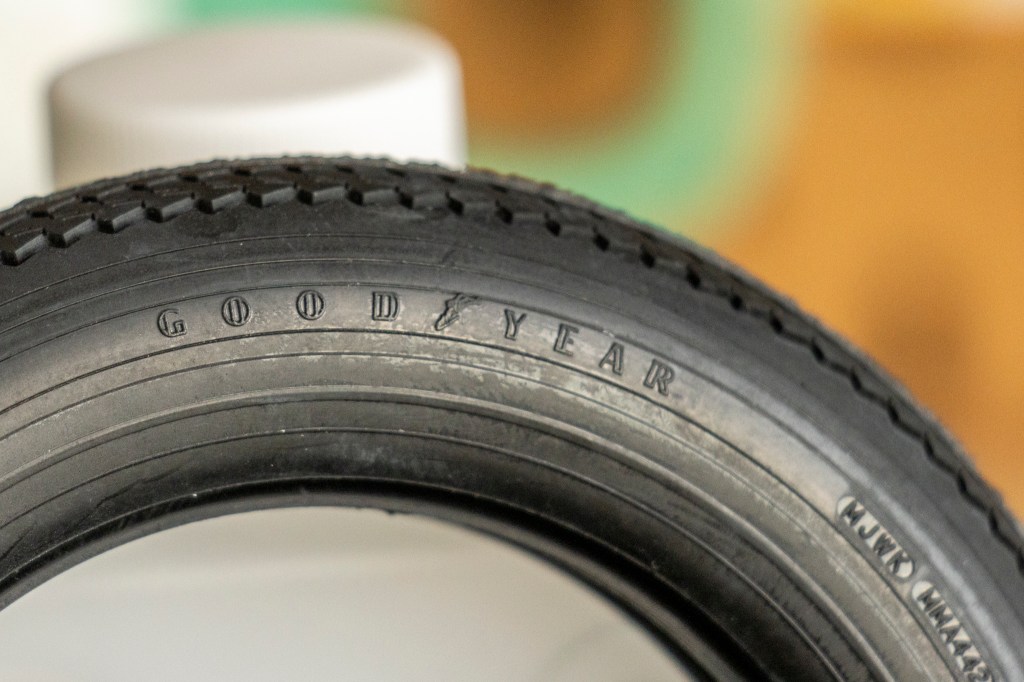

Typical Tamiya quality tires. Nothing much to say, except how big they are. They also need a good clean up before use.
Now I am think the amount of chrome-plated sprues definitely contributed to the price of this kit. Sprue N is painted with my favourite type of chrome.
The headlight covers look incredibly impressive. Such an authentic look!
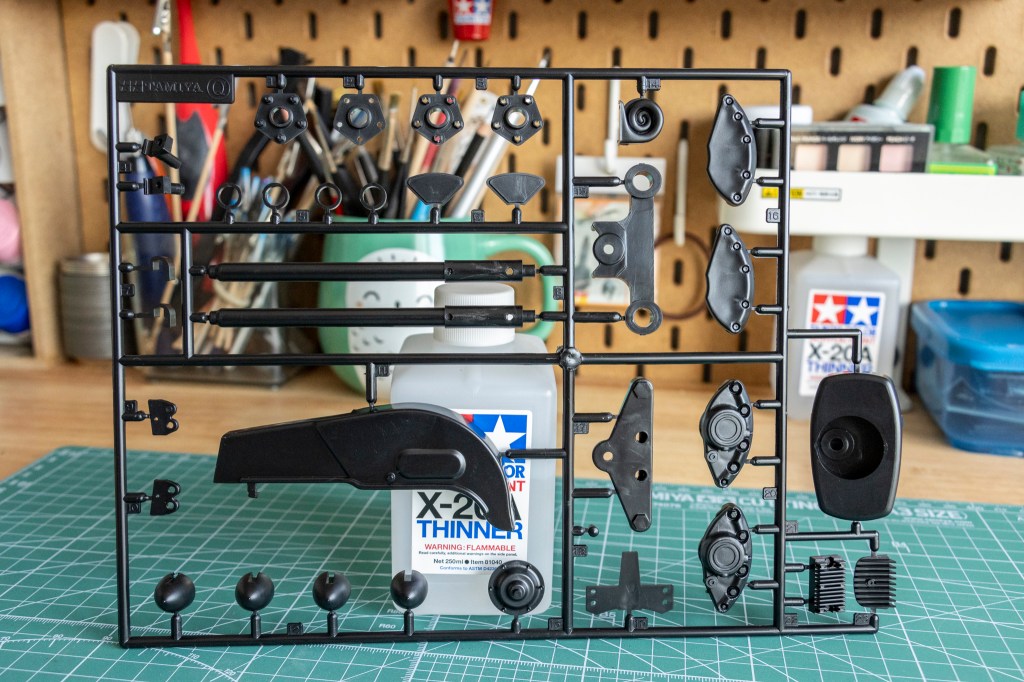
Black sprue Q.
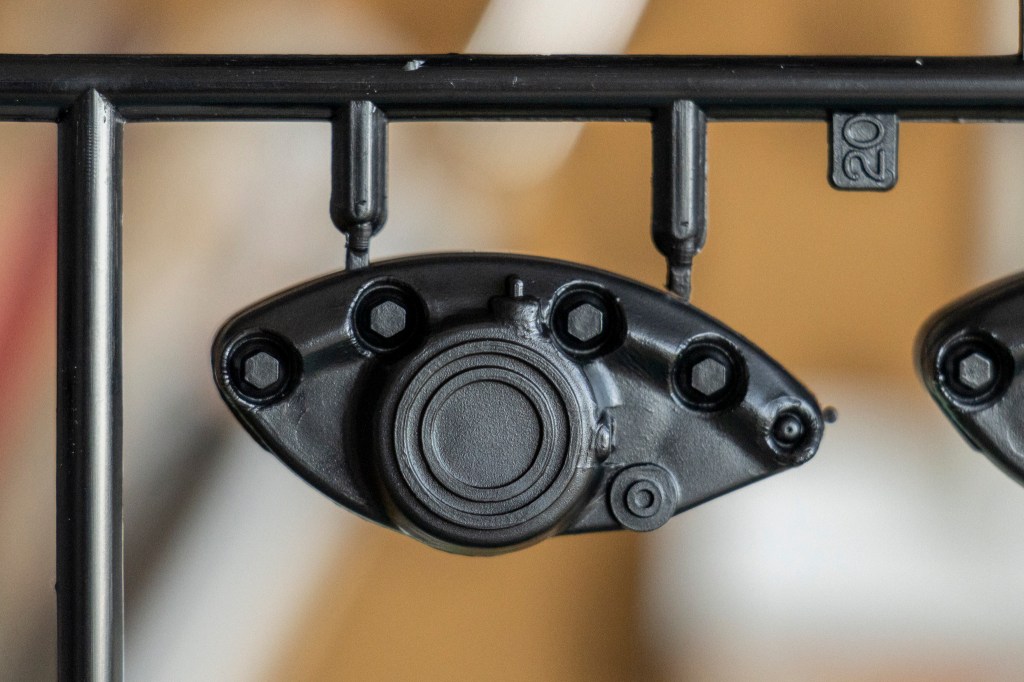
A close-up shot of the brake calliper.
Here’s a photo of the real thing, a banana caliper, that I found online:

(Photo Credit: Riders Discount)
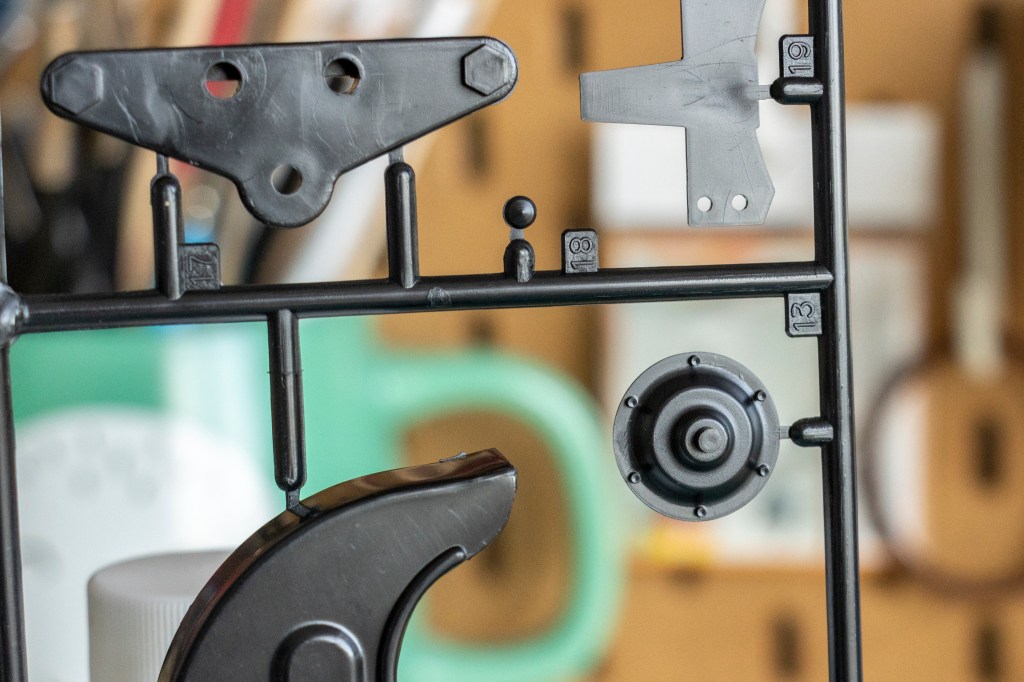
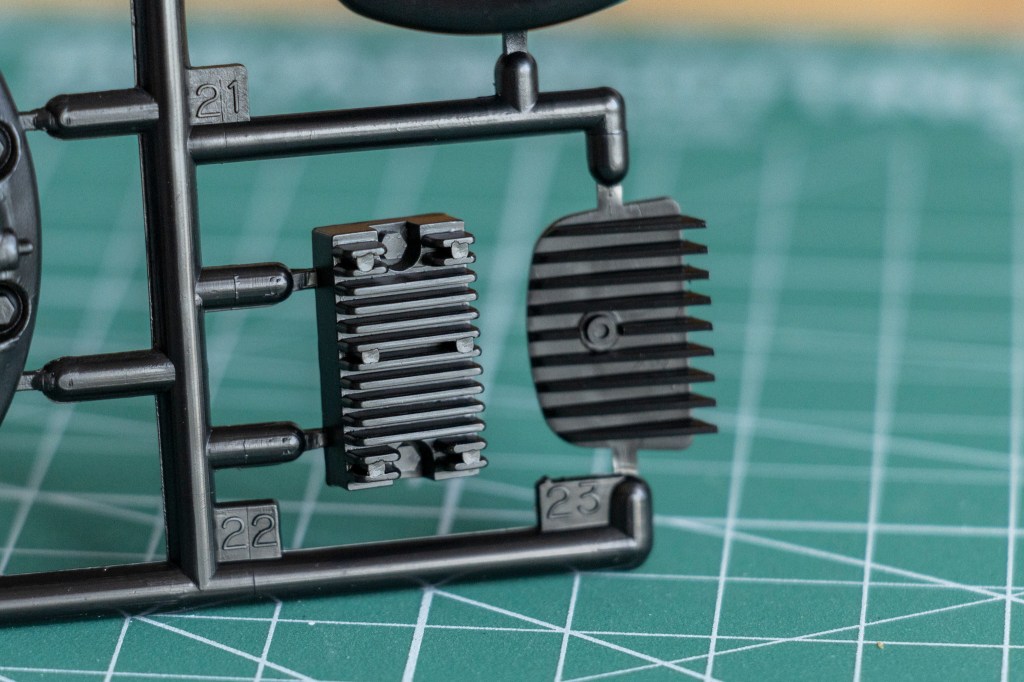
Gotta love the exquisite details on these parts. Though, personally I think the heat sink fins are a bit too thick.

Here comes sprue R, the hard saddlebags! You also get a Japanese plate and an American plate.
Yes, this kit provides A LOT OF sprues and parts. And they are all big in size!
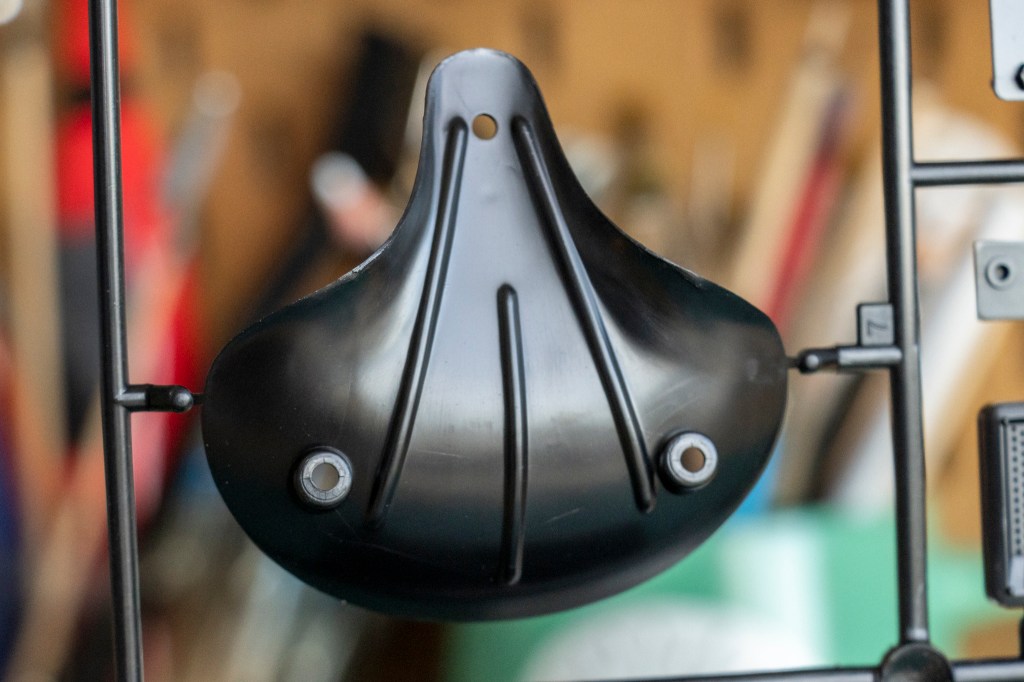
For example, this saddle base. The other versions actually offer spring seats.
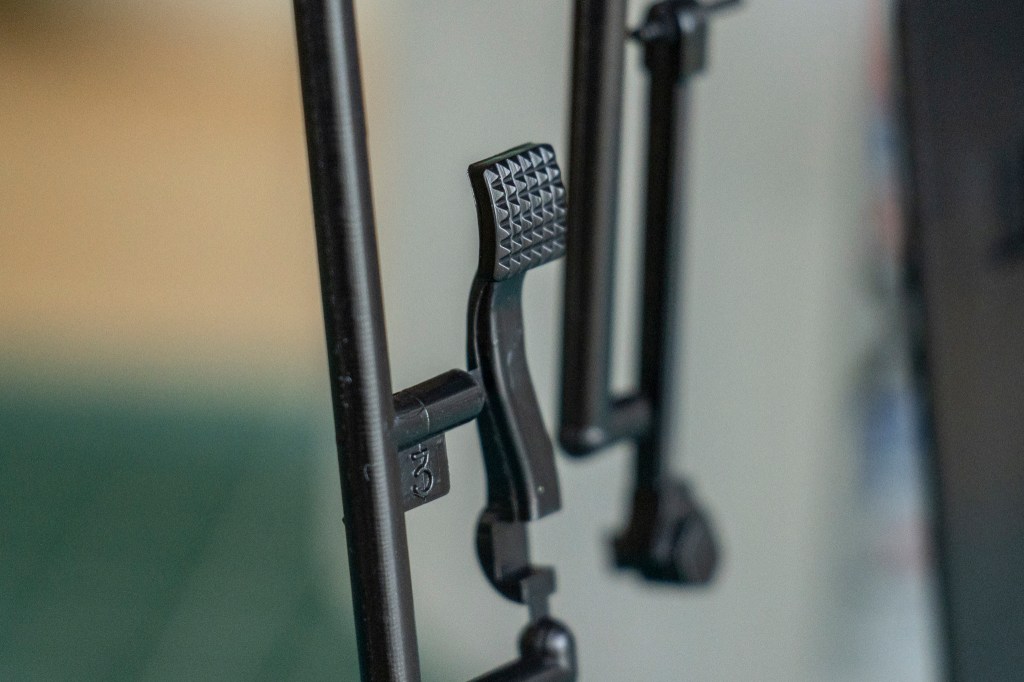
Thanks to the big scale, the pattern on the kickstart pedal really stands out. I learned that even though the biggest thing for the Electra Glide, well, you can tell from the name, was the addition of a electric starter, a traditional kickstart still comes with the bike, just in case.
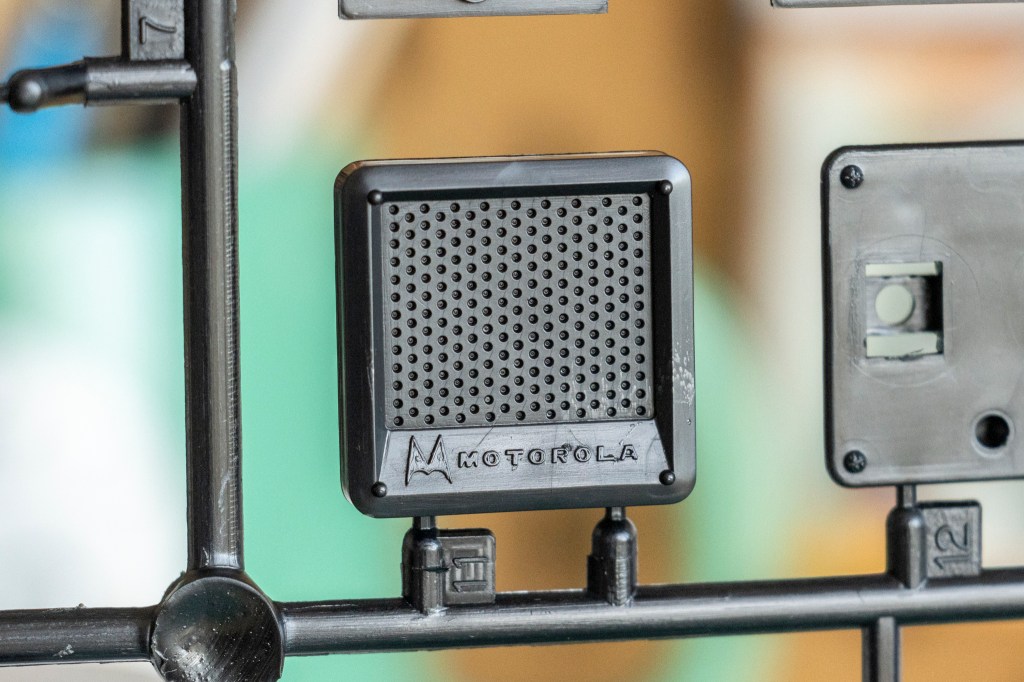
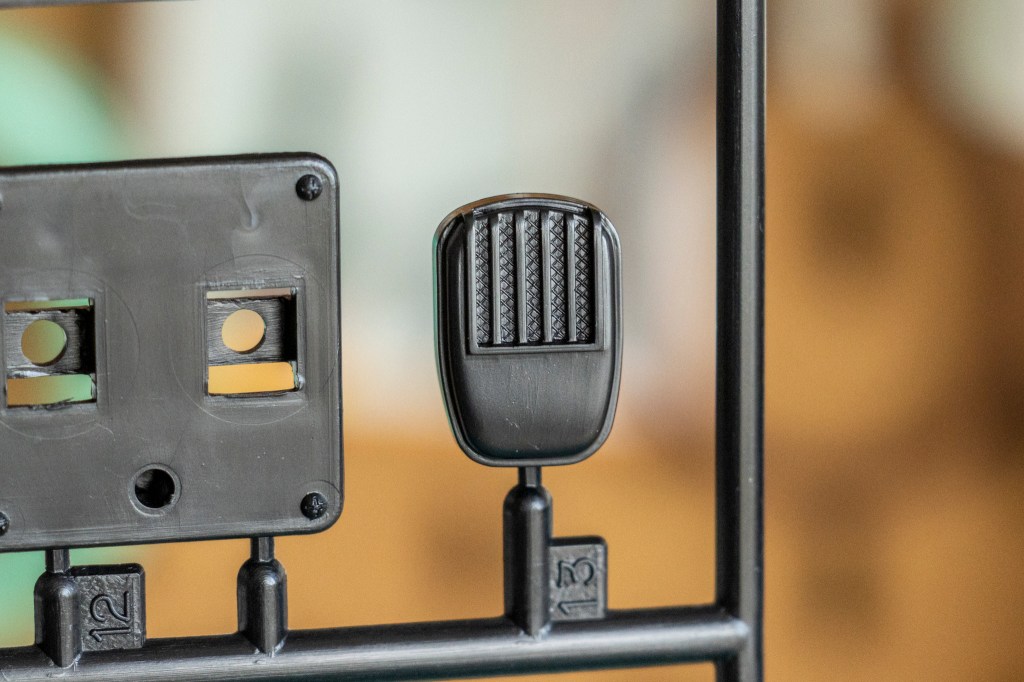
As an officer, you need this to communicate with the HQ and colleagues. Tamiya includes such a fine detailed Motorola radio in this kit. How cute! I’d love to drill all the holes on that speaker box.
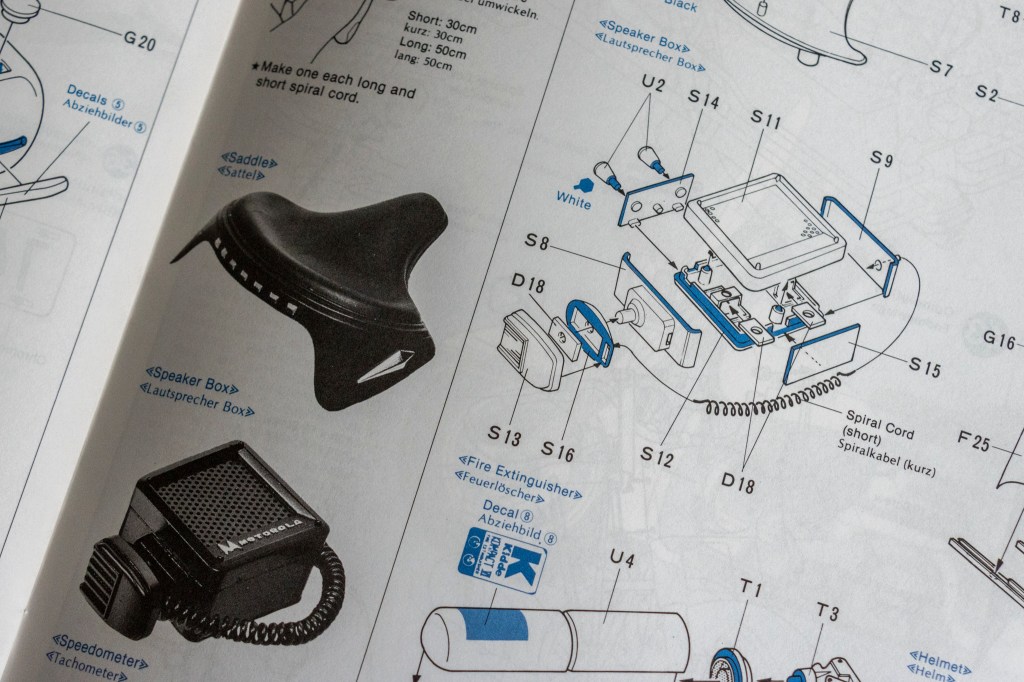
And the cord and dials are all included. NICE!

Field note right here!
Yet another chrome-plated sprue, sprue P! The two front fork covers are packed separately, which I believe, protects the surface chrome.
Most of the gates on these bars are conveniently placed. It’s a good idea to keep the factory chrome, as painting chrome can be tedious and the outcomes are mostly untouchable (literally).
Finally, the last chrome-plated sprue, sprue T!
Nah, chrome on these small parts will definitely be stripped.
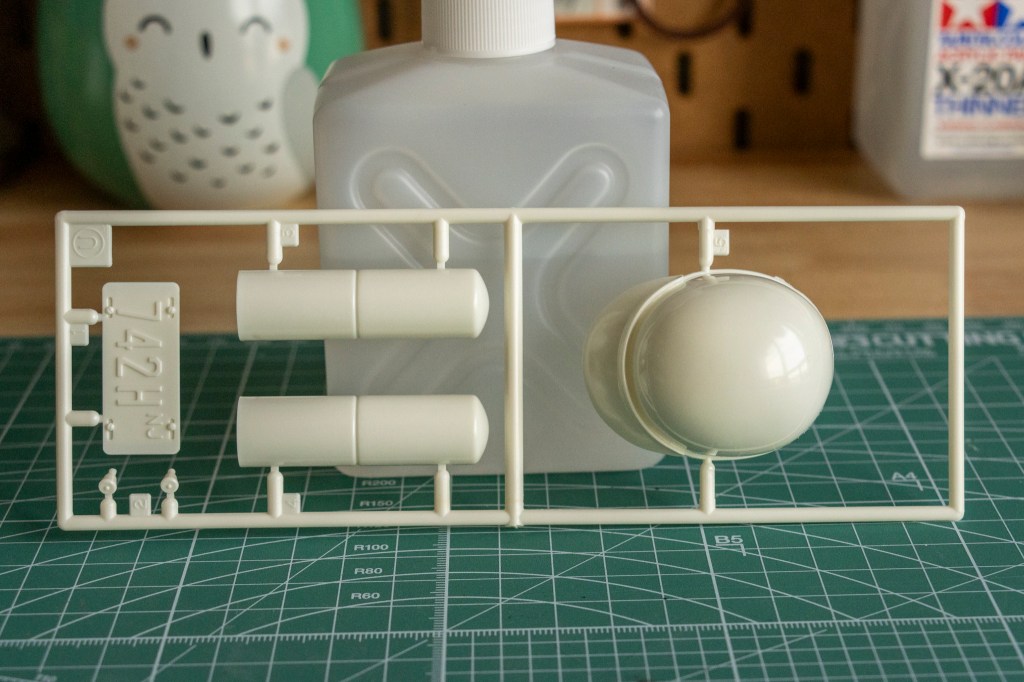
Speaking of the uniqueness of this kit, here’s sprue U, where you find the kit-inclusive helmet, fire extinguisher, and license plate.
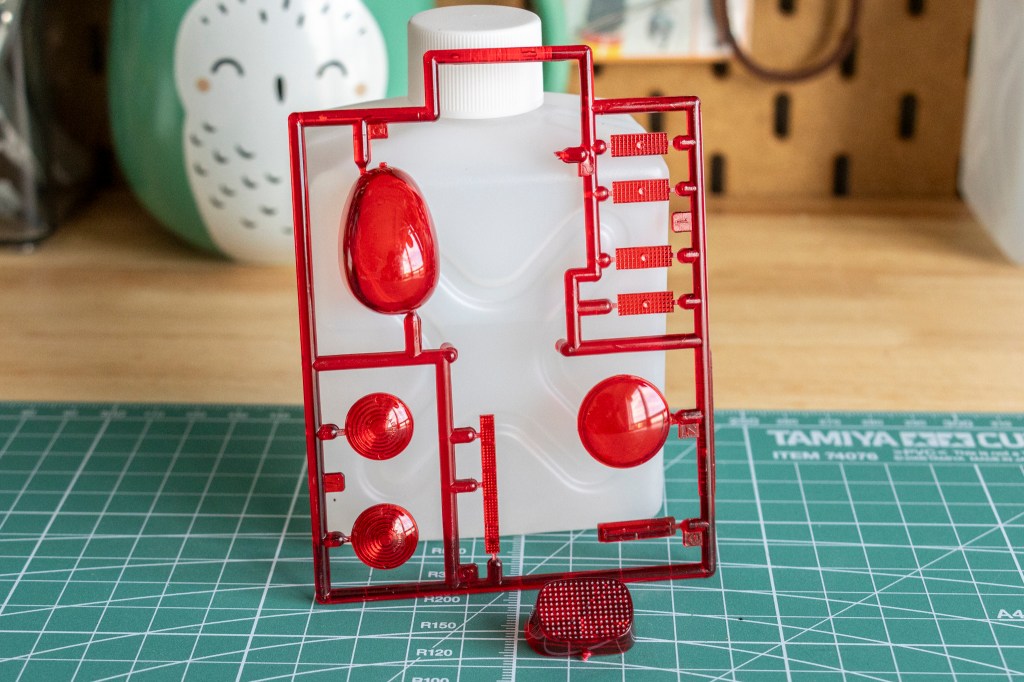
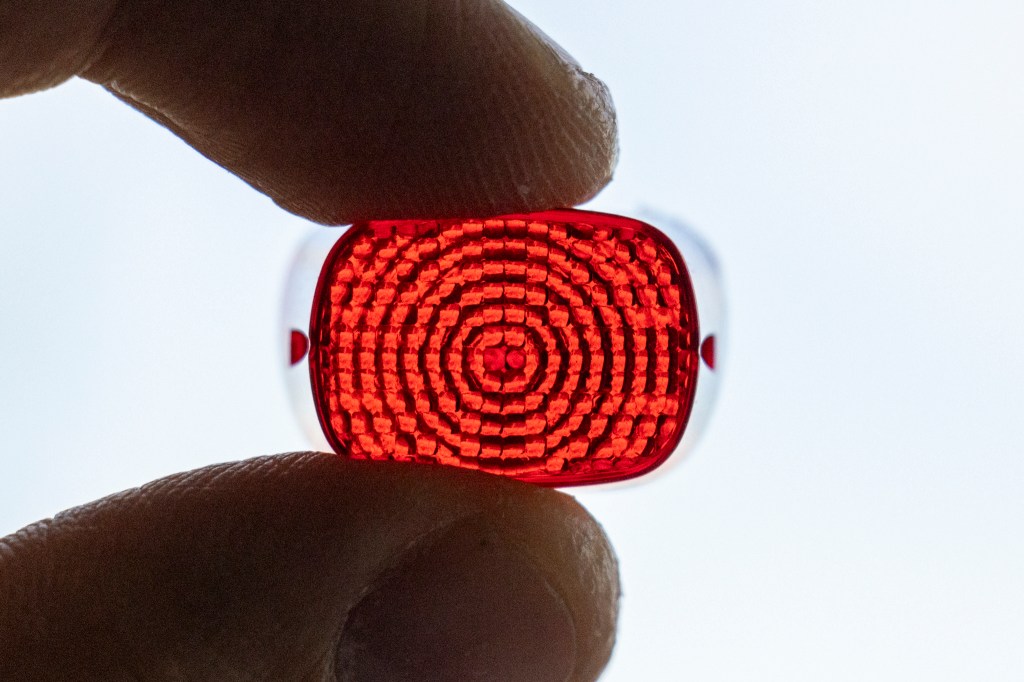
And here we go, the last sprue! No letter assigned but being referred as “Red Part” in the instruction. The brake light has detached from the runner.
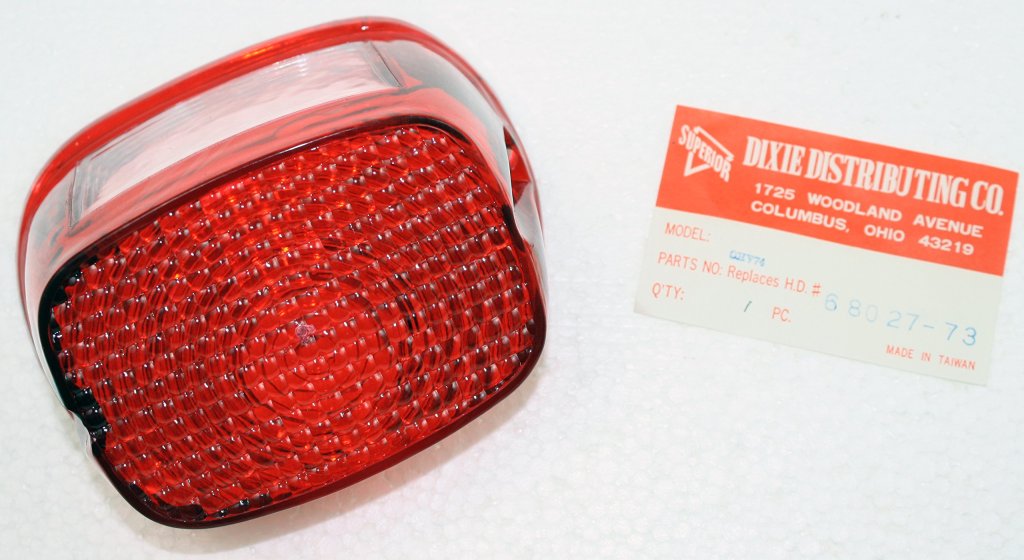
(Photo Source: Amazon)
What an awesome mould quality right here. The brake light looks fantastic!
My final thought of this model is that it requires so much work to make sure your penny is well spent and this kit gets treated the way it deserves. It might not be easy…but I am sure the end results will, without any doubt, make you proud. I found these photos of this kit made by paul-muc on The Airfix Tribute Forum, whose brilliant craftsmanship gave me a hard time believing this is a model rather than the photos of the real bike:
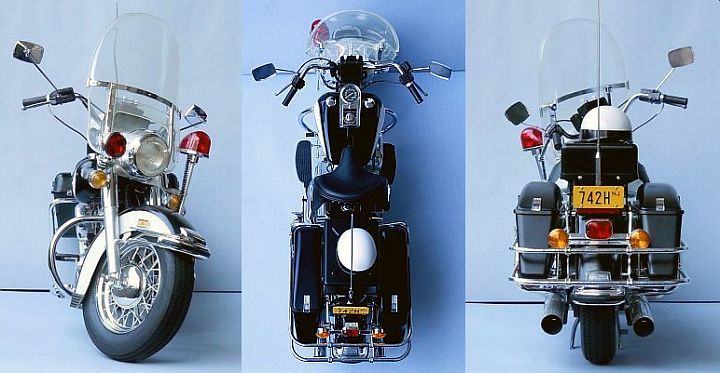
Paul, if you read this, please know that the paint job on the two fuel tanks and the front fender is top-notch. Your work is legit realistic!

Leave a comment